





















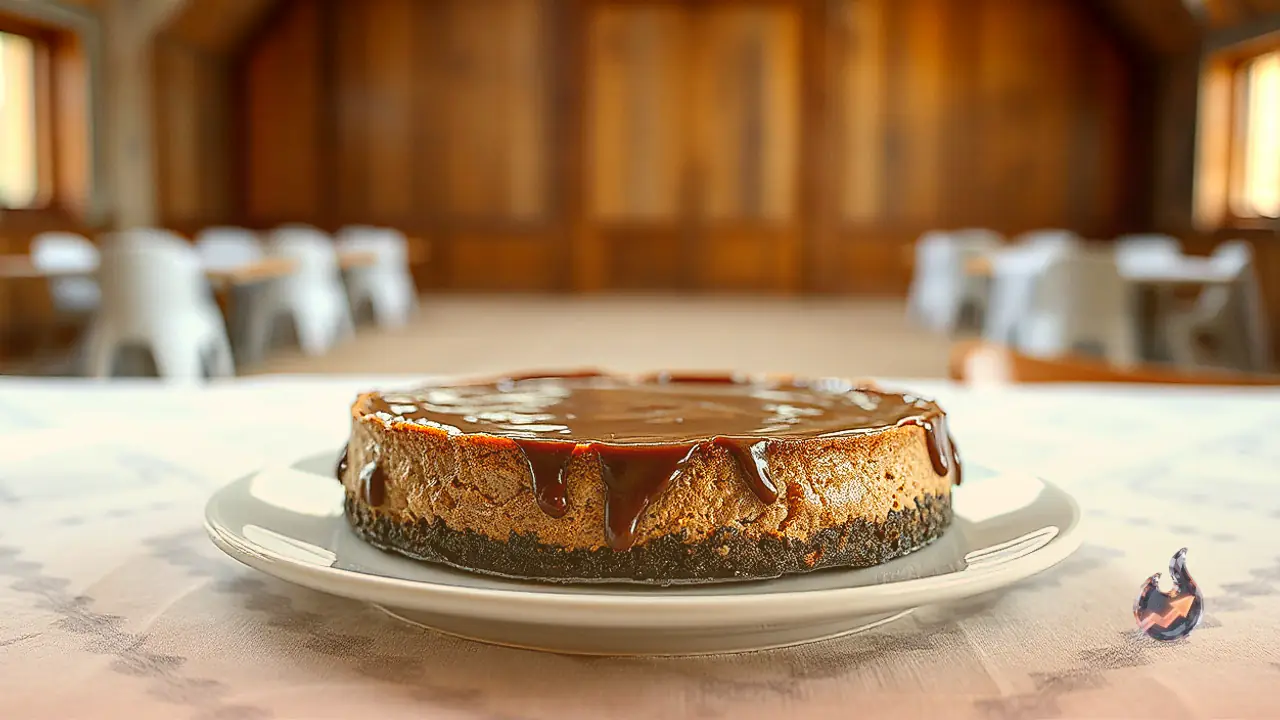

Creating an intensely decadent, bakery-quality chocolate cheesecake at home no longer demands nervous temperature watching around a water bath or managing finicky setting agents. While traditional cheesecake preparation frequently depends on long oven baking or the inclusion of gelatine to maintain structural integrity, an ingenious approach eliminates both requirements entirely. By relying on the natural setting mechanics of 70 percent cocoa chocolate as it cools, the dessert achieves a velvety, sliceable consistency that holds razor-sharp edges on a dessert platter while dissolving luxuriously across the palate. The balance of bittersweet cocoa, restrained sweetness, and the gentle tang of cultured cream cheese delivers a sophisticated profile suited for celebratory gatherings.
Anatomy of a Multi-Layered Chocolate Creation
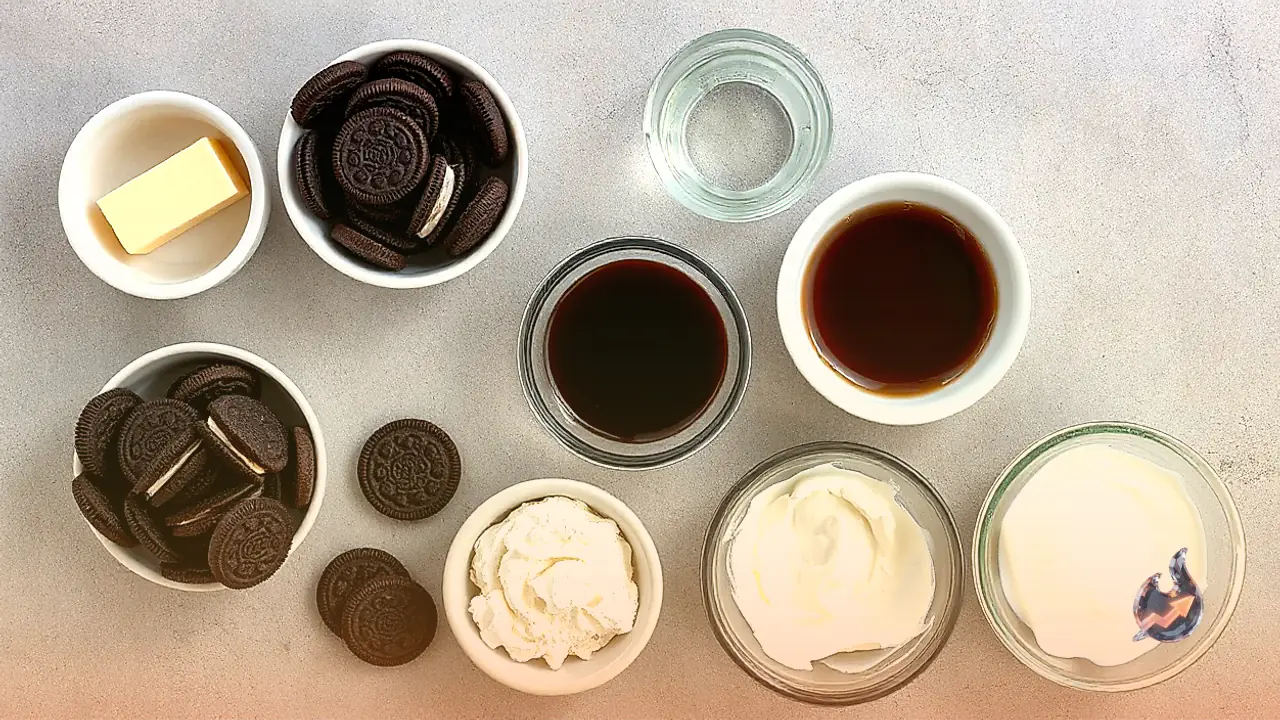
This dessert is engineered through distinct layers that contrast textures and harmonize rich flavours. At the bottom lies a compacted chocolate biscuit foundation made from crushed Oreo cookies bound with melted butter. The natural creme filling inside the cookies acts as an extra binder, yielding a sturdy crust that supports the weight of the dense filling without crumbling prematurely. For those utilizing alternative plain chocolate biscuits, adding a modest increase in butter compensates for the absence of that interior creme.
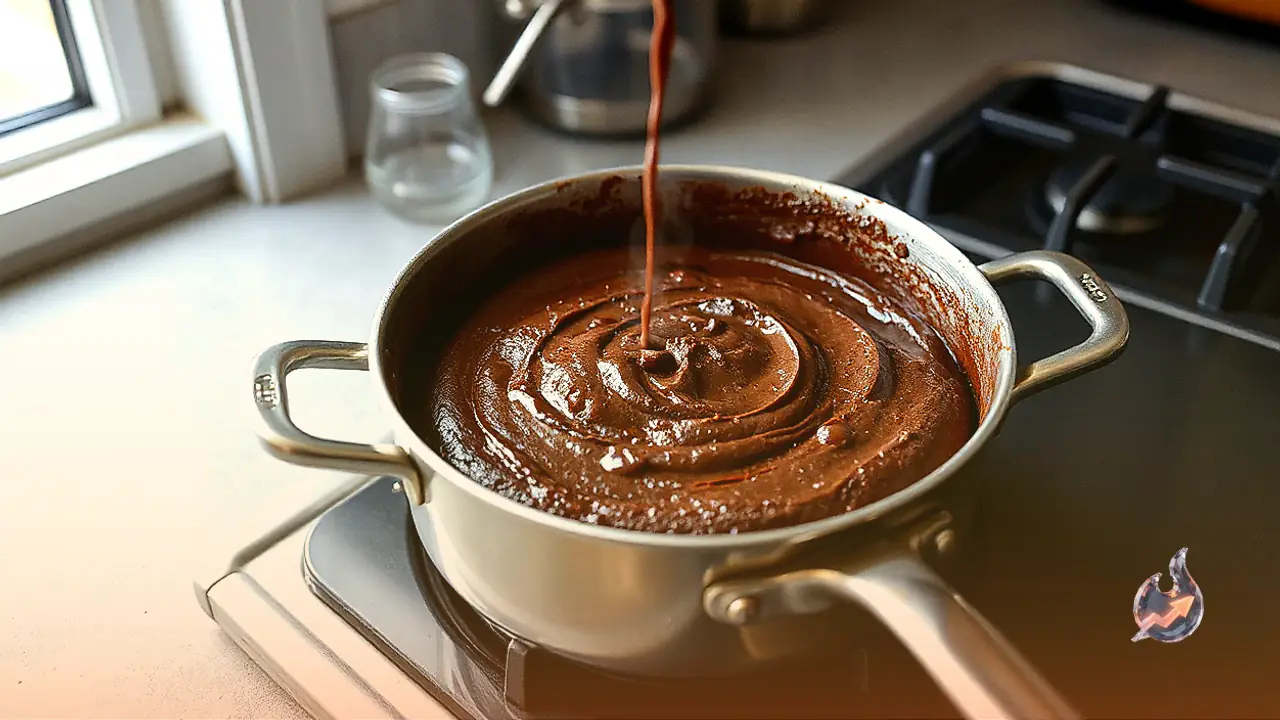
Directly above the crust sits the primary chocolate cheesecake filling, combining molten 70 percent dark chocolate with bloomed unsweetened cocoa powder, softened block cream cheese, caster sugar, vanilla extract, and stiffly whipped fresh cream. The interplay between the deep cocoa and the lactic acidity of the cheese prevents the dessert from feeling cloying, allowing the complex notes of the chocolate to dominate.
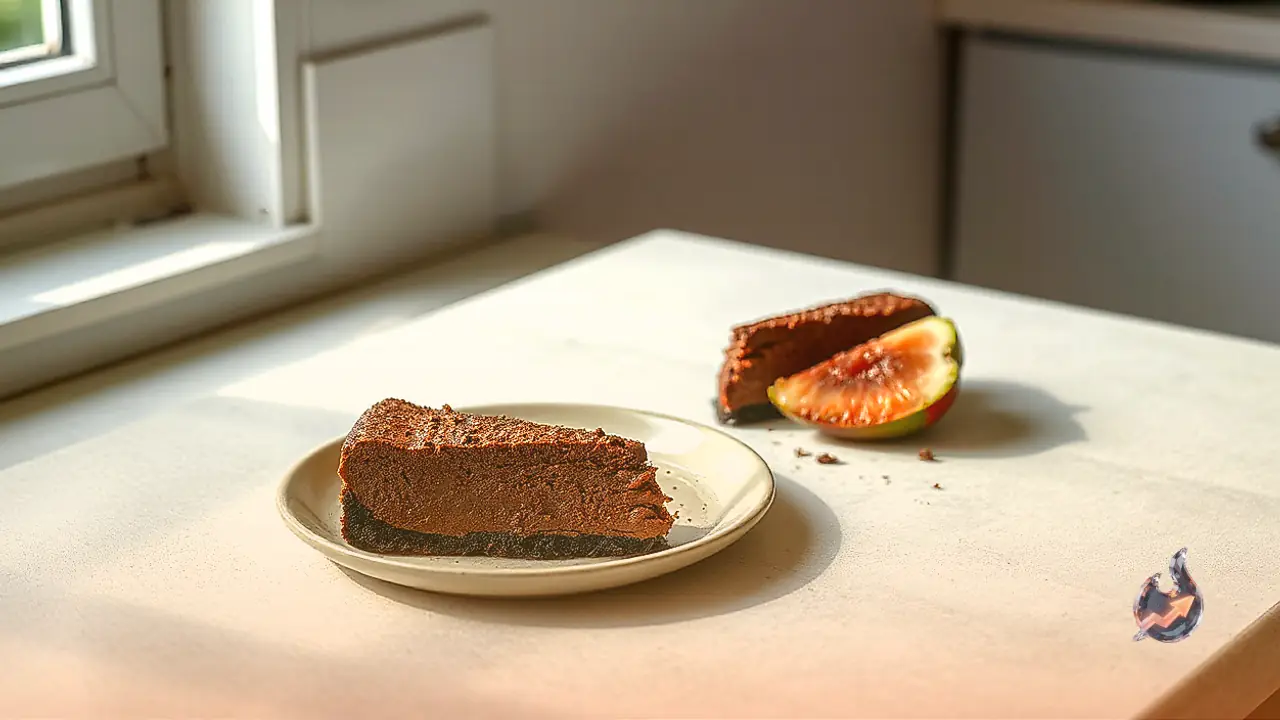
Capping the dessert is a silky layer of dark chocolate ganache, formulated with a specialized chocolate-to-cream ratio designed to yield a supple, knife-gliding texture rather than a rock-hard glaze. The entire presentation is finished along the perimeter with piped rosettes of softly whipped cream and a generous shower of delicate chocolate curls, which simultaneously add visual elegance and conceal minor surface imperfections.
The Critical Science of Ingredients and Setting Agents
The success of an oven-free, gelatine-free dessert hinges entirely on ingredient physics. The primary structural engine is 70 percent cocoa chocolate. Cocoa butter firms solidly as it drops to refrigerator temperatures; thus, a high cocoa percentage provides the exact structural lattice needed to hold the filling upright without synthetic gelling agents. Opting for standard dark or semi-sweet varieties ranging between 40 and 45 percent cocoa results in a much softer, mousse-like consistency that smears when cut, whereas milk or white chocolates lack sufficient cocoa solids entirely and will fail to set.
Equally vital is the selection of cream cheese, which must strictly be in traditional block form. Tub-style cream cheese incorporates higher water content and aeration intended for smooth spreading on morning toast; using it without recipe adjustments leads to structural collapse. Bakers restricted to tub cream cheese can adapt by omitting the whipped cream component entirely and extending the initial beating duration by approximately 90 seconds to build body.
To amplify cocoa intensity without throwing off the structural ratio through excessive melted chocolate, unsweetened cocoa powder is subjected to blooming. Whisking dry cocoa with boiling water dissolves microscopic starch clumps and releases aromatic flavour compounds that remain dormant when dry powder is blended directly into dairy fat. Fine caster sugar is preferred over coarse granulated sugar because its delicate crystals dissolve rapidly into the room-temperature cream cheese without leaving a gritty mouthfeel.
The Inverted Springform Pan Technique
Unmoulding a fragile cold-set cake without damaging its pristine edges requires an essential pan modification. Utilizing a standard 20 cm (8-inch) springform tin, the removable metal base is deliberately inverted so that the raised manufactured lip points downward rather than upward. This eliminates the interior ridge that typically traps crusts during transfer.
After lightly greasing the base with butter, a square sheet of baking parchment is placed over the metal disc, allowing generous tabs of paper to extend beyond the exterior perimeter once the outer ring is securely clamped shut. These protruding paper tabs serve as convenient handles to slide the set cake onto a flat serving board without exerting structural tension. Furthermore, the interior collar is lined with parchment extended roughly 1 cm (0.4 inches) above the metal rim to safely contain the ganache layer, which naturally reaches near the top due to the elevated inverted base.
Step-by-Step Preparation Protocol
The process opens with crust assembly. Exactly 140 grams of Oreo cookies (roughly 14 standard cookies) are broken by hand into a food processor bowl and processed until reduced to uniform, sand-like crumbs. Then, 50 grams of melted unsalted butter is introduced, pulsing briefly until the crumbs are evenly coated. The buttery mixture is tipped into the prepared springform pan and pressed firmly and evenly across the bottom using the flat base of a measuring cup. The base is set aside while the filling components are organized.
To melt the chocolate, 200 grams of 70 percent cocoa chocolate is finely chopped into pieces no larger than 0.5 cm (0.2 inches), placed in a heatproof bowl, and gently heated in the microwave in 20-second bursts, stirring between each interval, until entirely glossy. It must then rest for approximately 5 minutes to cool to a lukewarm, fluid state; adding steaming chocolate to cold dairy causes fat separation and collapses air bubbles. Concurrently, 2 tablespoons of cocoa powder are whisked vigorously into 2.5 tablespoons of boiling water until completely smooth, then left to thicken slightly.
In a mixing bowl, 1 cup of cold, full-fat thickened or heavy cream (minimum 35 percent fat content) is beaten on high speed for 2 to 3 minutes until stiff, upright peaks form. In a separate bowl, 500 grams of softened block cream cheese is combined with 1 cup of caster sugar and 1 teaspoon of pure vanilla extract, beaten on high for just 2 minutes until uniform and velvety. Overbeating at this stage must be avoided to prevent excess aeration, which causes unsightly internal cavities.
The lukewarm melted chocolate and bloomed cocoa paste are beaten into the cream cheese base until homogeneously blended. One-third of the whipped cream is folded in with the beater to lighten the base, followed by the remaining two-thirds, mixing gently until all pale streaks disappear. The batter is poured over the Oreo crust, smoothed with an offset spatula, and refrigerated for an initial 2-hour window.
Once the surface firms, the ganache is assembled by heating 1/2 cup of full-fat heavy cream until steaming hot, pouring it directly over 75 grams of finely chopped 70 percent chocolate. After resting untouched for 5 minutes, it is stirred with a flexible spatula until glossy, poured over the cold cheesecake, and tilted to coat evenly. The pan returns to the refrigerator for a minimum of 6 additional hours (totaling 8 hours of refrigeration) to achieve its final firm texture.
Finishing Details, Slicing, and Storage Life
Prior to slicing, the springform latch is released, and the cake is transferred from the metal plate to a serving platter using the paper overhang before peeling away the collar. For decoration, 1 cup of heavy cream is lightly whipped with 1 tablespoon of caster sugar and 1/4 teaspoon of vanilla extract, then piped along the perimeter. A bar of milk chocolate is shaved with a common vegetable peeler over the top surface, creating delicate curls that contrast with the dark ganache.
The cheesecake remains fresh and sliceable in the refrigerator for up to 5 days, though the cookie base begins softening noticeably around the third day as it absorbs moisture from the cheese layer. Due to the high moisture emulsion of the cold-set dairy, freezing is not recommended, as thawing causes the emulsion to break and weep excessively. Slices should always be served straight from the refrigerator to maintain optimal structural definition.