























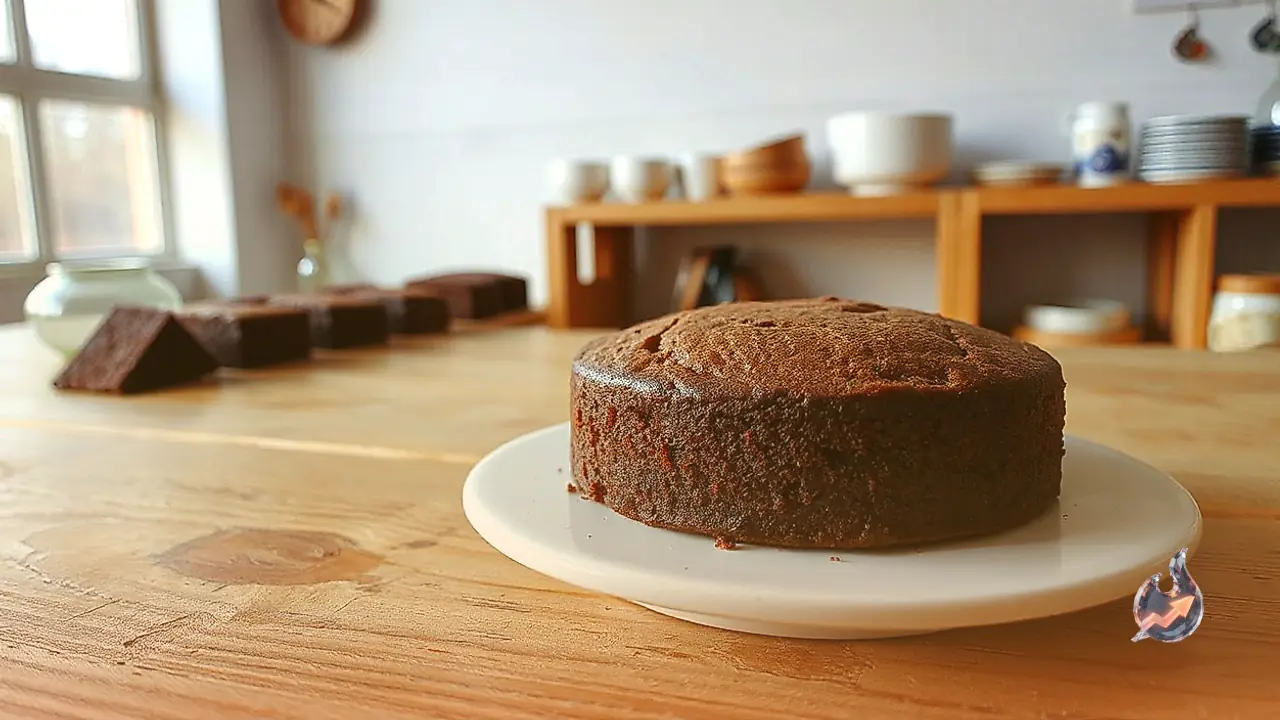

When unexpected dessert cravings hit, finding a quick and hassle-free treat to prepare in the kitchen can often feel challenging. A home-baked eggless chocolate cake serves as a practical, delicious solution that requires minimal culinary hassle. You do not need to hunt down rare or expensive baking supplies from specialized grocery outlets. Using simple pantry staples like regular wheat flour, milk, fresh curd, sugar, and cocoa powder, anyone can bake an exceptionally tender and spongy chocolate cake. Best of all, this straightforward formula completely avoids eggs, making it suitable for vegetarian households and universally loved by both children and adults.
Essential Ingredients for the Chocolate Cake
Preparing this convenient homemade cake requires one cup of flour alongside measured amounts of powdered sugar, cocoa powder, baking powder, baking soda, and a small pinch of salt. For the wet component of the batter, gather plain milk, fresh curd, and cooking oil. Before assembling the mixture, keep a baking tin ready alongside a dash of oil for greasing and baking parchment paper if available.
Sifting and Preparing the Dry Mixture
The baking process begins with the proper combination of dry components. Select a large, completely dry mixing bowl. Measure out and combine one cup of flour, powdered sugar, cocoa powder, baking powder, baking soda, and a pinch of salt. Whisk these dry powders evenly to ensure uniform distribution. It is strongly advised to sift both the flour and the cocoa powder through a fine-mesh sieve into the bowl. Sifting removes stubborn clumps and aerates the dry blend, ensuring a perfectly smooth batter later.
Blending the Wet Ingredients to Form the Batter
Once the dry components are prepped, take a second mixing container and combine the milk, curd, and cooking oil. Whisk these wet ingredients briskly until they emulsify into a silky liquid. Begin introducing the sifted dry mixture into this liquid base gradually, adding small amounts at a time. Using a spoon or a hand whisk, fold the components together with gentle strokes. Ensure the resulting batter strikes the right consistency, avoiding an excessively thick texture or an overly runny batter.
Greasing the Tin and Transferring the Mix
With the batter mixed, focus on preparing the vessel for the heat. Take a clean baking tin and apply a thin coating of cooking oil across the base and inner walls. Lining the bottom with parchment paper provides extra insurance against sticking. Pour the prepared chocolate batter into the greased tin. Once filled, tap the tin gently against the kitchen counter two or three times to release trapped air pockets and help the thick batter settle evenly across the base.
Baking in a Preheated Oven
Proper heat management is vital for an even rise. Set your oven to preheat at 180 degrees Celsius for approximately 10 minutes before loading the cake. Once the target temperature is reached, carefully position the cake tin in the oven cavity. Let the cake bake continuously at 180 degrees Celsius for roughly 30 to 35 minutes. To verify whether baking is complete, insert a clean toothpick straight into the center of the sponge. If the skewer emerges completely clean with no wet crumbs attached, the cake is fully baked.
Cooling, Slicing, and Garnishing
Carefully transfer the baked tin out of the oven and set it aside to cool down completely to room temperature. Once the cake has shed its heat, loosen the edges and invert it onto a flat plate. Slice the cake into neat portions of your preferred size. To enhance the presentation, drizzle glossy chocolate sauce over the top or dust a light veil of cocoa powder across the surface before serving.
Key Tips for a Flawless Bake
Achieving a light and airy texture requires following a few basic baking practices. To keep the crumb soft, never overmix or vigorously beat the batter; simply folding until the dry and wet ingredients incorporate is sufficient. While the tin is inside the baking chamber, resist the urge to open the oven door repeatedly. Opening the door vents out heat and causes the internal temperature to drop, preventing the cake from rising properly. Lastly, allow the cake to cool entirely before attempting to slice it, as slicing warm sponge leads to ragged, crumbly cuts.