























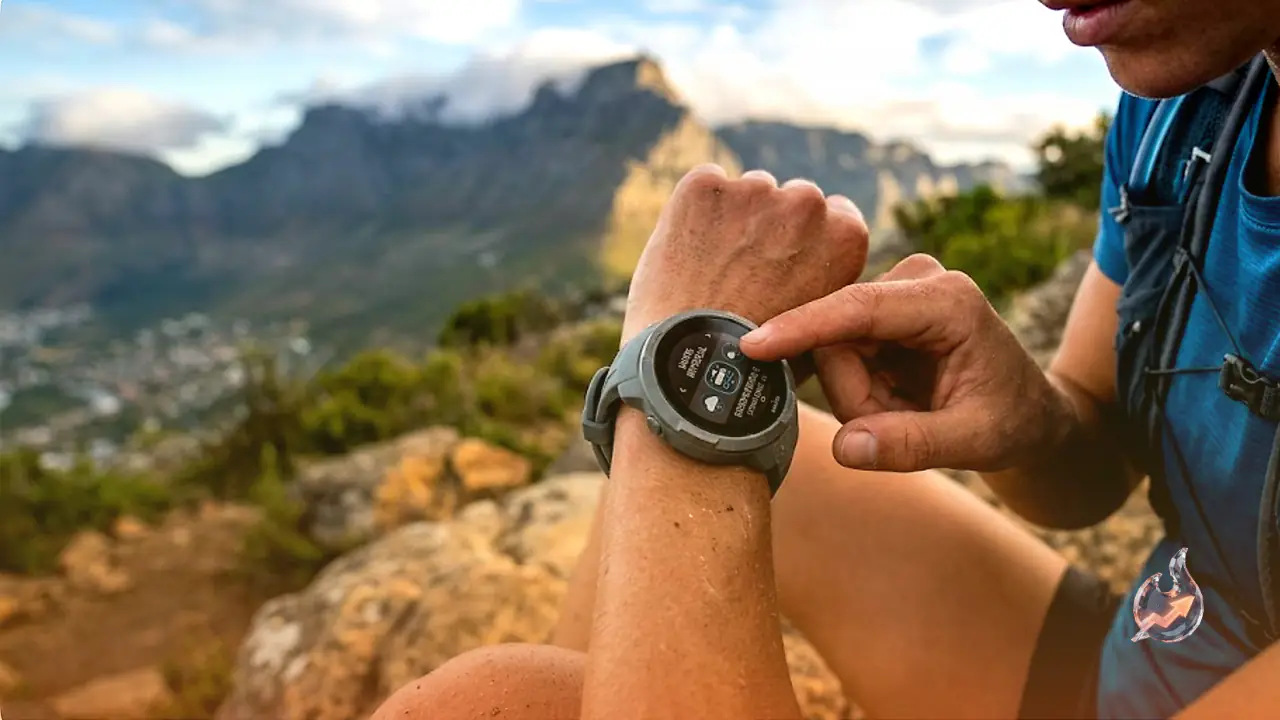

The Suunto Run sports watch is widely appreciated as a fantastic companion for runners. It stands out in the crowded wearable market by being remarkably lightweight, featuring a spacious and clear display, and delivering many of the key capabilities found in entry-level Garmin watches at a highly competitive price point. Typically retailing for around $200, this running watch offers exceptional value for athletes seeking performance without a premium price tag. However, unlocking the full potential of this device requires diving into some of its lesser-known settings and workarounds. This guide outlines five critical configuration tips that will elevate your training experience, starting with an elusive fix for its most common default annoyance.
How to Change Autolap Splits from Kilometers to Miles
One of the most persistent frustrations for users who prefer imperial measurements is that the Suunto Run defaults to triggering lap notifications every kilometer. Even when the primary unit system of the watch is configured to miles, the device continues to beep and log a lap after every 0.62 miles. Online community forums and platforms like Reddit are filled with queries from users searching for a way to modify or deactivate this auto-lap feature. Because the configuration is buried deep within specific sub-menus rather than the general exercise options, many runners simply resign themselves to translating the kilometer alerts on the fly, keeping in mind that five miles equates to eight kilometers.
Fortunately, there is a dedicated workaround to align your lap alerts with your preferred unit of measurement. This can be configured either through the companion mobile application or directly on the watch interface. The key is to select a specific sports profile, such as Run or Trail Run, from the exercise menu. Instead of selecting the standard Exercise Options, you must scroll down and access the Free Training settings. Because this is the primary mode utilized for daily workouts, this is where the Autolap toggle resides. By default, it is configured to 0.62 miles. You can manually adjust this value to 1.00 mile to receive standard mile splits, or deactivate the setting entirely. Keep in mind that this adjustment must be performed individually for each sports profile as there is no universal system-wide toggle.
Placing the Stopwatch Widget at the Top of Your Scroll List
While almost every sports wearable contains a stopwatch utility, navigating to it often requires digging through multiple menu layers or memorizing complex physical button shortcuts. Suunto addresses this accessibility issue by allowing users to integrate the stopwatch directly into their primary widget queue. This placement enables access to the timer with a simple upward swipe from the bottom of the watch face. While the widget carousel is typically reserved for reviewing daily step counts, sleep metrics, weather forecasts, or sunset times, adding the stopwatch here dramatically improves its utility.
To configure this, swipe to your widget screen and press the top physical button, which displays a editing pencil icon. This interface allows you to add, remove, or reorder your active widgets. Add the stopwatch to your active selection and reposition it to the very top of the list. Once configured, a single swipe and tap from the main home screen initiates the timer instantly. Furthermore, the stopwatch continues to run actively in the background even if you navigate away from the screen, displaying real-time live progress the next time you access your widget carousel.
Switching Sport Profiles Mid-Workout with a Long Press
Transitions between different terrain types often require changing how workout data is tracked, and the Suunto Run allows you to swap activity profiles without terminating your active recording session. For example, if your route begins on paved roads under the standard Run profile but transitions onto rugged dirt paths, you can switch to the Trail Run profile dynamically. To do this, simply perform a long press on the upper physical button during your workout.
Upon triggering the long press, the watch will present a menu of alternative sports profiles. Once you select the new activity, the active recording is paused, and the screen displays the duration of your transition. Pressing the start button resumes tracking, and the device logs both segments as distinct phases of a single, continuous workout session. This is incredibly helpful because Suunto customizes data screens and metric displays based on the chosen activity. If your trail run becomes excessively steep, switching to Vertical Running will provide dedicated power zone metrics for climbing. Alternatively, you can transition to a Hike profile during extreme weather conditions. Custom sports profiles can also be created to tailor data fields to your exact preferences.
Calibrating the Barometric Altimeter and Enabling Storm Alerts
The inclusion of a barometric altimeter allows the Suunto Run to monitor atmospheric pressure and provide advance warnings regarding sudden weather shifts. Because rapid drops in air pressure are reliable indicators of approaching weather fronts and storms, the watch can alert you to seek shelter before rain begins. Under stable conditions, pressure variations reflect changes in your altitude as you ascend or descend hills. However, sudden shifts while stationary point to changing weather systems.
To activate these atmospheric notifications, navigate to the main Settings menu, select the Outdoor options, and toggle the Storm alarms to the active position. While adjusting these parameters, it is also highly recommended to calibrate your barometric sensor. Within the Outdoor sub-menu, locate the Alti & Baro section, where you can select either Set altitude or Auto adjust altitude. The auto-adjustment function utilizes GPS coordinates to align the barometric sensor with sea-level values. However, if you are referencing a physical map with known elevation coordinates, selecting the manual entry option to set the precise altitude yields the most accurate baseline readings.
Creating a Custom Points of Interest Navigation Library
The Points of Interest (POI) feature on the Suunto Run makes navigating back to key geographic coordinates incredibly straightforward. This is highly beneficial when exploring expansive trail networks where memorizing every landmark is difficult. Runners can utilize these markers to save the locations of freshwater springs, trail junctions, scenic overlooks, or vehicle parking spots for future reference.
Suunto offers a diverse library of predefined POI categories that surpasses most competing fitness watches. In addition to standard labels like water, campsites, or parking spots, the watch includes specialized markers for outdoor activities such as hunting, fishing, and foraging. Users can log specific coordinates for animal tracks, marine mammal sightings, or wild mushroom foraging spots. You can save your immediate coordinates as a POI directly from the watch face during an activity, or pre-plan your route by saving markers onto the map interface within the Suunto companion smartphone application. To use them, simply load the saved POI as a Navigation Target under your sport profile options before beginning your run. Alternatively, you can access the dedicated Navigation application from the All Apps section at the bottom of the widget list to navigate without initiating a formal workout recording.