























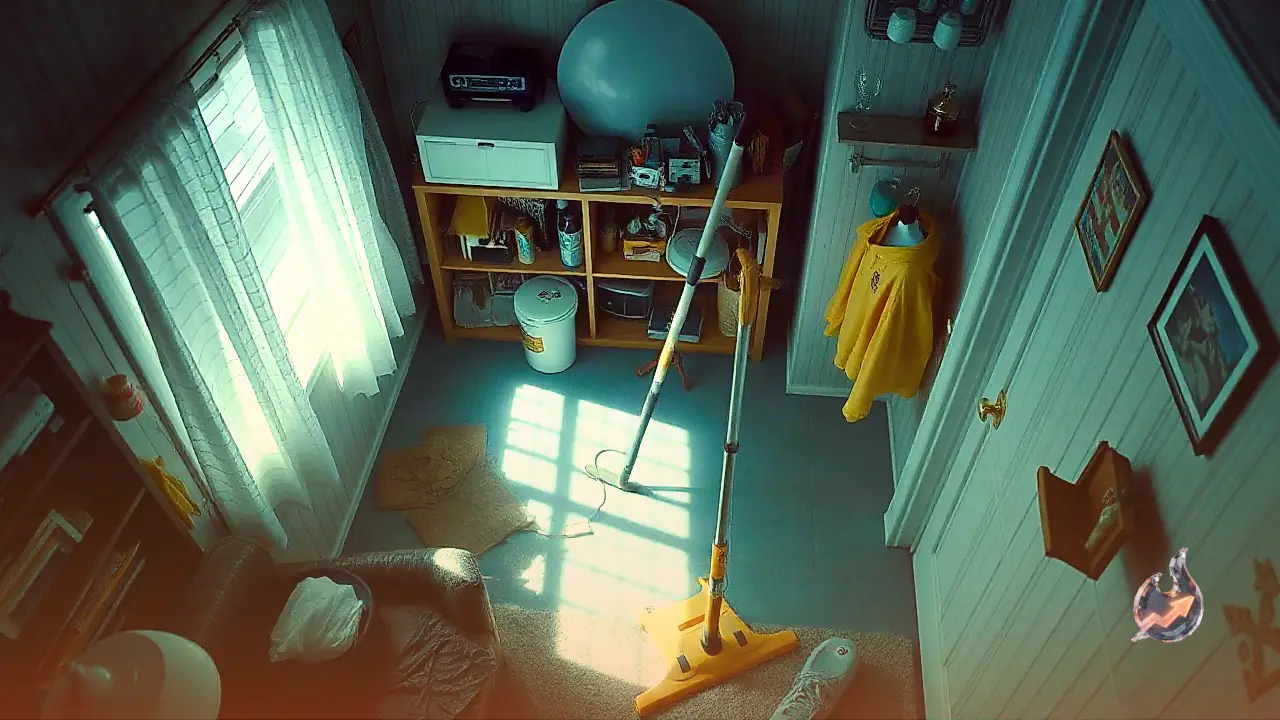

Routine daily cleaning across most homes typically covers swept floors, wiped kitchen countertops, and obvious surface dust. However, numerous overlooked zones quietly collect dense layers of grime over weeks and months. Ceiling fan blades, window tracks, the concealed spaces behind heavy furniture, and kitchen cabinet handles rarely receive the attention they need during regular chores. When the time comes to tackle a more thorough seasonal scrub, many assume that doing a proper job is impossible without an expensive vacuum cleaner or specialised power equipment. In reality, everyday domestic supplies paired with a systematic approach can achieve identical results across every tucked-away space in the house.
Preparing a modest toolkit before getting started makes the entire task far more manageable. A basic setup requires only a microfiber cloth, an old toothbrush, a long-handled duster, a spray bottle, a bucket, dry wiping rags, and a gentle multi-surface cleaner suited to your household fixtures. Rather than tearing the entire house apart at once, the most practical strategy is to work systematically through one room at a time. Completing a single space before shifting focus keeps household disruption contained, avoids constant furniture shifting back and forth, and ensures thoroughness without causing exhaustion.
The Core Golden Rule: Clean strictly from top to bottom
The most common operational mistake during a deep clean is working in the wrong order. The golden principle of thorough cleaning dictates starting at the highest structural point in the room and finishing at the lowest surface. Begin by clearing dust from ceiling fans, lighting fixtures, wall corners, upper cupboard tops, and the headers of doorframes. Only after these high points are addressed should you move down to work desks, bookshelves, side tables, and other intermediate surfaces. Sweeping or mopping the floor first guarantees that falling debris from overhead fixtures will dirty the ground all over again, forcing you to repeat the work. Cleaning downward ensures maximum efficiency with zero wasted effort.
Tackling ceiling fan blades and hidden high corners
Attempting to dust ceiling fan blades with a dry rag or feather duster invariably flings settled grime across the entire room, coating nearby beds and upholstery. To prevent airborne mess, wrap a slightly dampened microfiber cloth firmly around each blade and wipe steadily outward from the motor casing to the tip. For cobwebs and loose debris clinging to upper wall corners, window cornices, and narrow spaces behind tall wardrobes, rely on an extended duster or a cloth secured to a broom handle. Where tight seams or hardware fixtures make hand access awkward, an old toothbrush serves as an ideal tool to dislodge dry sediment safely.
Restoring dirt-caked window channels and tracks
Sliding window tracks accumulate a dense mixture of airborne particulate matter, outdoor grit, and loose hair over time, frequently causing the sliding sashes to stick. Avoid pouring water straight into the channel, which only creates a muddy paste. Instead, use an old toothbrush or a stiff small brush to loosen all dry debris first. Once the caked dirt has broken free, wipe through the track channels using a damp cloth. For tight corners and narrow guide slots where cloth cannot reach, cotton buds or fine craft brushes work effectively to extract trapped grime. Neglecting window channels leaves an otherwise pristine room looking half-finished.
Scrubbing kitchen cabinetry and degreasing handles
Kitchen cleaning should never stop at the stovetop and preparation slab. Cooking vapor and airborne oil mist continually settle onto cabinet handles, door edges, spice organizers, and adjacent wall surfaces, creating sticky, stubborn grease films. Begin by brushing away any dry surface dust with a clean rag. Next, apply a mild cleaner to a cloth rather than spraying liquid straight onto the cabinetry, then scrub the handles and frames. Pouring liquids directly onto wooden or composite cabinetry risks swelling and long-term finish damage, making it essential to follow manufacturer care guidelines before using wet cleaning solutions.
Refreshing soft upholstery and bedroom mattresses
Living room sofas and mattresses are routinely bypassed during deep cleaning sessions, despite absorbing considerable amounts of daily domestic dust. Without a dedicated suction machine, start by beating the cushions firmly by hand to bring settled dust closer to the surface. Next, sweep a clean bristled brush or a dry microfiber cloth across the fabric in uniform strokes to pull away loose lint and debris. Where removable covers exist, launder them strictly according to the fabric care instructions on the label. If treating fabric with any liquid solution, always carry out a small spot test on an inconspicuous patch first to verify colorfastness.
Sanitising switch panels and frequently handled hardware
Wall switch plates, door knobs, and entry handles receive near-constant contact from household residents every day, yet they frequently escape attention during routine tidying. Electrical safety must remain the absolute priority whenever cleaning switchboards. Never spray liquid solutions, pour water, or apply soaking-wet cloths directly over electrical fittings. Instead, use a cloth that is barely damp to wipe down the exterior plastic plates and switch faces, immediately following up with a completely dry cloth to remove lingering moisture. Interior door handles and surrounding door edges should receive the same careful wipe-down.
Loosening bathroom soap scum and mineral build-up
Deep cleaning bathroom fixtures requires tackling stubborn mineral deposits and dried soap film, both of which bond firmly to surfaces over time. Before applying any commercial cleaner, check product labels to confirm compatibility with your specific tile or stone materials. Focus your efforts on tile grout lines, fixture bases, shower enclosures, and the lower sections of doors where moisture gathers, allowing the cleaner adequate dwell time to break down the grime. Crucially, never mix disparate cleaning chemicals in an attempt to boost strength; blending chlorine bleach with acid-based cleaners produces hazardous, toxic fumes.
The final stage: Mopping and finishing the floors
Floors should always be the very last element addressed in any deep cleaning workflow. Once all high-altitude dust, window grime, and cabinet debris have settled onto the ground, sweep or dry-mop thoroughly to remove hair and loose particles completely. Only when the floor is clear of dry grit should you follow up with a damp mop using a floor-safe cleaning solution suited to your flooring material. Following this methodical sequence leaves the entire home thoroughly refreshed and hygienic.