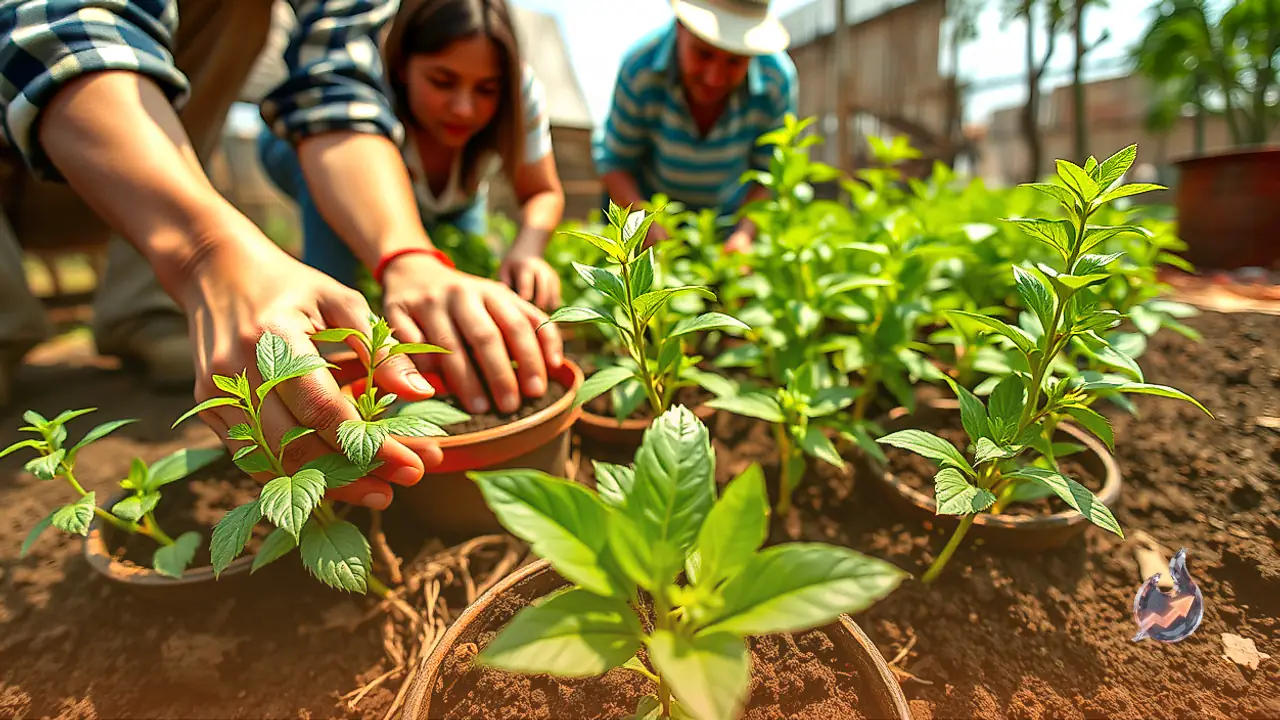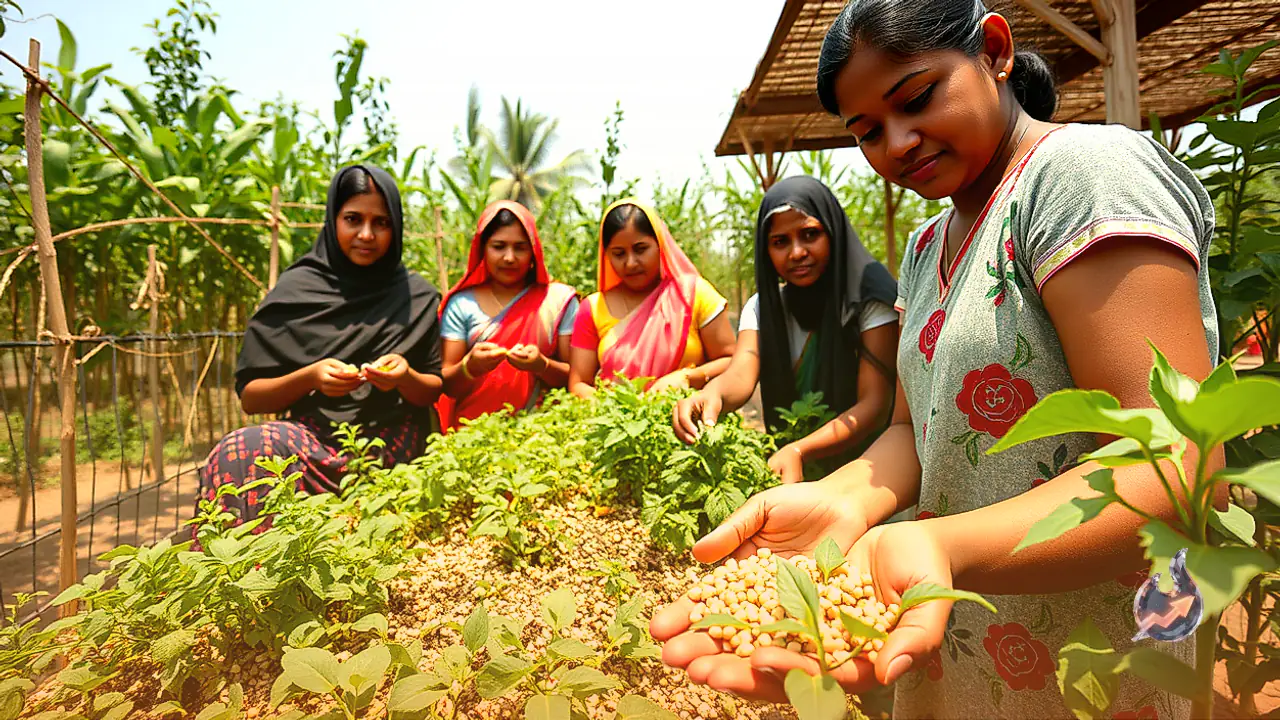






















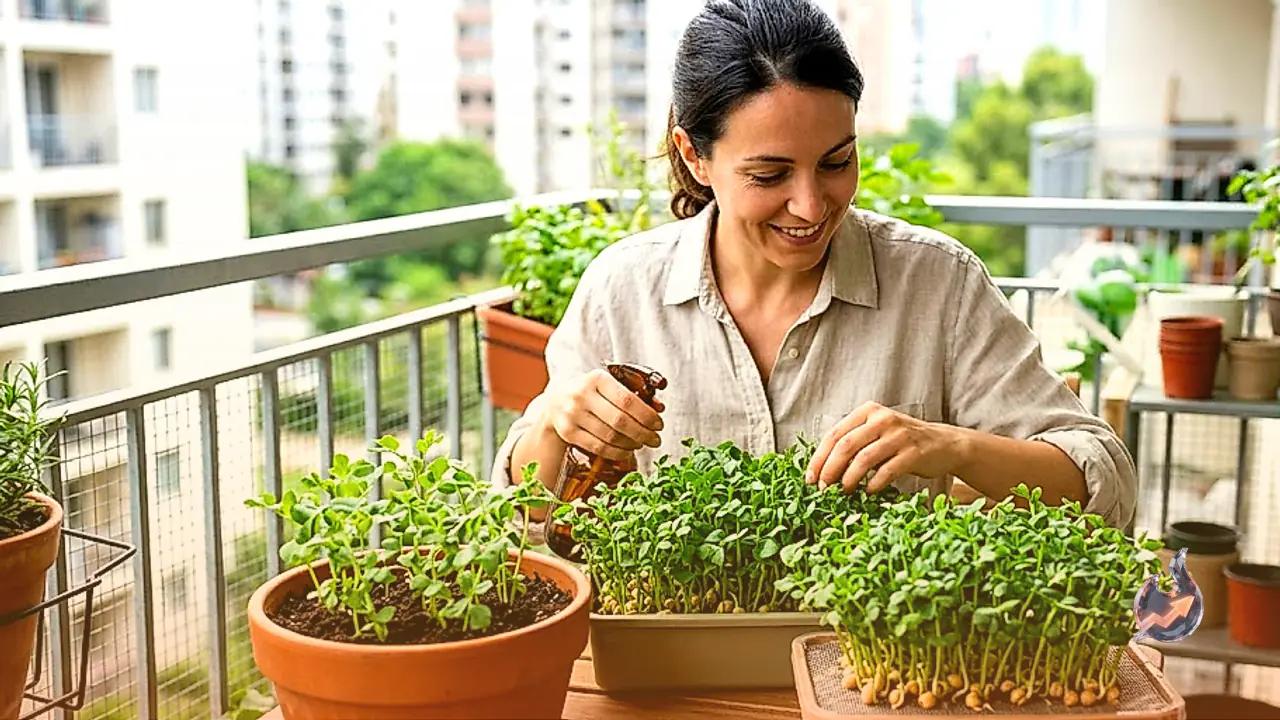

Winter dining feels incomplete without an abundant spread of fresh green vegetables on the table. Seasonal delights such as radish, green chillies, aromatic saag, and stuffed fenugreek parathas define winter comfort food across households. Savoring steaming chickpea greens accompanied by traditional flatbreads made from maize or pearl millet delivers exceptional culinary satisfaction alongside wholesome nourishment. Beyond its rich flavor, chickpea greens offer remarkable therapeutic and dietary benefits. If you wish to harvest pure, homegrown produce free from harsh commercial chemicals, you can easily grow this green leafy vegetable right on your terrace or apartment balcony.
Health and Nutritional Perks of Chickpea Greens
The young foliage of chickpeas is loaded with essential micronutrients that fortify the body during cold months. Regular inclusion of these greens in daily meals supports and sharpens eyesight. They provide vital nourishment required to maintain healthy and sturdy muscle tissue. For individuals aiming to shed excess body weight, these low-calorie greens serve as an ideal staple that aids in weight management. In addition, chickpea leaves contribute directly to bone strength. The abundance of antioxidants and restorative nutrients within the leaves fights oxidative stress, promoting healthy cellular repair and restoring a youthful glow to dull skin.
Choosing the Right Container and Potting Mixture
Cultivating chickpea greens does not require sprawling agricultural land or complex garden setups. You simply need a 24-inch grow bag, a sturdy discarded cement sack, or an old plastic drum with adequate drainage holes. Preparing nutrient-dense soil is central to vigorous vegetative growth. Blend 50 percent regular garden soil with an equal 50 percent portion of aged cow dung manure or vermicompost. To enrich the blend and shield roots from soil-borne pathogens, mix in a minor quantity of slaked lime powder, powdered mustard seed cake, and neem cake into the potting substrate.
Direct Soil Sowing Method
Once your growing medium is mixed and filled, select healthy, undamaged chickpea seeds, which may be sown either completely dry or lightly pre-soaked. Because the objective is harvesting dense, tender shoots rather than waiting for pod formation, scatter a generous quantity of seeds closely across the surface of the grow bag. Gently cover the spread seeds with a thin layer of fine soil so they stay sheltered. Moisten the setup carefully using a gardening watering can to avoid displacing the seeds, and relocate the container to an open area receiving direct sunlight. Seedlings begin emerging within 4 to 5 days. Water the container only when the top layer of soil turns dry to the touch. Your greens will reach harvest maturity within 20 to 25 days.
Accelerated Sprouting Method for Faster Harvesting
To cut down waiting time, an alternate pre-germination technique works remarkably well. Submerge raw chickpeas in fresh water for roughly 12 hours. Drain the soaking liquid completely, wrap the swollen seeds in a damp cotton cloth, and rest them in a warm spot for 12 to 15 hours until pronounced sprouts appear. Evenly scatter these pre-sprouted seeds across your prepared pot soil, then lay a sheet of newspaper or lightweight cloth over them to lock in darkness and humidity. Under this accelerated system, the greens develop with exceptional speed, allowing you to begin picking tender shoots in as little as 10 days, with complete harvest readiness at 15 days.
The Soil-Free Hydroponic Approach
You can also raise chickpea greens using a simplified hydroponic setup without employing any soil whatsoever, following a method popular in Thailand. Soak your chickpea seeds in water overnight to soften the outer coats. Line a shallow, perforated basket with clean tissue paper and spread the soaked grains evenly over the base. Place this basket over a bucket filled with clean water, adjusting the liquid level so the moisture touches the basket base without submerging the seeds entirely. Seeds sprout vigorously within 24 hours, and tender, crisp chickpea greens become ready for kitchen harvest in merely 10 days.