























Getting a perfectly symmetrical, sharp eyeliner look is one of the trickiest parts of a daily makeup routine, and it is exactly where most people, whether complete beginners or those who have been experimenting for a while, tend to get stuck. One eye often turns out thicker or more winged than the other, or a shaky hand ruins minutes of careful work in a single stroke. None of this means a clean, professional looking line is out of reach. With the right approach, the right tools and a bit of patience, a sharp, even eyeliner is something beginners can learn just as well as anyone who has been doing their own makeup for years.
Makeup experts point out that applying eyeliner is a skill, not a talent someone either has or does not have, and like any skill it improves steadily with practice. Whether the goal is a simple, clean line for everyday wear or a more dramatic winged look, a set of straightforward habits and a proper step-by-step method can make the entire process far less stressful.
Why the Right Tools Matter More Than the Product Alone
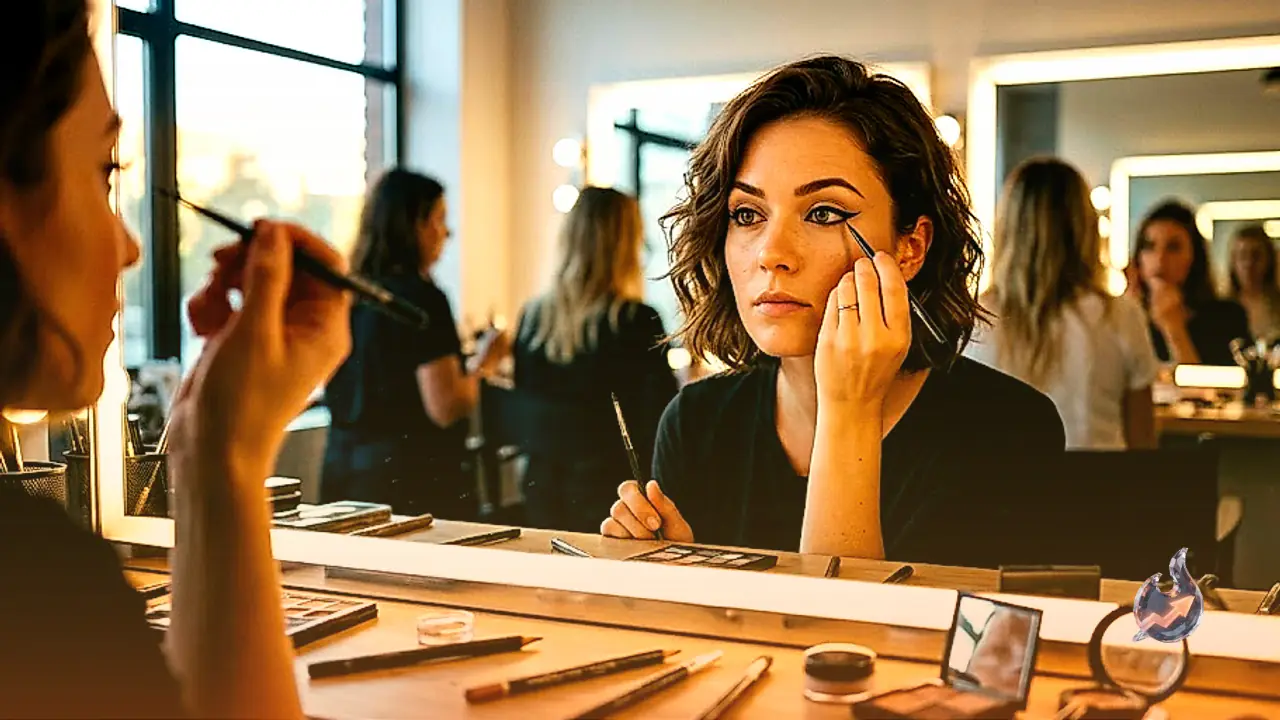
Most people assume that simply buying a good eyeliner is enough to guarantee a clean finish, but the tools used alongside it make just as much of a difference. Having the right brush, a stable mirror and a few basic clean-up essentials on hand turns eyeliner application from a frustrating guessing game into something far more manageable. A fixed, stand-up mirror works better than a handheld one because it leaves both hands free, which in turn keeps the hand steadier while the line is being drawn. Good lighting is just as important, since it lets small mistakes get noticed and fixed immediately, rather than only becoming obvious once the rest of the makeup is already done.
Start With a Pencil Before Moving to Liquid or Gel
Anyone applying eyeliner for the first time, or still building confidence with it, is better off starting with a pencil eyeliner rather than a liquid or gel formula. A pencil is far easier to control, and if something goes wrong, it can be corrected on the spot without undoing the whole look. Liquid and gel liners are better saved for later, once the hand has become steady enough through regular practice, since these formulas are far less forgiving of small slips.
A Thin Brush Can Make a Big Difference
For those who prefer working with a gel or cream based eyeliner, switching to a thin, fine tipped brush noticeably improves the result. A finer brush creates a cleaner, more precise line and makes it much easier to shape the winged tip exactly the way it is meant to look, instead of ending up too thick or uneven.
Keep Cotton Buds and Micellar Water Close By
Small slip ups are completely normal while still learning to apply eyeliner. Keeping cotton buds and micellar water within reach means any stray line or smudge can be cleaned up precisely, without having to redo the entire eye makeup from scratch.
A Step-by-Step Method for a Sharp, Even Line
The first step is to avoid drawing one long, continuous line and instead build it up using small strokes. The line should begin at the outer corner of the eye and gradually extend outward to the desired shape, and if the hand tends to shake, resting the elbow on a table while working can help keep it steady.
The next step is to create a light upward flick from the outer corner of the eye. It is important that the length and angle of this flick match closely on both eyes. Rather than finishing one eye completely before starting the other, each step should be done on both eyes together, since this makes it far easier to keep the two sides balanced and even.
After the flick is in place, the line should be slowly connected from the inner corner of the eye out to the wing that has already been created. At this stage the thickness of the line can be adjusted to personal preference, kept thin or made slightly bolder, but rushing through this step is usually what causes the final line to come out crooked.
Once the outline of the shape is complete, the next step is to fill in the space within it, making sure there is no visible gap left near the lash line. After filling it in, both eyes should be compared carefully for thickness and overall shape before moving on to the final step.
The last step is to avoid blinking immediately after applying liquid eyeliner, letting it sit for a few seconds to dry properly instead. If a pencil eyeliner has been used, a matching shade of eyeshadow can be pressed lightly over it to help set the line in place. A setting spray applied at the very end can also help the eyeliner last much longer through the day.
The Mistake Almost Everyone Makes
The single most common mistake while applying eyeliner is rushing through the process. A large number of people complete the entire line on one eye first and only then move on to the other, and this is exactly what causes the two eyes to end up with a different shape or thickness. Repeatedly going back over a line to make it thicker is another habit that tends to spoil the final look. Staying patient throughout, and working through each step on both eyes side by side rather than one eye at a time, helps avoid both of these common problems.
Daily Practice Is What Eventually Makes It Effortless
Every person's eye shape is a little different, so there is no reason to expect a single style to look exactly the same on everyone, and choosing a look that actually suits one's own face and eyes matters far more than copying someone else's style exactly. It helps to begin with a simple, basic line, and only move on to winged, cat eye or coloured eyeliner looks once the hand feels genuinely steady with the basics. With consistent daily practice, what once felt like a stressful, time consuming task can turn into an easy, everyday habit within just a matter of days.