























The mere mention of street-style panipuri is enough to evoke craving among food lovers. Looking at the thin, perfectly round, and balloon-like puffed puris displayed at street stalls, many assume that recreating such crisp perfection at home is nearly impossible. Home cooks frequently encounter frustration when their dough rounds either flatten out inside the hot oil or turn soft and soggy within minutes of frying. However, achieving authentic street-style results is not a matter of luck, but rather a science that relies on mastering the preparation of dough, rolling techniques, and frying temperatures. By following five straightforward culinary principles, you can produce golden, extra-crispy golgappas that hold spicy water effortlessly without breaking.
Maintaining Rigid Dough Consistency and Allowing Crucial Resting Time
The absolute foundation of a crispy golgappa puri lies in how the dough is kneaded. When mixing semolina and refined wheat flour, never commit the common mistake of pouring water all at once. Instead, sprinkle water very gradually into the mixture while working it into a tight, firm dough. If the dough absorbs excess water and becomes soft, the rolled rounds will turn out thick and refuse to puff up evenly inside the frying pan. Once the stiff dough comes together, cover it tightly with a damp cloth or container lid and let it rest undisturbed for 15 to 20 minutes. This resting phase is non-negotiable because it allows the semolina grains to hydrate properly and relaxes the structure for easier shaping.
Vigorous Palm Kneading for a Smooth and Crack-Free Texture
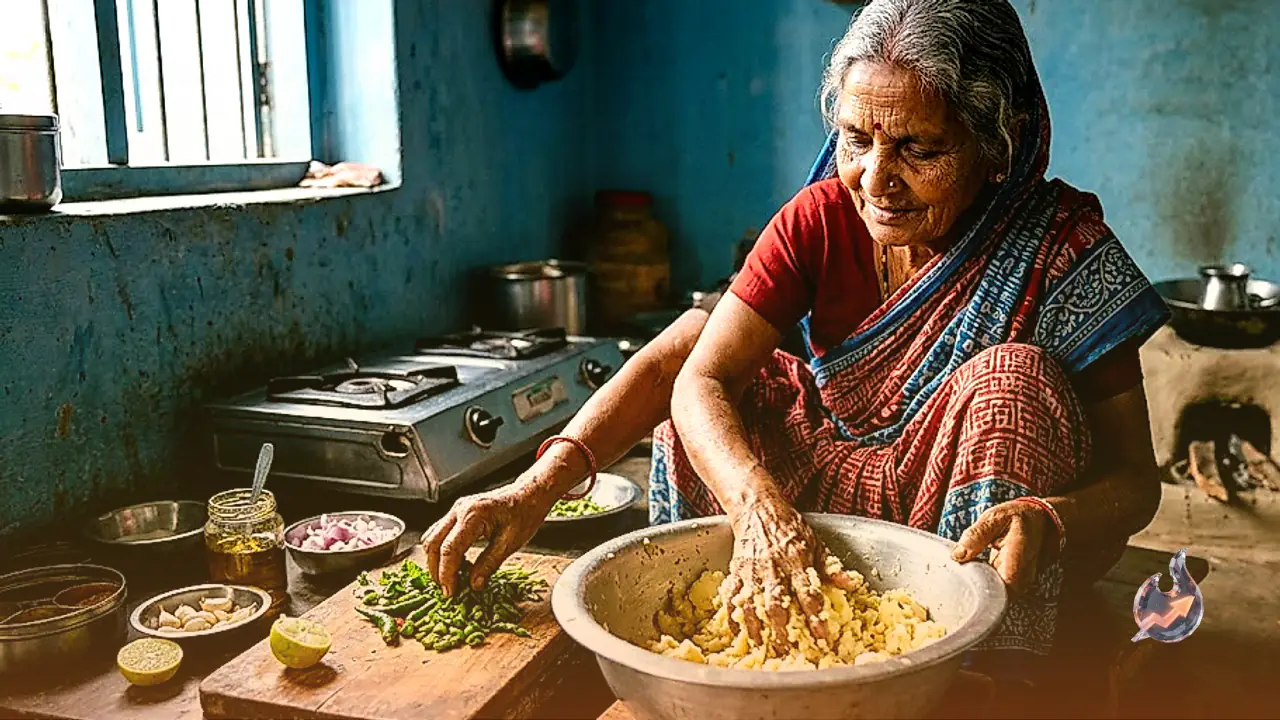
Simply bringing the ingredients together into a ball is insufficient for achieving balloon-like inflation. After the mandatory 15 to 20 minute resting period, the dough requires several minutes of intensive kneading using the heel of your palm. Pressing and stretching the dough repeatedly breaks down lumpiness and creates a smooth, elastic consistency. This mechanical rubbing ensures that the dough is completely uniform throughout. When rolled, smooth dough develops zero micro-cracks along its edges. As a result, trapped moisture turns into steam instantly upon hitting hot oil, forcing the puri to swell into a perfect hollow sphere.
Precision Rolling for Uniform Thickness and Perfect Round Shape
Achieving the precise thickness while rolling requires careful attention. If a puri is rolled too thick, the inner layer will remain doughy and raw, causing the shell to collapse into softness after cooling. Conversely, if the dough is rolled paper-thin, it will harden and scorch instantly in the oil before having a chance to expand. Strive for an even, balanced thickness across every single round. To guarantee that every puri maintains an identical diameter and uniform weight, use a round cutter or a small tight-fitting jar lid to stamp out individual circles from a larger rolled sheet of dough.
Controlling Frying Temperature and Masterful Spatula Technique
Oil temperature plays a pivotal role in determining whether a puri inflates or sinks. If the oil is insufficiently heated, the dough will absorb excess oil and flatten out at the bottom of the vessel. On the other hand, excessively smoking oil will immediately scorch the outer layer, hardening the crust before steam can expand the interior. Heat the oil thoroughly to a high temperature before lowering the rolled dough inside. Gently press down on the floating puri with a slotted spoon or spatula. The moment the puri swells up like a balloon, flip it over immediately and fry both sides until they turn golden brown and delightfully crunchy.
Preventing Surface Dryness and Safe Airtight Storage Practices
Rolling out an entire batch of puris and leaving them exposed to open air for extended periods is a frequent misstep. Ambient air dries out the dough surface, preventing the edges from sealing tightly and causing the puris to burst open during frying. To avoid this issue, roll small quantities of dough at a time and transfer them straight into the hot oil. Once fried, transfer the golden puris onto paper towels and allow them to cool completely at room temperature. Storing warm puris inside a container traps steam, causing them to lose crispness. Place them inside an airtight container only after they have cooled down entirely.
Overcoming Initial Imperfections and Adjusting Future Batches
If your initial attempt yields a few flat or less crispy puris, there is no need to lose heart. Perfecting the balance between frying temperature and dough thickness often takes a brief trial phase. Use the outcome of your first batch as feedback to adjust the stove heat or modify your rolling thickness for the next set. By maintaining patience and adhering closely to these five fundamental steps, you will quickly master the art of making fresh, hygienic, and restaurant-quality panipuris right in your home kitchen.