






















Bathua Raita Recipe: Enjoying a warm bowl of raita alongside hot parathas, aloo sabzi, or fragrant pulao instantly elevates the joy of any meal. Bathua is a wonderful seasonal option during the winter months, and while its leaves are commonly used to make saag and stuffed parathas, its flavor blends remarkably well with yogurt. Preparing bathua raita does not require a lengthy list of ingredients, as it can be easily made using fresh bathua, yogurt, and a few everyday spices kept in the kitchen. However, to maintain a delicious taste, one must pay close attention to cleaning the leaves properly, the boiling time, and achieving the right texture of the yogurt. The most important rule to remember is that the boiled bathua must be completely cooled down and its excess water squeezed out thoroughly before mixing it into the yogurt.
This careful step makes it much easier to keep the raita at your preferred consistency without making it watery. Roasted cumin powder enhances its inviting aroma, while black salt imparts a mild, tangy flavor to the dish. If you want to serve something special and different in your daily household meals, trying out this straightforward recipe is a great idea.
Essential Ingredients Needed for the Raita
To begin making this recipe, take about two cups of cleaned bathua leaves along with two cups of fresh yogurt. For the spices, keep half a teaspoon of roasted cumin powder, a quarter teaspoon of black salt, and a quarter teaspoon of red chilli powder ready on hand. Add regular salt according to your personal taste preference. If you enjoy a mild hint of spice, you can also chop up some green chillies finely. Keep some fresh coriander leaves aside for final garnishing. Since black salt also contains a considerable amount of saltiness, it is wise to start with a smaller quantity of regular salt and increase it only after tasting the prepared raita.
Pay Attention to the Leaves While Selecting Bathua
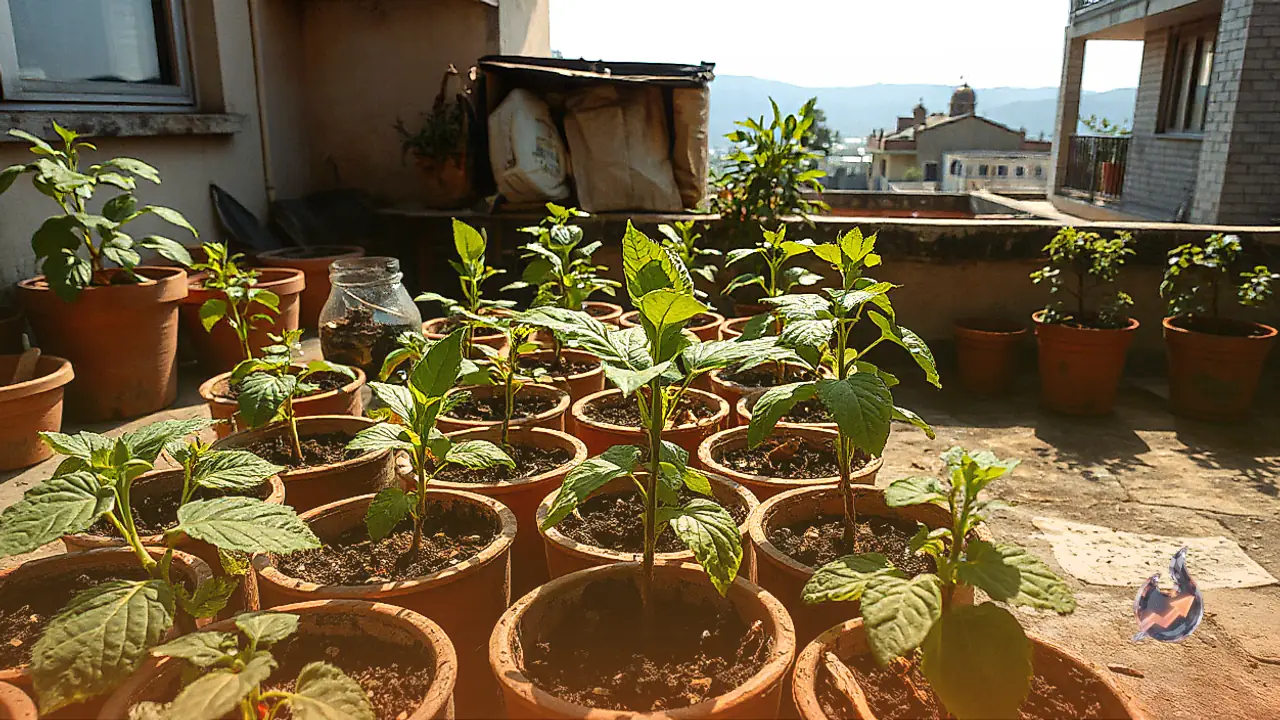
Always choose fresh and tender leaves when preparing ingredients for this raita. Separate and discard any yellow, damaged, or decaying leaves immediately. Thick and tough stems should also be removed because their pieces do not taste pleasant when chewing the raita. However, tender stems can be left along with the leaves. If the bathua bought from the market contains any other grass or unwanted leaves mixed into it, sort them out carefully. This preparatory step takes a little bit of time, but thoroughly cleaned and properly picked leaves ensure a much better texture for the final dish.
Wash the Leaves Thoroughly by Changing Water
Fill a deep vessel with clean water and submerge the bathua leaves in it, swirling them around gently with your hands. Within a short while, any dirt will settle down at the bottom of the vessel. Now, lift the leaves from the top and transfer them into another container while discarding the dirty water. Repeat this process of changing the water and washing the leaves two to three times until they are completely clean. If necessary, wash them once more. Avoid pouring the leaves directly through a strainer along with that dirty water, as the settled sediment will stick right back onto them. After washing, place them in a strainer to drain out all the excess water.
If you have any personal confusion or queries related to health, relationships, lifestyle, or spiritual astrology, feel free to reach out to us on WhatsApp. We will provide you with the information while keeping your name completely confidential.
Boiling Process and Cooking Time
Heat water in a separate cooking pot and add the washed bathua leaves to it. Cook the leaves until they become soft and tender, which typically takes about five to seven minutes, though the exact duration may vary slightly depending on the tenderness and quantity of the leaves. Check the texture by pressing a leaf midway through the process. Do not continue boiling the bathua for longer than necessary. Once softened, remove the leaves using a strainer and allow them to cool down completely. Never attempt to squeeze water out of hot leaves using your hands.
Remove Excess Water Before Mixing in Yogurt
Once the boiled bathua has cooled down completely, use your clean hands or a strainer to gently press it and extract all the remaining water. This small step is the secret trick that prevents your raita from turning out overly watery. Following this, chop the bathua finely or pulse it lightly in a mixer to create a coarse texture. There should be no need to add any extra water while running the mixer. Instead of making a completely smooth paste, maintain a slightly textured consistency. However, if anyone in your family dislikes finding leaf pieces in their food, you can chop it as finely as you prefer.
Take fresh yogurt in a bowl and whisk it thoroughly using a whisk or a spoon until completely smooth. Ensuring there are no lumps in the yogurt will help the bathua and spices blend in smoothly. Excessively sour yogurt can make the raita taste too sharp, so choose your yogurt according to personal preference. If the yogurt is very thick, add only a small splash of drinkable chilled water at the beginning. Reassess the consistency of the raita after adding the bathua, as adding too much water beforehand makes it very difficult to thicken later.
Blend Spices, Taste, and Adjust Flavors
Add the prepared and cooled bathua into the whisked yogurt. Now, incorporate the roasted cumin powder, black salt, and red chilli powder. If you decide to add green chillies, chop them extremely fine so that no one encounters a large piece in a single spoonful. Mix all the ingredients together gently using a light hand and taste the raita. Only after tasting should you adjust the amount of regular salt. If you are preparing this for young children or people who prefer mild food, you can entirely skip the green chillies and keep the red chilli powder to a minimum. Never add so many spices that the natural flavor of bathua and yogurt gets completely overshadowed.
Enhance the Aroma with Roasted Cumin
If you do not have roasted cumin powder ready at home, simply place whole cumin seeds on a clean flat pan and roast them gently over low heat. Once they start releasing a rich aroma, turn off the heat and let the seeds cool down completely. Crush or grind them coarsely before using in the recipe. Ensure that the cumin seeds do not burn during roasting, or else they will impart a bitter taste to the raita. Mix a portion of this freshly prepared cumin into the raita and keep some aside to sprinkle on top just before serving. Clean and finely chop fresh coriander leaves to add during presentation.
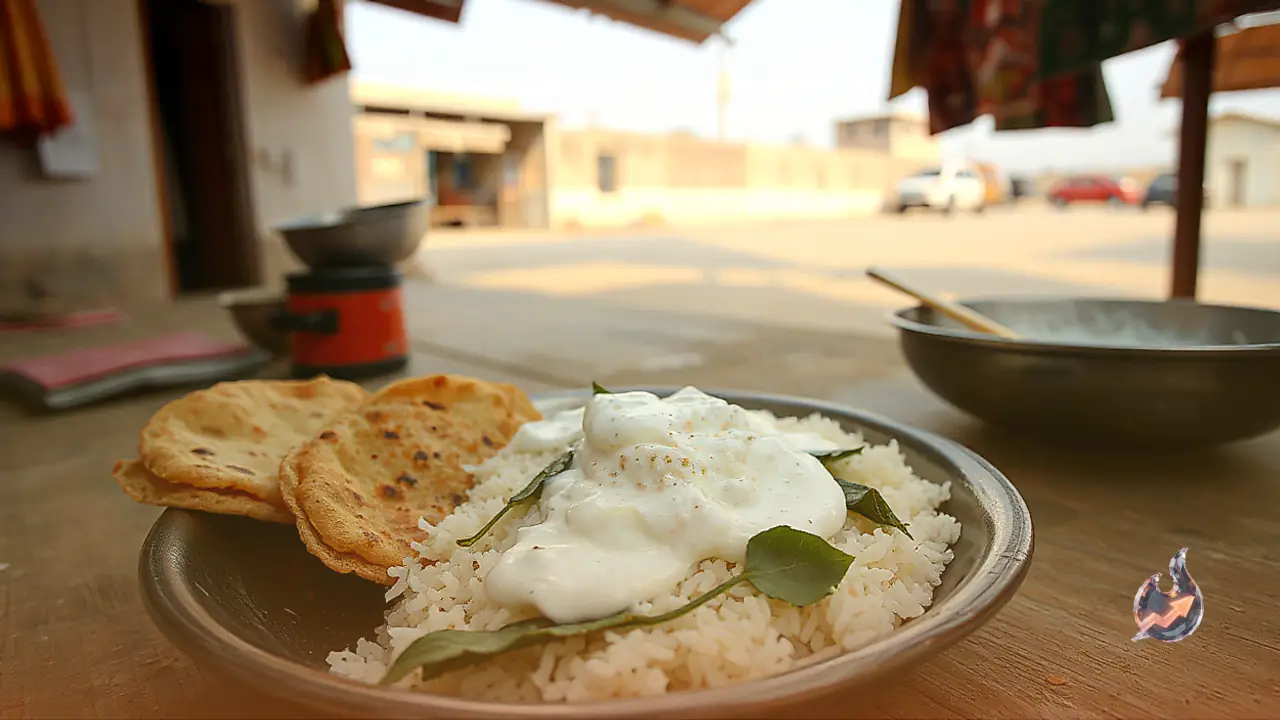
Cover the raita and place it inside the refrigerator for about 15 to 20 minutes to chill. Give it a gentle stir just before serving and garnish the top with a pinch of roasted cumin powder and freshly chopped coriander leaves. You can serve this flavorful raita alongside stuffed aloo or gobi parathas, pea pulao, traditional tahri, and dal-chawal. The total time required to prepare this raita will primarily depend on sorting, boiling, and cooling the leaves, so keep your ingredients measured and ready beforehand if you are short on time.