





















Setting up plants in household pots can feel like a straightforward and rewarding task, but after some time, if the soil begins to harden, leaves look weak, or new growth slows down, it becomes a cause for concern. Under such circumstances, purchasing expensive commercial fertilizers or chemical plant foods every single time is completely unnecessary. Jeevamrit, made from a few readily available household items, can assist greatly in plant care. It is specifically utilized in natural farming to improve soil quality and enhance the activity of beneficial microorganisms.
Before applying it to potted plants, understanding the correct proportion and application method is essential. Preparing it incorrectly or administering excessive amounts of Jeevamrit can harm plants rather than benefit them. Therefore, knowing the simple preparation method and proper usage is important.
What Is Jeevamrit and Why Is It Used for Plants?
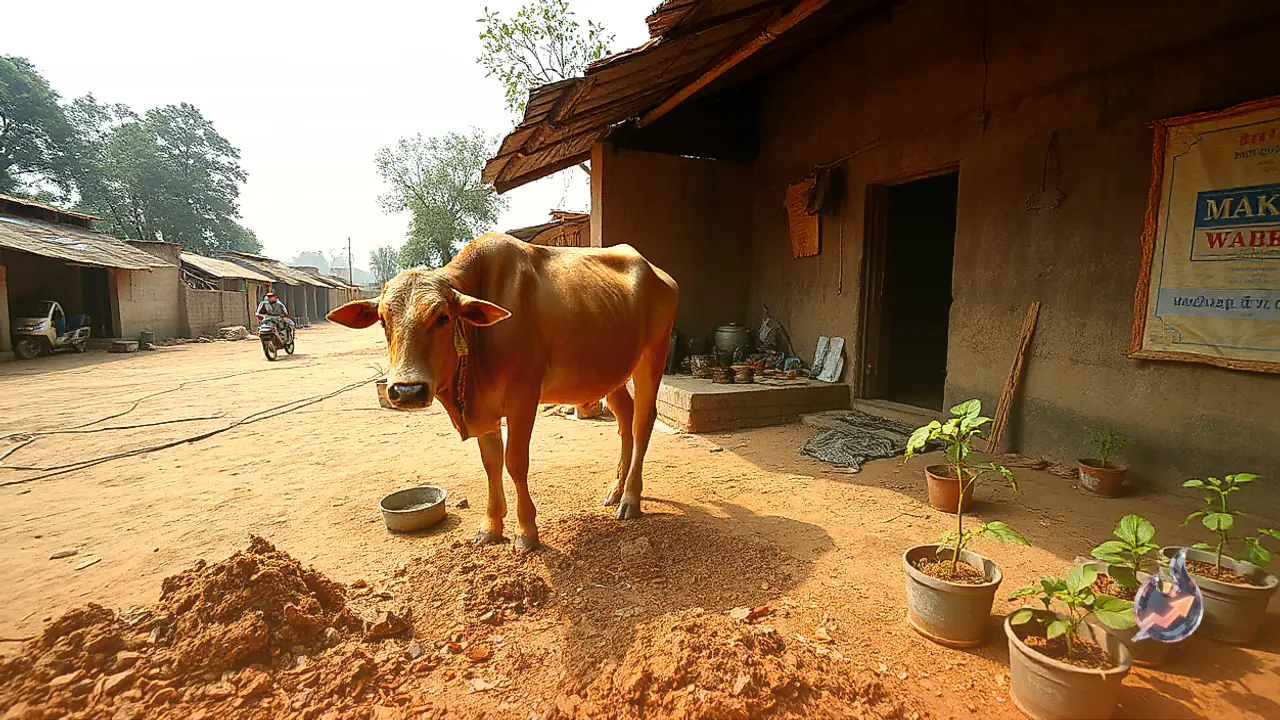
Jeevamrit is an organic liquid solution typically prepared by combining ingredients such as cow dung, cow urine, jaggery, besan, and a small amount of soil from beneath a tree. In natural farming, it is used to boost microbial activity within the soil. The primary goal is not merely to feed the plant directly, but to improve the biological environment of the soil itself. Potted soil can become compacted when kept in the same container for a long period. Using organic materials correctly helps maintain soil structure and supports natural biological processes. However, Jeevamrit is not a miraculous tonic for plants. Adequate sunlight, water, proper soil, and drainage are equally vital for healthy plant growth.
Materials Needed to Make Jeevamrit for Pots
To prepare about 10 liters of Jeevamrit at home, you can use 10 liters of water, approximately 500 grams of cow dung, 500 milliliters of cow urine, 100 grams of jaggery, 100 grams of besan, and a small quantity of soil collected from beneath a tree. The purpose of adding soil is to introduce natural microorganisms present in it into the mixture.
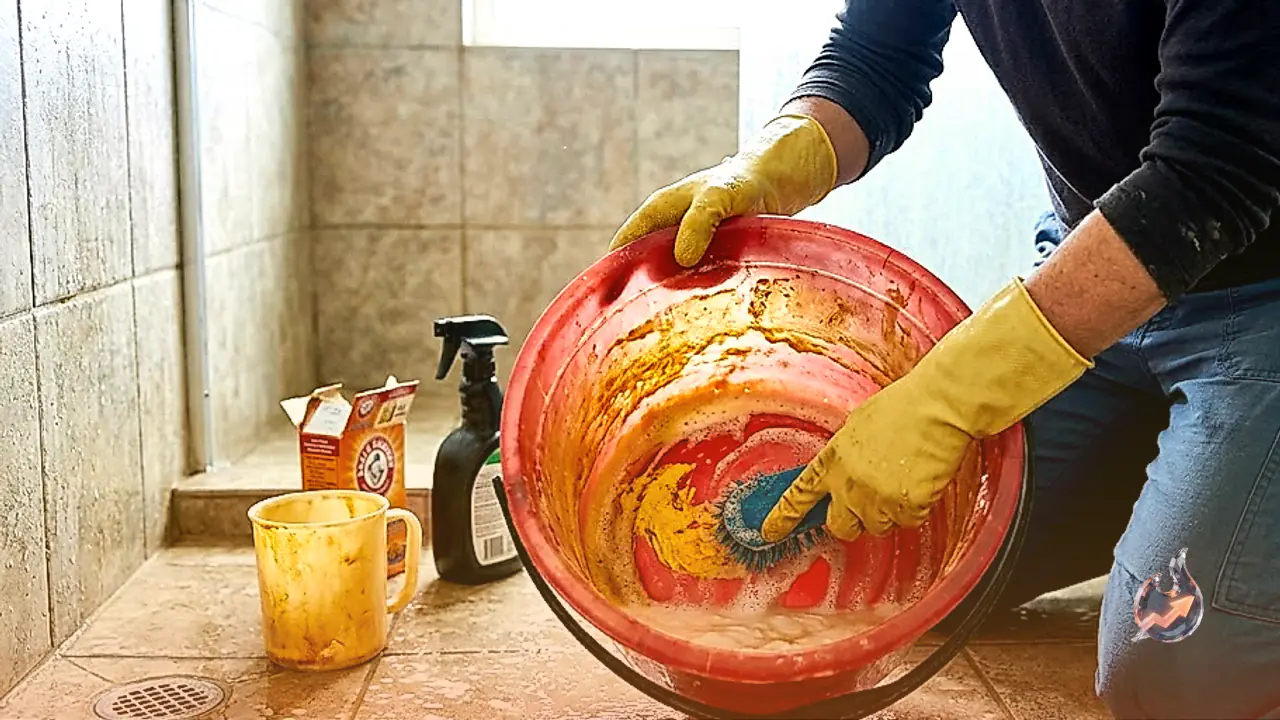
First, take 10 liters of water in a clean bucket. Add cow dung, cow urine, jaggery, besan, and a little soil to it, blending everything thoroughly. Stir the mixture for a while using a wooden stick. Instead of sealing the bucket completely, cover it with a piece of cloth and place it in a shaded area. It can be stirred once daily using a clean wooden stick. Generally, the mixture gets ready within a few days. The time required may vary depending on the weather and ambient temperature. If the prepared solution shows a strong putrid smell, unusual mold, or any suspicious changes, it is best to avoid applying it to plants.
The Right Way to Apply Jeevamrit in Pots
Avoid pouring concentrated Jeevamrit directly into small pots. It is much better to dilute it with water before use. Typically, 1 part of Jeevamrit can be mixed with about 10 parts of water and applied to the soil. If you are using it for the first time, starting with a smaller amount is a wise approach. Applying it around the soil rather than directly on the stem of the plant is preferable. Pouring excessive solution into a very small pot can keep the soil wet for too long. Therefore, determine the quantity based on the plant requirement, pot size, and soil moisture. Maintaining adequate intervals between repeated applications is also necessary.
Which Plants Can It Be Used On?
Jeevamrit can be used on vegetables, flowers, fruit-bearing plants, and various ornamental plants. It can also be applied in diluted form to the soil of plants like Tulsi. Meanwhile, caution is necessary with cacti and other succulents, as they dislike excessive moisture. Also, keep in mind that poor plant condition is not always caused solely by nutrient deficiency. Overwatering, insufficient light, poor drainage, or pest attacks can also halt growth. Hence, observing the specific problem before choosing a remedy is always best.
What Benefits Can Be Gained from Jeevamrit?
When used correctly, Jeevamrit can help enhance biological activity within the soil. Organic substances also assist in maintaining overall soil quality over time. This helps create a better environment surrounding the roots of the plants.