























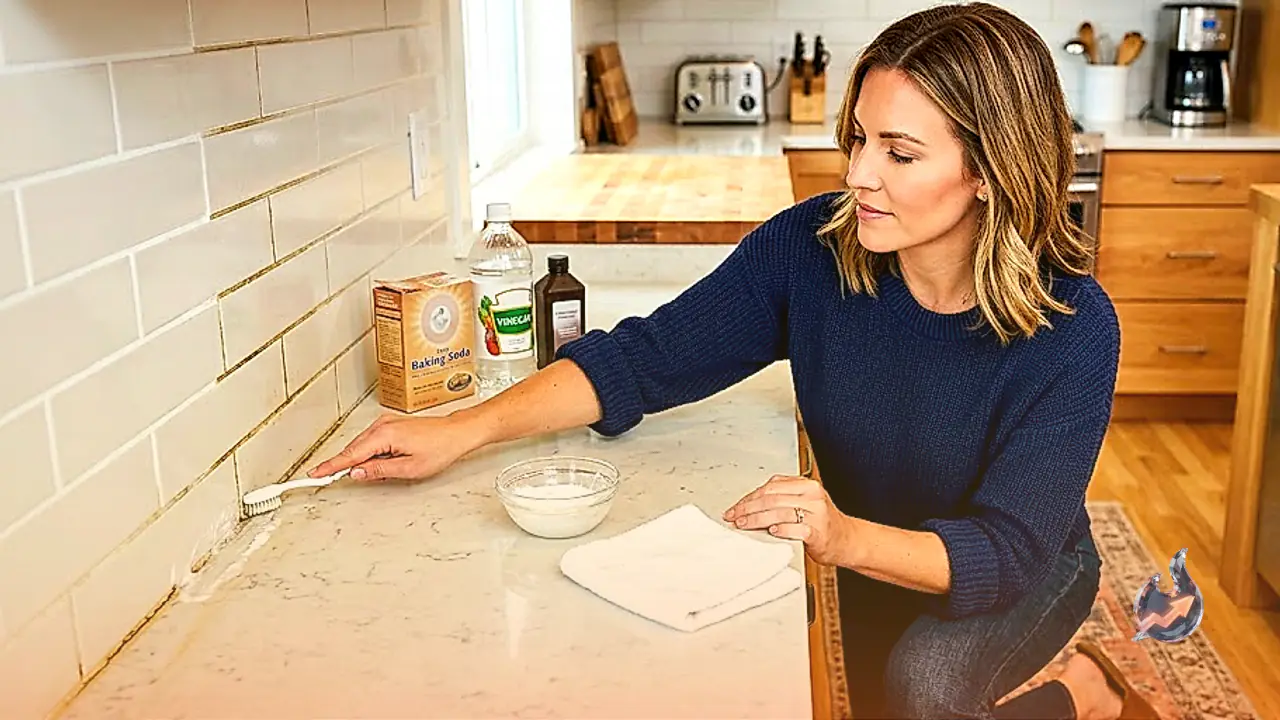

No matter how thoroughly floors and walls are scrubbed, if the grout lines nestled between tiles turn dark, yellowish, or dull, the entire space immediately looks unkempt. Despite daily sweeping and mopping, this stubborn grime refuses to go away easily because of the rough and porous nature of grout, which easily traps dust, soap scum, oils, and lingering moisture.
Relying on harsh chemical cleaners every single time is neither necessary nor ideal. Common household items can effectively tackle light and general buildup without damaging the surrounding material. However, before applying any method widely, testing it on a small, inconspicuous patch of grout is always recommended since different tile installations react uniquely. Here are seven practical techniques that can be used based on individual cleaning needs.
Baking Soda and Water Paste
When everyday dirt and dust accumulate on the grout, starting with baking soda is the most straightforward approach. A thick paste is created by mixing baking soda with a small amount of water. This mixture is then applied directly to the grout lines using an old toothbrush or a small cleaning brush. After letting it sit for roughly 10 to 15 minutes, the area is gently scrubbed and rinsed thoroughly with clean water. This method works exceptionally well for grime that has settled over time but is not deeply embedded.
Baking Soda and White Vinegar
If the discolored grout also shows stubborn stains alongside ordinary dirt, combining baking soda with white vinegar yields strong results. Baking soda is first sprinkled over the grout lines, followed by a small amount of white vinegar. The moment the two substances interact, a noticeable fizzing reaction occurs. Waiting a few minutes allows the solution to work before scrubbing with a brush and rinsing thoroughly with water. Vinegar is not suitable for every type of tile surface, so preliminary testing on a small section remains crucial.
Baking Soda and Hydrogen Peroxide
For grout lines that appear severely yellowed or brownish, a mixture of baking soda and hydrogen peroxide provides a powerful cleaning action. A paste is formed by combining roughly two parts of baking soda with one part hydrogen peroxide. This mixture is spread in a thin layer across the grout and left undisturbed for 15 to 20 minutes. Afterward, the area is scrubbed with a brush and washed down with water. Instead of storing this mixture for future use, preparing it fresh right before application is always advised.
Lemon Juice and Baking Soda
When hard water leaves behind white powdery scales or mineral deposits on the grout, pairing lemon juice with baking soda is an effective option. Fresh lemon juice is mixed into baking soda to form a workable paste. This is applied to the affected zones and scrubbed with a brush after a few minutes. The natural citrus aroma also leaves the cleaned space feeling remarkably fresh. As with vinegar, natural stone surfaces require extra caution before coming into contact with acidic agents.
Dish Soap and Warm Water
Kitchen grout lines rarely encounter the soap scum and humidity typical of bathrooms, but they frequently accumulate cooking oils and tiny food particles. Under such conditions, mild dish soap combined with warm water serves as a convenient alternative. Dish soap is stirred into warm water, and the grout is scrubbed using a cloth or brush. After five minutes, going over the lines once more with a brush followed by a plain water wipe completes the process. This routine easily maintains kitchen floors and backsplashes.
Deep Cleaning with a Steam Cleaner
Individuals who prefer avoiding chemical cleaning agents altogether can turn to a steam cleaner as a viable substitute. The high-temperature steam helps loosen deeply trapped dirt, oils, and stubborn deposits lodged inside the grout pores. Immediately after steaming, the loosened residue must be wiped away using a clean cloth or brush. Because not all tile and grout materials withstand high heat equally well, operating the machine strictly according to the manufacturer guidelines is essential.
Hydrogen Peroxide for Mold and Mildew
When grout lines around showers or bathtubs turn blackened due to persistent dampness, the issue goes beyond routine household dust. Hydrogen peroxide is deployed specifically to combat mold and mildew in these damp zones. It is applied directly to the affected grout, left to dwell for a short period, and then thoroughly scrubbed and rinsed away with water. Adequate room ventilation must be maintained during this process, and mixing hydrogen peroxide with other cleaning chemicals should be strictly avoided.
Preventing Future Grout Buildup
Merely completing a single cleaning session is never enough to keep grout pristine permanently. In bathrooms, cultivating the habit of wiping away standing floor water after every shower makes a massive difference. In kitchens, cleaning up oil spills or fallen food particles immediately prevents stubborn stains. Performing a light cleaning session on grout lines once a week drastically reduces thick grime accumulation. If the grout is exceptionally old, cracked, or continuously darkening, simple home remedies will no longer suffice, necessitating professional cleaning or complete regrouting.