





















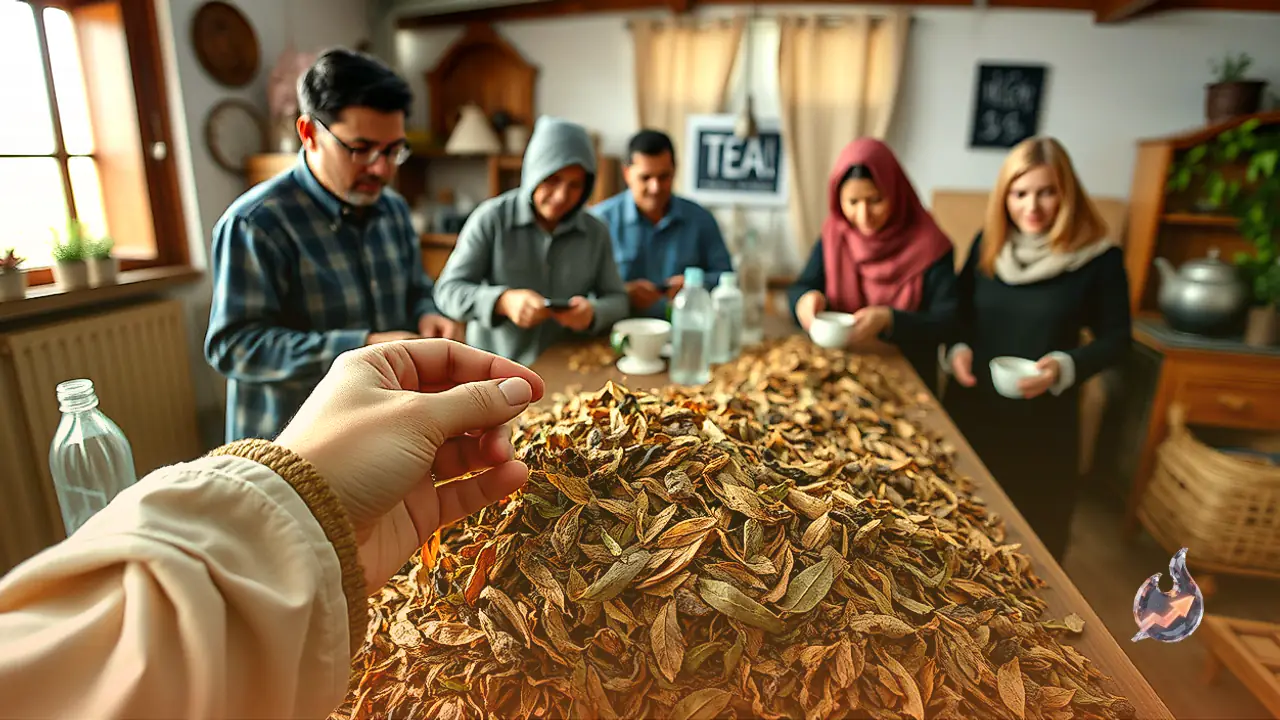

In households where fresh tea is brewed several times a day, straining out the steeped leaves is a constant ritual that almost always ends right at the trash bin. Over the course of just a few days, a substantial amount of used tea waste accumulates in the kitchen. While most people view these remnants as mere organic garbage, a bit of creative thinking can transform the spent leaves into striking and earthy decorative pieces for living spaces. The biggest advantage of this upcycling approach is that it requires no expensive art supplies or professional crafting tools. When properly washed and thoroughly dried, discarded tea leaves offer an appealing texture and a rich, natural brown hue that produces a classic rustic aesthetic.
The deep, warm tone of dried tea flakes provides an understated, vintage charm that fits well with handmade home accents. For anyone who enjoys breathing new life into old household items, this simple upcycling technique offers an accessible, zero-waste alternative to store-bought decorations.
How to Clean and Prepare Used Tea Leaves Before Crafting
Before using steeped tea leaves in any craft project, careful preparation is essential to ensure long-term durability. During the brewing process, tea leaves absorb milk fat, residual sugar, and aromatic spices such as ginger or cardamom. If these organic food traces remain on the leaves, they will eventually spoil, attract pests, produce unpleasant odors, or develop mold. To prevent this, collect the wet tea leaves directly in a fine-mesh strainer and rinse them thoroughly under cold running water until all traces of milk and sweetness are completely washed away.
Once thoroughly rinsed, press out any excess water using a spoon or clean cloth. Spread the damp leaves in a very thin, even layer across a clean tray or plate. Allow the batch to dry completely either under direct sunlight or in a well-ventilated indoor space. Every single granule must be completely bone-dry and crisp before use. Any lingering moisture will inevitably cause mildew and decay inside the finished craft item, ruining the effort. Taking the extra time to ensure total dryness during this initial preparation step is crucial for success.
Crafting Textured Rustic Wall Art Using Dried Tea Granules
Completely dried tea leaves can be applied to pieces of repurposed cardboard, heavy paper, or small canvas boards to create tactile wall decor. Begin by sketching a straightforward outline on your chosen surface using a pencil. Simple, organic motifs work best, such as tree silhouettes, botanical leaves, floral outlines, or minimalist geometric figures.
After drawing the outline, apply an even coat of standard craft glue exclusively over the sections where you want to build texture. Carefully sprinkle the dry tea leaves over the wet glue while working steadily across the design. Press down gently with your fingertips to anchor the tea flakes into the adhesive. Allow the adhesive to cure fully before lifting the board and gently shaking off any loose particles that did not bond. The organic brown shades of the tea provide an authentic earthy look right away. If a different visual effect is desired, dried tea granules can also be lightly tinted with ordinary acrylic craft paints, though testing a tiny portion beforehand is recommended to check how the flakes hold color.
Giving Worn Photo Frames a Warm Makeover
Scratched, faded, or dated picture frames that might otherwise be discarded can easily be revived using this technique. Apply a thin, uniform layer of craft glue along the outer border of the frame, then press the dry tea leaves firmly across the surface until the original border material is completely concealed.
To introduce additional variety, the textured tea surface can be accented with pressed dried blossoms, tiny seeds, or thin jute cords. Once dry, the updated frame can house family photographs, small sketches, or inspirational quotes. This approach completely refreshes an old item without requiring a replacement purchase, turning an ordinary frame into a warm, handcrafted focal point.
Designing Decorative Display Pots from Recycled Containers
Empty plastic jars or sturdy cardboard containers from everyday groceries can easily be repurposed into decorative rustic pots. Start by cleaning the outer surface of the container so that it is free of grease and dust. Brush craft glue all over the exterior walls and press the dry tea leaves evenly into place until full coverage is achieved.
After the glue has dried completely, apply a light coat of clear varnish or a suitable craft sealant over the tea layer. The sealant provides a protective barrier, preventing the granules from flaking off when handled. It is important to note that these handcrafted containers are best reserved for artificial plants, dried botanical arrangements, or desktop storage such as pencil holders, as regular soil watering would compromise the paper or glue base.
If you prefer colored variations, tint the tea leaves only after they have dried entirely. Mixing differently tinted batches allows for interesting decorative gradients. Above all, never attempt to use wet, unwashed, or sugary tea leaves directly in any project, as cleanliness and total dryness remain the foundation of durable craftwork.
Turning Kitchen Waste into Sustainable Creativity
The core appeal of this DIY approach lies in using everyday items already present in the home. Combining spent tea leaves with scrap cardboard, discarded plastic packaging, or old wooden borders gives common trash a purposeful second life. With minimal effort and patience, these handmade rustic accents can bring natural character to a study desk, a balcony nook, or a living room display shelf.