






















Heading out of town for a 10 to 15 day trip often leaves plant parents worried about the survival of their kitchen garden and container greens. Without regular moisture, potted vegetation can quickly wither under changing weather conditions. Fortunately, an ordinary discarded plastic bottle can be repurposed into an effective, slow-release watering system directly at home. This simple setup steadily delivers moisture to the root zone throughout your absence, keeping plants healthy without requiring expensive automated gadgets.
Preparing the Bottle for Slow Discharge
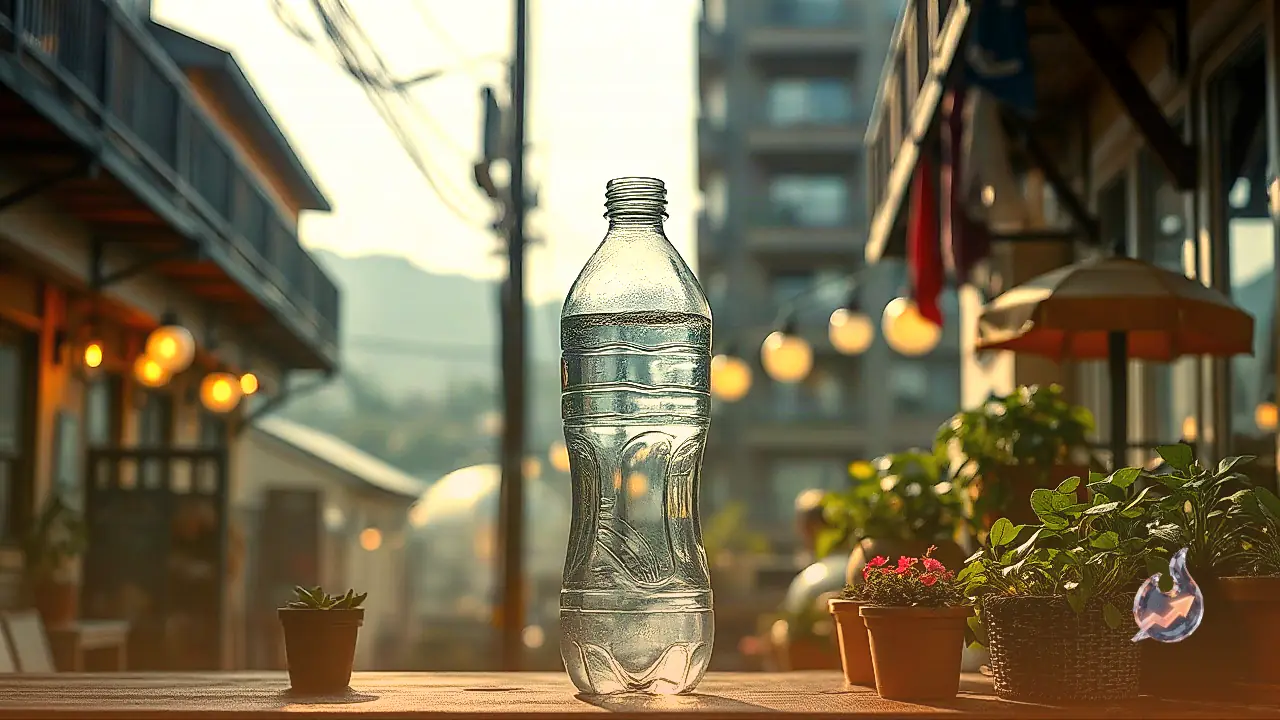
To set up this hydration method, start by selecting an empty plastic bottle and washing it thoroughly to remove any lingering residue. Once cleaned, take the cap and puncture one or two tiny pinholes through its surface. Keeping these perforations very small is essential, as oversized holes will cause all the liquid to drain away too quickly rather than sustaining the soil over days. Depending on the size of the container and how much moisture the plant consumes, you can pick an appropriately sized bottle.
Positioning the Bottle Firmly in Soil
After preparing the cap, fill the bottle completely with fresh water and screw the lid on tightly to avoid sudden leaks. Next, inspect the container soil and dig a small depression slightly away from the main roots of the plant to prevent any structural damage. Invert the filled bottle and firmly insert the cap end straight down into the soil. Pack the surrounding earth securely around the neck and base so the bottle remains upright and does not tip over as the water level drops.
Continuous Seepage and Advance Testing
Because the cap rests beneath the soil surface, water does not rush out all at once but slowly trickles through the tiny holes into the surrounding dirt. This consistent seepage ensures that the root network receives a steady supply of moisture without becoming waterlogged. The actual discharge rate depends on hole diameter, soil texture, and ambient temperatures, making it important to run a trial run for a day or two before your departure to observe the flow and make necessary adjustments.
A Sustainable Care Solution for Kitchen Gardens
Beyond preserving plant life during travels, this clever practice offers an eco-friendly way to reuse discarded household plastics. It is particularly well suited for compact pots, indoor greens, and small kitchen garden herbs that dry out faster than ground beds. By tuning the volume of water and the precision of the perforations to match each plant species, you can travel with complete peace of mind knowing your garden will stay vibrant until you return.