























Old, damaged, or discarded plastic buckets often end up gathering dust in household corners or being tossed into the trash. However, with a dash of creativity and a few basic supplies, these neglected items can be transformed into stunning decorative planters for balconies, patios, and garden spaces. This clever crafting project eliminates the need to spend on expensive store-bought ceramic or designer pots. By combining cement, fine sand, and thick rope, any ordinary plastic container can be reshaped into an artisanal home decor piece.
The Appeal of the Rope-Formed Ring Pattern
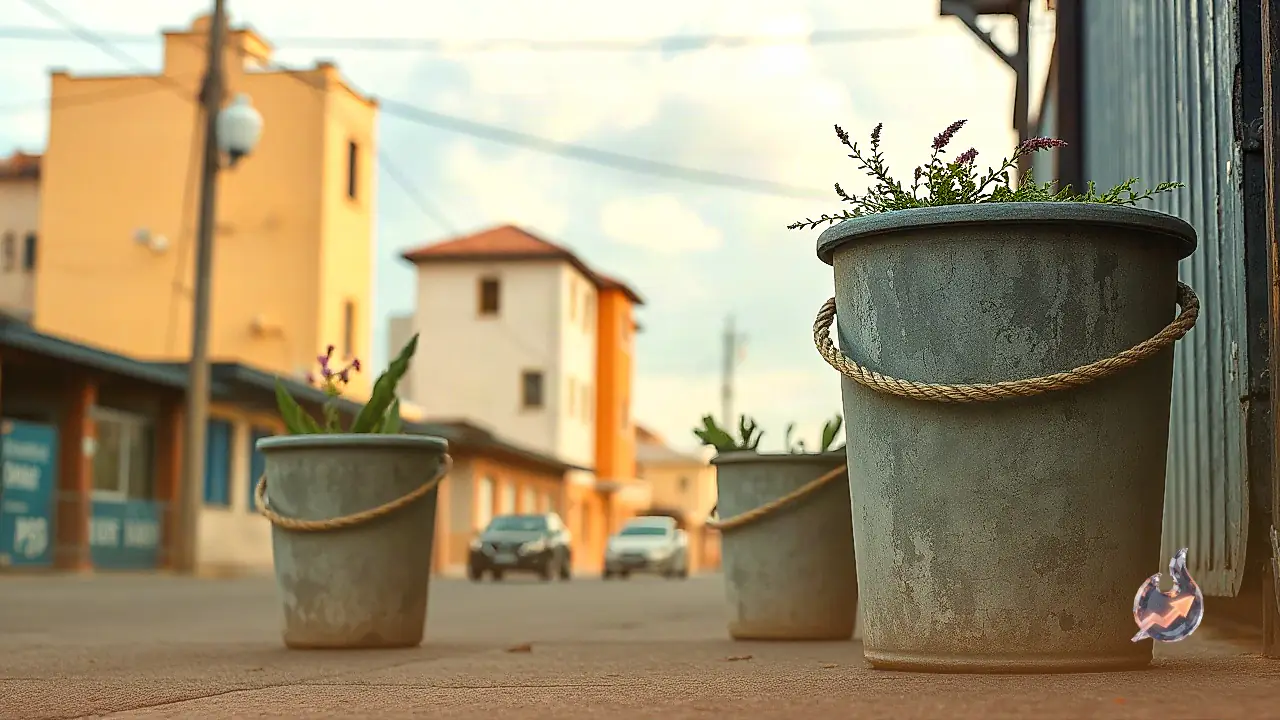
The standout feature of this handcrafted planter is the distinct ribbed texture lining its exterior. Winding thick rope around the bucket at calculated intervals creates deep, circular indentations when coated in concrete. Once cured and finished, these raised concentric rings closely resemble upscale molded pottery found in boutique nurseries. For homeowners and hobbyists who appreciate handmade aesthetic enhancements, this technique provides an accessible, cost-effective way to produce high-end decorative planters.
Required Materials and Safety Equipment
Most supplies required for this project can be sourced readily around the home. The primary mold consists of an old plastic bucket. A length of thick jute or cotton cord is used to build the ring profile, accompanied by standard construction cement, fine sieved sand, and clean water. A secondary, smaller plastic bucket or round container is necessary to cast the interior cavity. In addition, petroleum jelly or lubricating oil ensures clean mold separation without sticking. Duct tape or masking tape secures the rope winding, sandpaper smooths uneven surfaces, and a plastic drinking straw or cut pipe segment creates drainage channels at the base. An old mixing basin holds the mortar. Heavy-duty rubber gloves are indispensable to shield skin from alkaline cement burns, while acrylic paints can be included if colorful finishes are desired.
Preparing the Mold and Wrapping the Design
Begin by thoroughly washing and drying the primary plastic bucket, ensuring the surface is clear of grease and debris. Apply a thin, even coat of oil or petroleum jelly across the interior surfaces. This step acts as a barrier release agent, ensuring that the cured concrete separates effortlessly from the plastic frame without cracking.
Next, anchor the thick cord near the base of the bucket and begin wrapping it horizontally toward the top rim. Maintain equal spacing between each successive loop to achieve a symmetrical texture across the finished planter. Anchor loose sections with firm tape wherever necessary to keep the rope tensioned and stable. This cord structure serves as the negative profile that produces the raised ring design.
Mixing the Mortar and Applying the Cement Layer
Prepare the casting mixture in an old container by combining cement and fine sieved sand in a 1:2 to 1:3 ratio. This balance provides reliable structural strength without making the mixture brittle. Gradually introduce water while stirring to achieve a stiff, workable paste. The mortar must be dense enough to cling securely to vertical surfaces and embed the wrapped rope without slumping. Excessively watery concrete will run off the sides, resulting in poor adhesion and uneven wall thickness.
Carefully apply the wet cement mortar over the wrapped exterior using a spatula or gloved hands. Smooth the compound across the contours, ensuring the gaps around the rope loops are solidly packed. Maintain adequate wall thickness; an overly thin application leaves the planter vulnerable to structural failure once filled with soil and damp vegetation.
Centering the Core and Establishing Drainage
Once the exterior wall is established, insert the smaller plastic container directly into the center of the main mold. Precise centering is essential to guarantee uniform wall thickness on all sides, preventing structural weak spots. Proper drainage is vital for root health, so insert a plastic straw or pipe section through the base layer before the mortar hardens to form a permanent weep hole.
Curing, Demolding, and Surface Finishing
Patience during the hardening phase is crucial to avoid damaging the delicate casting. Allow the cement structure to cure undisturbed for a minimum of 24 to 48 hours, keeping in mind that ambient humidity and temperature influence drying times. Once the concrete is thoroughly hardened, gently wiggle and extract the exterior plastic bucket, followed by the inner container.
With the casting demolded, gently abrade rough perimeters and sharp ridges using coarse-to-medium sandpaper. Sanding knocks down stray burrs, creating clean edges and highlighting the defined horizontal lines cast by the rope framework.
Painting and Planting
The cured planter can be personalized with exterior paints. Applying a neutral base tone across the surface and accenting the raised rings with a contrasting hue highlights the sculpted dimensional depth. Alternatively, those who favor raw industrial aesthetics can leave the unpainted concrete bare for a minimalist rustic look. Finally, fill the chamber with potting mix, add selected foliage, and position the finished creation in gardens, porches, or interior living spaces.