























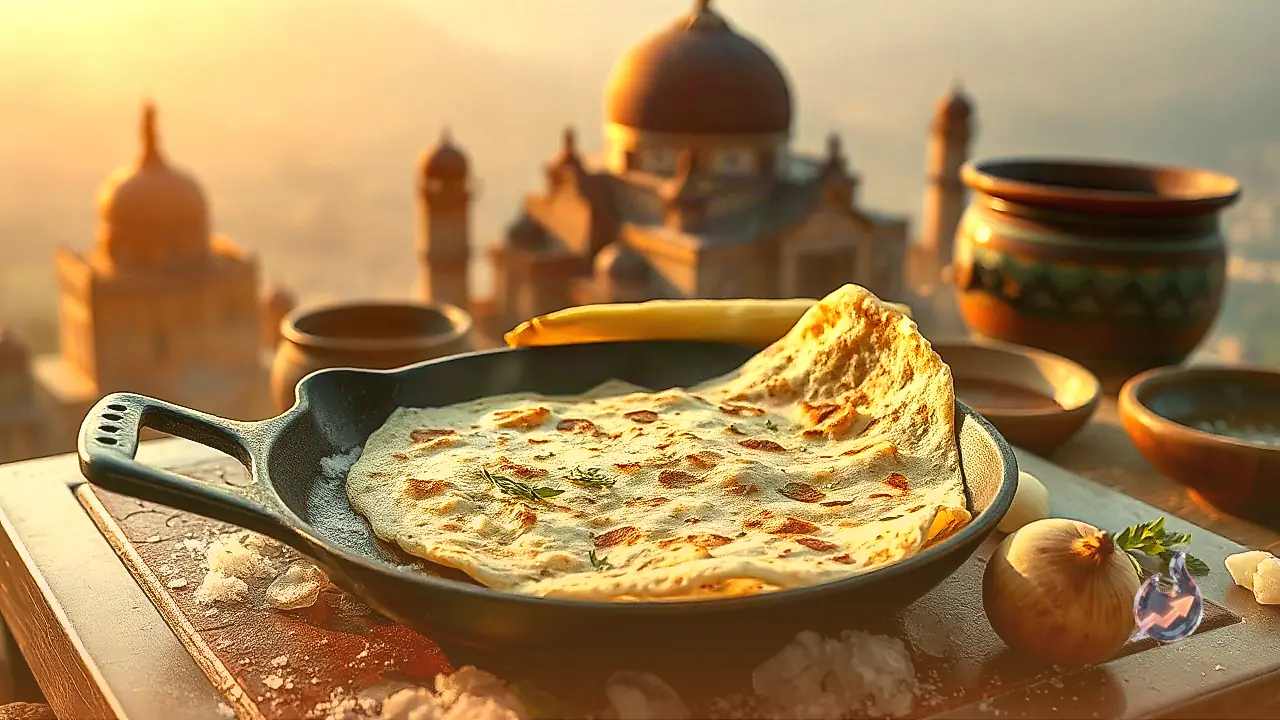

For many home cooks, making thin and crisp dosas on a traditional iron tawa (cast iron gridle) can be a frustrating experience. Even when the batter consistency is ideal and sufficient oil is applied, the dosa often sticks to the surface or breaks into pieces while flipping. Tired of this constant hassle, many people switch to modern non-stick pans. However, non-stick cookware rarely replicates the distinct aroma, deep golden color, and superior crispness achieved on a well-seasoned cast iron pan. Culinary enthusiast Khushi Jain has shared a simple yet highly effective kitchen method to overcome this issue without needing expensive specialized cookware.
Why Dosa Batter Sticks to Iron Pans
The primary reason dosa batter sticks to an iron tawa is the presence of residual oil, burnt food particles, or microscopic roughness on the metal surface. When an iron pan is not seasoned or cleaned properly, wet batter seeps into the microscopic pores of the iron and bonds with the surface upon heating. Additionally, improper temperature management plays a major role. If the tawa is scorching hot, the batter cooks instantly before it can be spread evenly, whereas an insufficiently heated pan causes the batter to remain gooey and adhere to the metal base.
Step 1: Deep Clean the Tawa Using Salt and Ice
According to Khushi Jain, preparing the tawa surface before cooking is crucial. Begin by placing the iron tawa on the stove over low heat until it becomes slightly warm. Sprinkle a generous layer of regular table salt over the warm surface. Take a solid ice cube and rub it over the salt across the entire pan for about 30 seconds. The abrasive action of salt combined with the sudden thermal change from the ice helps dissolve and loosen old grease, carbon deposits, and sticky residues. Once complete, wipe the tawa thoroughly with a clean, dry cotton cloth.
Step 2: Build a Natural Non-Stick Layer with Onion and Oil
After deep cleaning, the next critical step is creating a thin protective layer of oil on the iron. Slice a fresh medium-sized onion in half and apply a few drops of cooking oil to the flat cut surface. Pierce the back of the onion half with a fork to create a comfortable handle. Over medium heat, gently rub the oiled onion across the entire surface of the tawa in sweeping circular motions. The natural juices of the onion combined with the oil form a slick, temporary non-stick coating that prevents the wet batter from adhering to the iron.
Step 3: Master Temperature Regulation with Water Drops
Controlling the surface temperature of the tawa is essential right before pouring the batter. If the tawa is too hot, the batter will cling to the ladle and tear as you attempt to spread it out. To test the temperature after applying the onion, sprinkle a few drops of water onto the pan. If the water sizzles sharply and evaporates within seconds, the pan is hot. Immediately wipe the tawa with a damp cotton cloth to drop the surface temperature slightly to an optimal level for spreading.
Step 4: Pouring, Spreading, and Roasting the Dosa
Once the pan temperature is balanced, lower the flame slightly and pour 1 to 2 ladles of dosa batter into the center of the tawa. Using the back of the ladle, gently swirl the batter outward in continuous concentric circles. Keep your hand light without applying excessive downward pressure. A uniform, thin spread ensures a light and crispy texture. Increase the flame to medium-high. As the top layer dries out and the edges turn light golden, drizzle a bit of oil or butter around the circumference. If making a masala dosa, place the potato filling in the center at this stage.
Step 5: Lifting and Serving Without Tearing
As the dosa roasts, its edges will naturally begin to lift away from the iron tawa. Avoid forcing or scraping the dosa off prematurely. If the center feels stuck, give it an extra 10 to 15 seconds to cook fully, as a properly roasted dosa releases itself from the seasoned iron surface effortlessly. Slide a thin flat spatula under the golden edges and gently move it inward to lift the dosa completely. Serve immediately while piping hot alongside classic coconut chutney and sambar.


