






















With the arrival of winter, the household appetite for fresh green produce rises sharply. From warm stuffed flatbreads and savory rice dishes to wholesome curries, leafy greens and seasonal vegetables form the heart of winter cooking. Instead of making frequent trips to crowded markets or settling for wilted produce, cultivating these staples directly on your balcony or terrace is both practical and rewarding. Growing vegetables in domestic containers ensures clean, chemical-free nutrition while cutting down on daily kitchen expenses.
How to Cultivate Fresh Fenugreek
Fenugreek is an indispensable winter herb cherished for its distinct aroma and rich flavor. To start growing it at home, gardeners can utilize dried seeds. Proper seed sorting is essential: select healthy, whole seeds and submerge them in clean water for 24 hours prior to planting. Soaking softens the hard outer seed coat, speeding up the germination timeline and encouraging uniform sprouting once placed in soil.
Prepare a potting container equipped with drainage holes using an equal blend of garden soil, coco peat, and organic compost. Scatter the soaked seeds across the potting mix and use your fingertip to press each seed gently into the substrate at short intervals. Keep the topsoil consistently moist by misting it daily with a water spray. Tiny sprouts typically push through the surface within 15 to 20 days. By the end of roughly one month, the leafy shoots reach harvestable height. Trimming the top foliage allows the root system to regenerate new growth continuously.
Container Care and Timeline for Broccoli
Broccoli is widely celebrated as an essential component of a nutrient-dense diet. Although it belongs to the broader brassica family alongside cabbage and cauliflower, it commands a much higher market premium and provides distinct nutritional perks. Commercial market supplies can often be expensive and lack freshness, making domestic container gardening an excellent alternative.
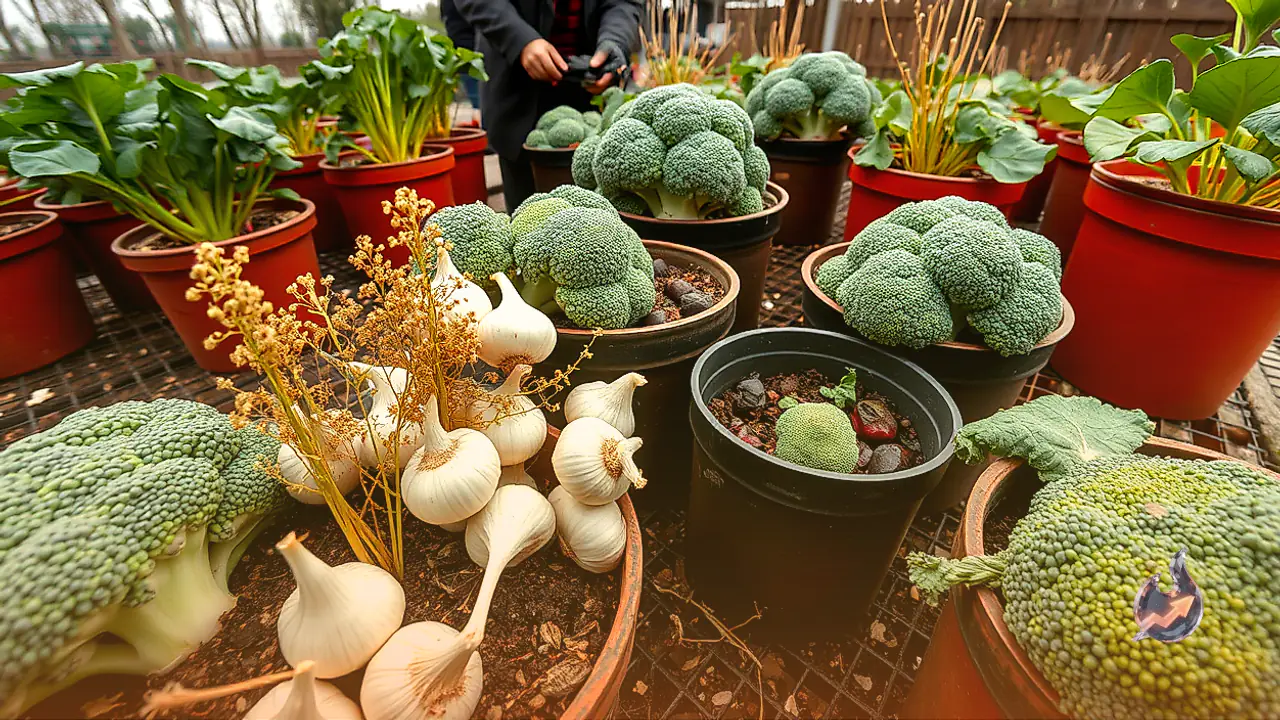
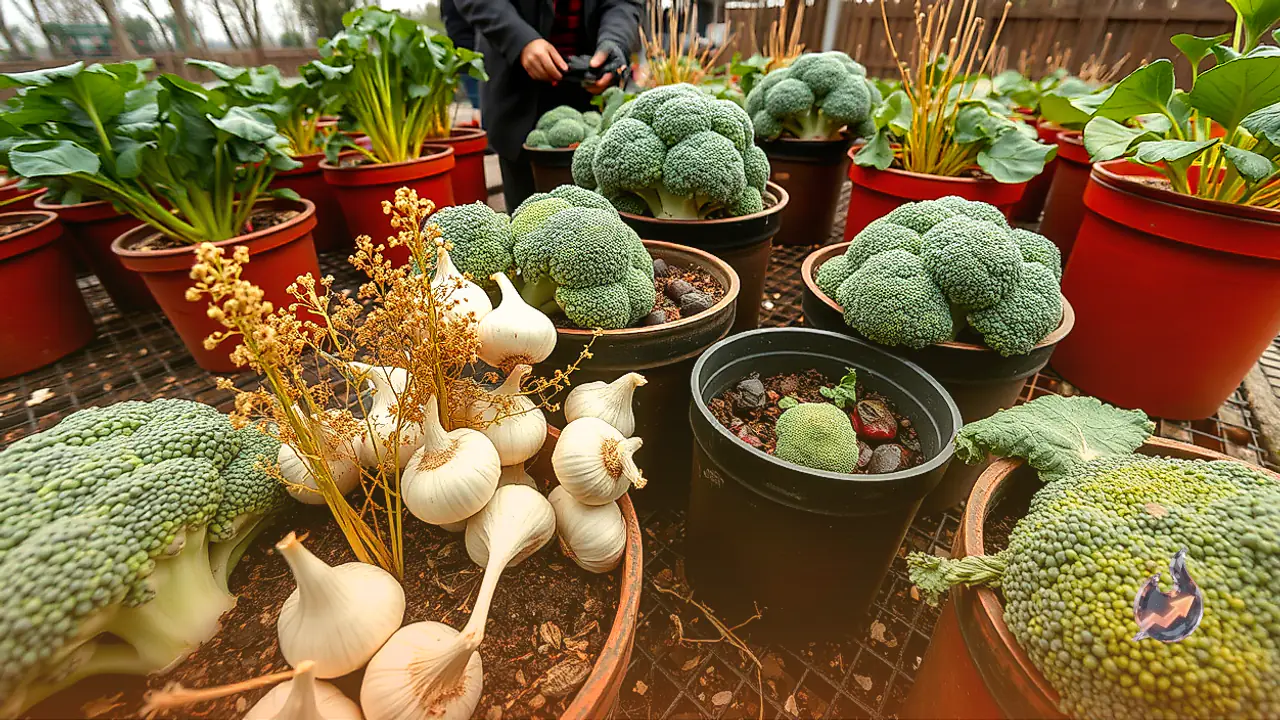
Select a container featuring reliable drainage openings and fill it with a balanced potting blend composed of soil, coco peat, and organic manure. Press the broccoli seeds gently into the mixture, cover them with a thin layer of fine soil, and sprinkle water evenly over the surface. Keep the container in shaded surroundings for the initial period before transferring it to a location that receives 1 to 2 hours of direct sunlight daily. Seedlings emerge in approximately 10 days. Carefully transplant each individual seedling into its own separate pot to allow adequate root expansion. Administer compost within 15 days of potting to deliver necessary nutrition; the heads will begin developing after 3 months.
Planting Beetroot and Managing Moisture
Beetroot is valued for its rich micronutrient profile and positive impact on overall vitality. Winter kitchens frequently use it for hot soups, fresh salads, and wholesome juices. Growing this vibrant root vegetable at home requires minimal space and straightforward container management.
Procure quality beetroot seeds from a local plant nursery and prepare a nutritious pot mix. Deposit the mix into your container and sow the seeds beneath the soil using the same technique applied to broccoli seeds. Mist the soil regularly to sustain steady moisture levels throughout the early growth cycle. The seeds will take roughly 24 days to sprout. Position the container where it can receive 4 to 5 hours of direct sunlight every day. Once the sprouts become clearly visible, scale back the watering frequency to just once per week to prevent waterlogging. Adding cow dung manure supports healthy bulb swelling, and the crop reaches full maturity in about 90 days.
Harvesting Spring Onions from Kitchen Scraps
Tender onion greens bring crisp flavor and color to winter curries, hearty soups, and stir-fried Asian recipes. Rather than purchasing bundles repeatedly, you can harvest fresh green scallions directly from regular kitchen onions. Pick out 5 solid, high-quality whole onions from your pantry basket to begin the planting process.
Prepare a well-draining pot filled with a rich potting blend. Trim the bottom root end of each onion and insert it into the soil, verifying that the basal root section remains fully submerged beneath the surface. Spread a light blanket of soil over the onions and mist the surface with water. Avoid overwatering; provide moisture only when the topsoil begins drying out, as stagnant water causes the bulb to rot quickly. Within 1 month, vibrant green stalks shoot upward, ready to be snipped and used straight in your cooking.
Step-by-Step Method for Growing Garlic
Garlic is a cornerstone of Indian cooking, providing the essential flavor foundation for lentil tempering and savory gravies. High annual demand frequently keeps retail garlic prices elevated in local markets. Growing your own garlic bulbs in simple containers offers an economical way to maintain a dependable, year-round harvest.
Select plump, fresh cloves from a healthy garlic bulb. Prepare a dedicated seedling potting mix inside a container and moisten the soil thoroughly with water before planting. Insert each clove into the damp soil, ensuring the tapered, pointed tip faces upward toward the light. Healthy shoots establish themselves within 20 days. Shift these young plants into individual pots and continue misting with water as needed. Within approximately 60 days, the crop yields ready-to-use garlic produce right from your home garden.