






















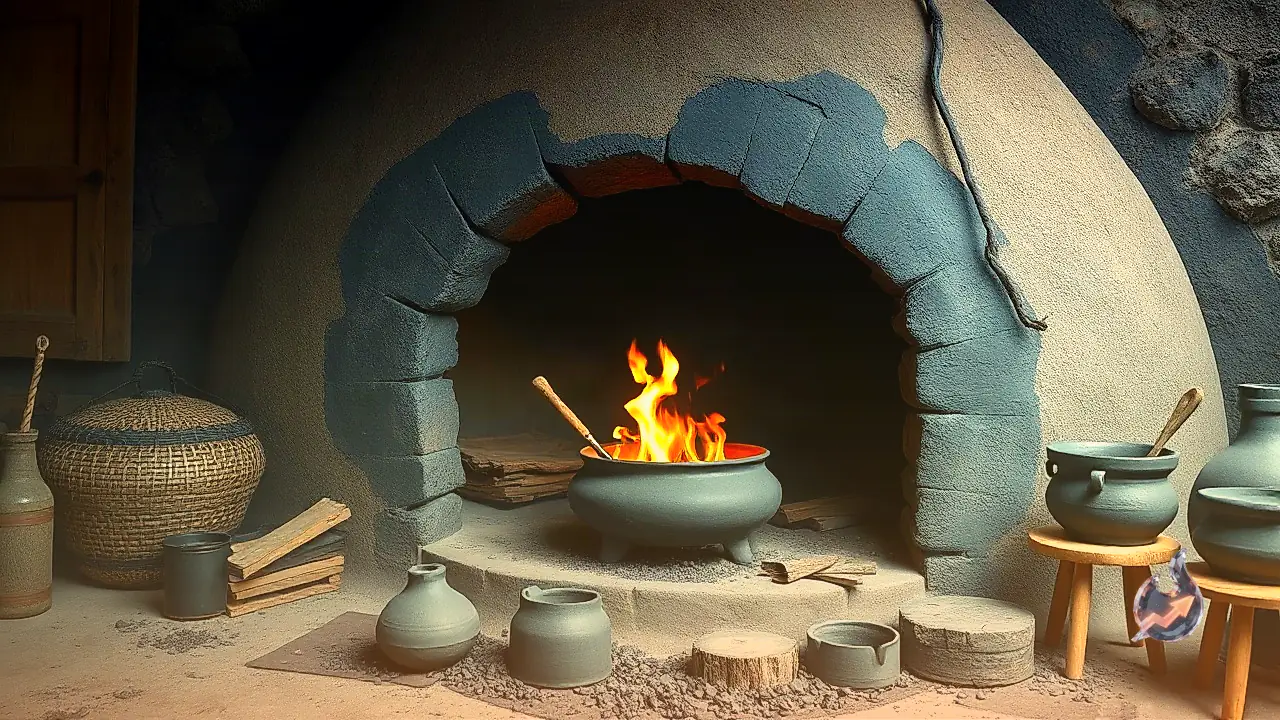

Modern cooking setups rely heavily on gas cylinders and induction cooktops, primarily because they save time and minimize kitchen effort. Yet, there was an era when earthen clay stoves served as the backbone of cooking in rural communities as well as urban households. Meals slow-cooked on traditional clay stoves carried a distinct earthen aroma and flavor that modern kitchen appliances rarely replicate. With shifting lifestyles and the scarcity of handmade stoves in urban spaces, this timeless cooking method has gradually faded from view.
Finding readymade clay stoves in local markets has become increasingly difficult today. However, cooking enthusiasts wishing to bring back that traditional culinary flavor can easily craft a stove at home using readily available natural resources. The construction process requires very little expense and can be completed in just a few steps using basic surrounding earth.
Essential Ingredients and Preparation
The foundation of a durable clay stove lies in choosing sticky black clay. In addition to clean soil, one needs adequate clean water and a small quantity of dry crop husk or straw. Explaining the craft, Rajkumari stated that the black sticky clay must first be thoroughly kneaded with water until it reaches a smooth and workable consistency. Once the clay is pliable, a measured portion of husk is blended into the mixture. Incorporating dry husk acts as an organic binder, significantly increasing the structural strength of the walls and preventing severe cracks as the earth cures.
Shaping the Hearth and Proper Drying
With the earthen dough prepared, the builder shapes either a circular or square base measuring roughly 6 to 7 inches in height. A front-facing opening is carefully cut into the design to allow firewood and fuel to be pushed into the fire chamber during cooking. Small raised prongs are sculpted along the top rim so cooking pots can sit securely above the flame while allowing airflow.
After the shaping stage is complete, the stove must be set aside in a shaded, well-ventilated spot to cure. Depending on local temperature and ambient humidity, the natural drying process typically takes between 2 to 3 days. Once the structure dries completely into a hard, solid form, a thin wash of liquid clay is smoothed over the surface. This final layer fills tiny hairline crevices, providing a neat finish and leaving the traditional stove ready for long-term domestic use.