






















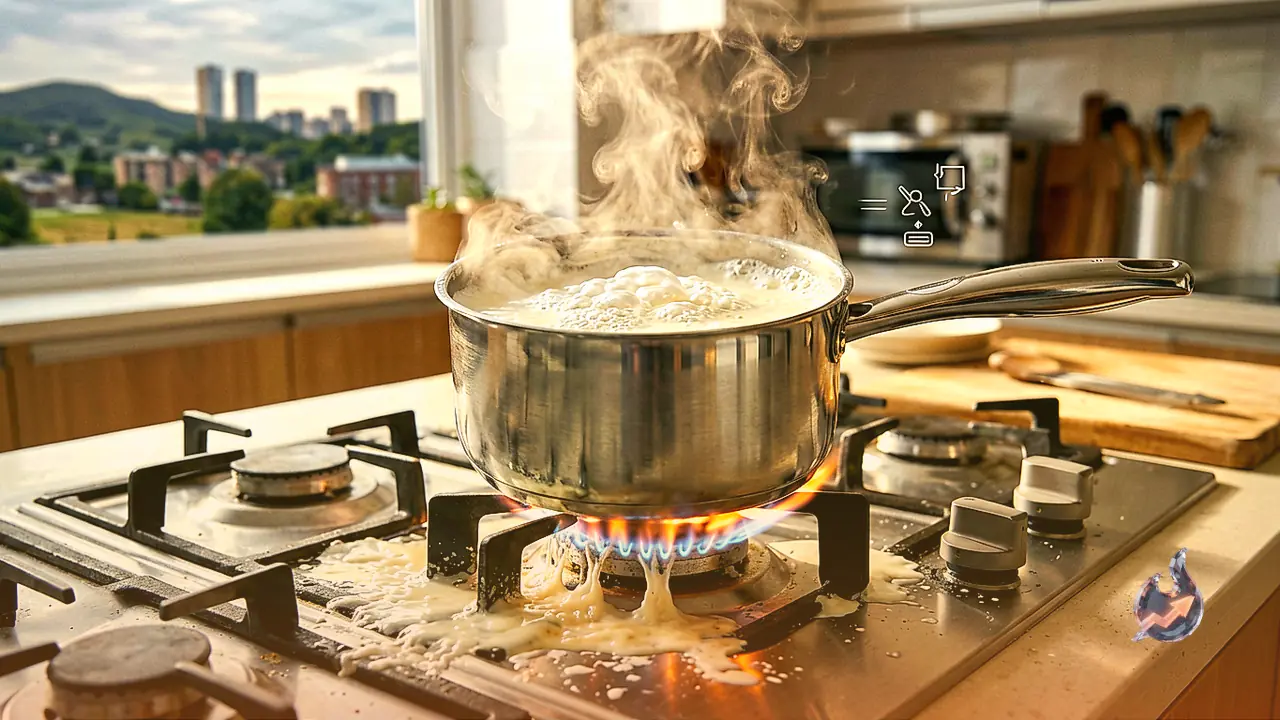

Kitchen routines often hit an annoying roadblock when milk suddenly foams over the stove top within seconds of turning away. This frequent cooking mishap occurs due to specific thermodynamic reactions inside the pan, yet simple adjustments in preparation and technique can completely eliminate the problem. By applying smart cookware selection, precise flame control, and disciplined storage habits, home cooks can ensure their daily dairy remains safe, nutritious, and spill-free.
Utensil Selection and Cleanliness Essentials
Preventing an unexpected spill begins with selecting an appropriate vessel from your cookware collection. Always choose a pot that is significantly larger and deeper than the volume of liquid being heated, leaving ample headroom inside. When milk reaches its boiling point, foam expands rapidly upward, making smaller containers completely inadequate. Maintaining absolute cleanliness is equally vital, because any residual grease, food particles, or dirt clinging to the vessel wall can cause the milk to curdle during heating. Kitchen hygiene experts strongly advise reserving one dedicated pan exclusively for boiling milk to avoid cross-contamination.
Cookware Materials and Flame Management
The speed at which milk heats depends heavily on the metallic composition of your cookware. Materials such as stainless steel, aluminum, and copper transfer thermal energy far faster than heavy metals or cast iron. While fast thermal conductivity saves valuable cooking time, it also drastically shortens the window before burning occurs. Heating milk on a medium flame yields the safest results while allowing complete visual control. As heat builds up, a glossy layer of cream forms across the surface, followed by tiny bubbles emerging around the outer edges beneath the cream layer. The moment these peripheral bubbles appear, you must immediately turn down the burner.
Preventing Scorching and Managing Steam Dynamics
Uneven heat distribution across the base of a vessel often causes milk to scorch at the bottom. To counter this, scrape the bottom of the pan thoroughly every two minutes using a heat-resistant spatula or a smooth wooden spoon. Cooks in a hurry can opt for high heat to speed up the process, but this requires undivided attention and an instant readiness to drop the burner level. The science behind overflowing involves steam entrapment; the thick cream skin formed on top seals in expanding water vapor. As steam builds pressure, it turns the cream into a fast-rising foam. Rapidly lowering the flame to maintain a fixed boiling rate while continuously stirring will break up this foam layer and keep the liquid inside the vessel.
Ideal Boiling Duration for Optimal Nutrition
Once milk achieves a steady boil, maintain continuous stirring for two to three minutes. This specific timeframe is fully sufficient to eliminate harmful pathogens and render the liquid safe for drinking. Prolonging the boiling process beyond three minutes does not provide additional safety benefits; instead, excessive heat exposure actively destroys vital nutrients, proteins, and vitamins present in natural milk.
Post-Boil Storage and Reheating Protocols
After heating, immediately transfer the milk into a tight-sealing, airtight container. Place the sealed container straight into a refrigerator or position it in the coolest area of your home. Refrigerating cooked milk eliminates the hassle of reheating it a second time prior to consumption. Conversely, if you store milk at room temperature, health guidelines dictate that it must be boiled again before every subsequent use.