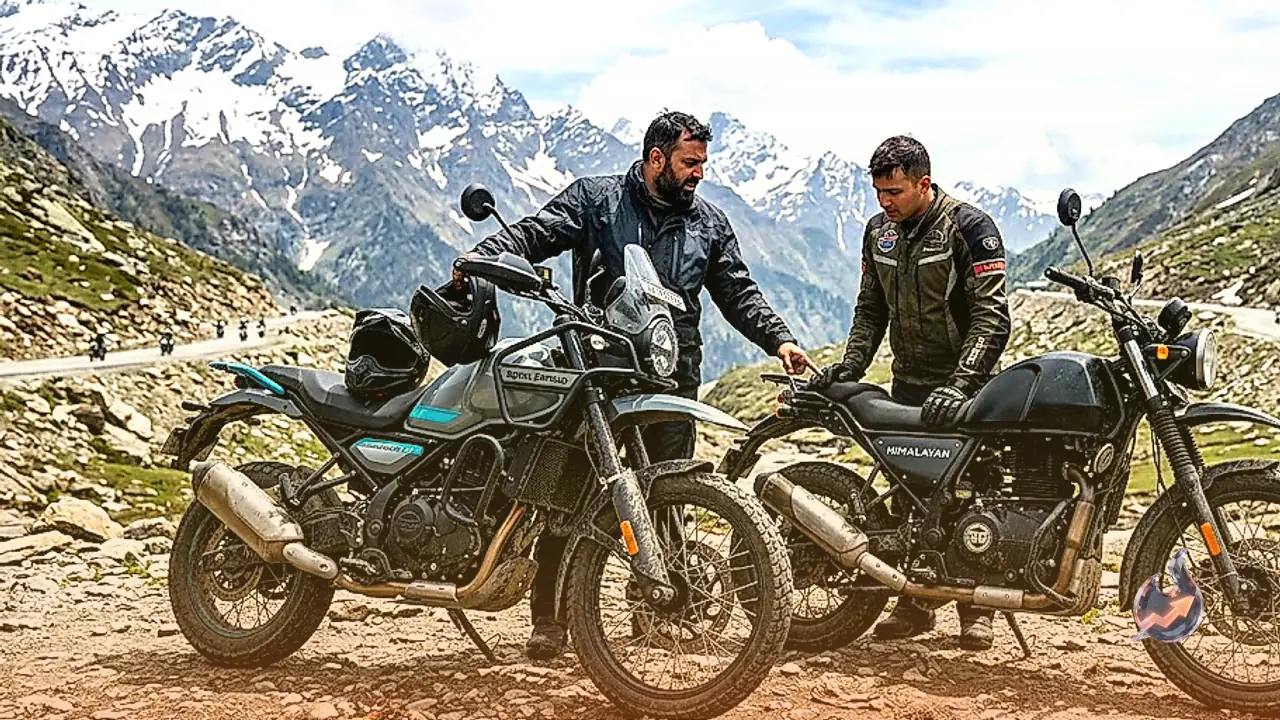




















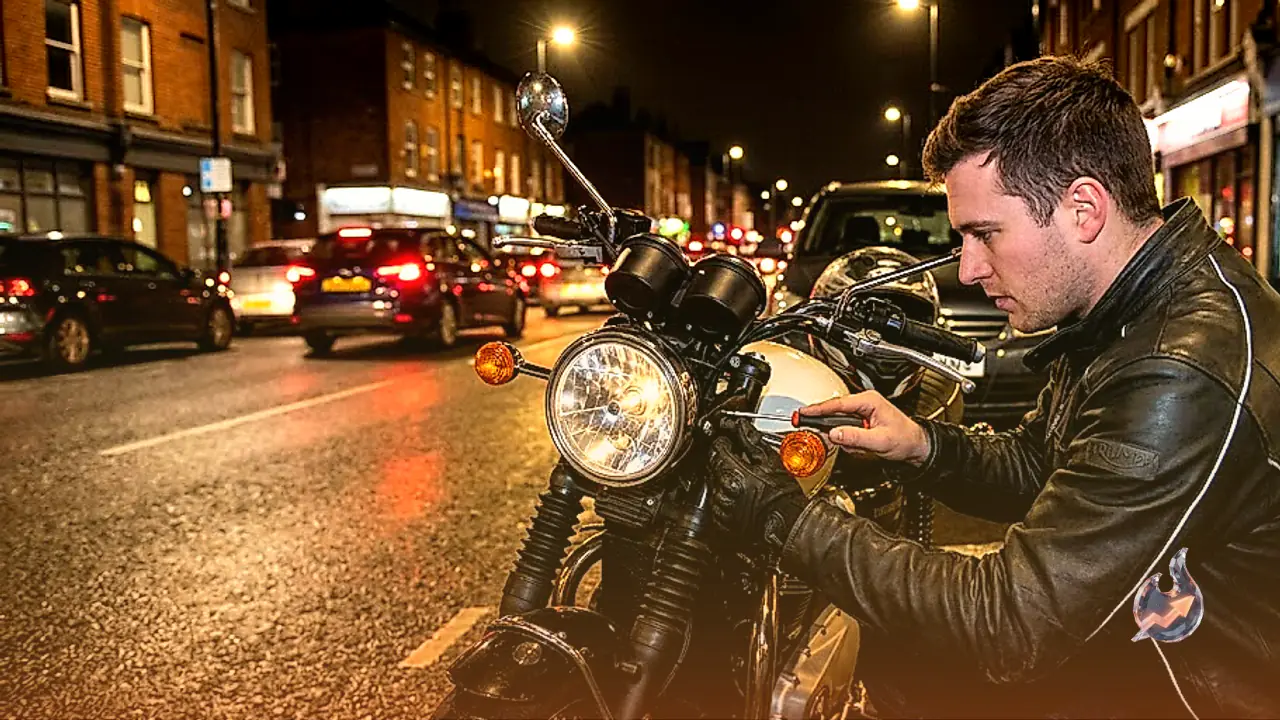

Operating a two-wheeler after sunset demands dependable illumination on the path ahead. When a motorcycle headlight turns dull or fails to throw an adequate beam, hazards such as sudden potholes, stray animals, and unlit vehicles become visible only at the last moment. This delayed reaction time significantly raises the likelihood of serious roadway collisions. A large number of motorcyclists routinely deal with weak forward lighting and diminished night vision. Fortunately, adopting a few structured maintenance steps and technical updates can restore brightness and widen the visible field.
Improving illumination relies on four fundamental aspects: upgrading the light source, restoring lens clarity, inspecting electrical wiring, and setting the correct beam elevation. Taking these measures not only extends forward visibility but also transforms evening rides into safer, less stressful journeys. Riders can achieve substantial improvements without committing to expensive modifications. Adhering to road legal parameters ensures safety for everyone while maximizing brightness through five practical methods.
Replace Ageing Halogen Bulbs With Efficient LED Alternatives
If a motorcycle still relies on standard factory-fitted halogen bulbs, switching to a high-grade LED replacement is one of the most immediate upgrades available. LEDs draw considerably less electrical power while producing an intensely focused, crisp white illumination compared to conventional tungsten filaments. Furthermore, their operational lifespan far exceeds that of traditional bulbs. When purchasing, verify that the replacement unit matches the exact socket design and physical dimensions required by your motorcycle model. Ensure clean and secure terminal connections during installation to prevent accidental electrical shorts. An efficient LED light provides clear sightlines across tarmac while reducing steady drain on the charging system. Always prioritize products certified with an ISI mark to ensure build standards.
Clean Road Grime and Eliminate Moisture Inside the Lens
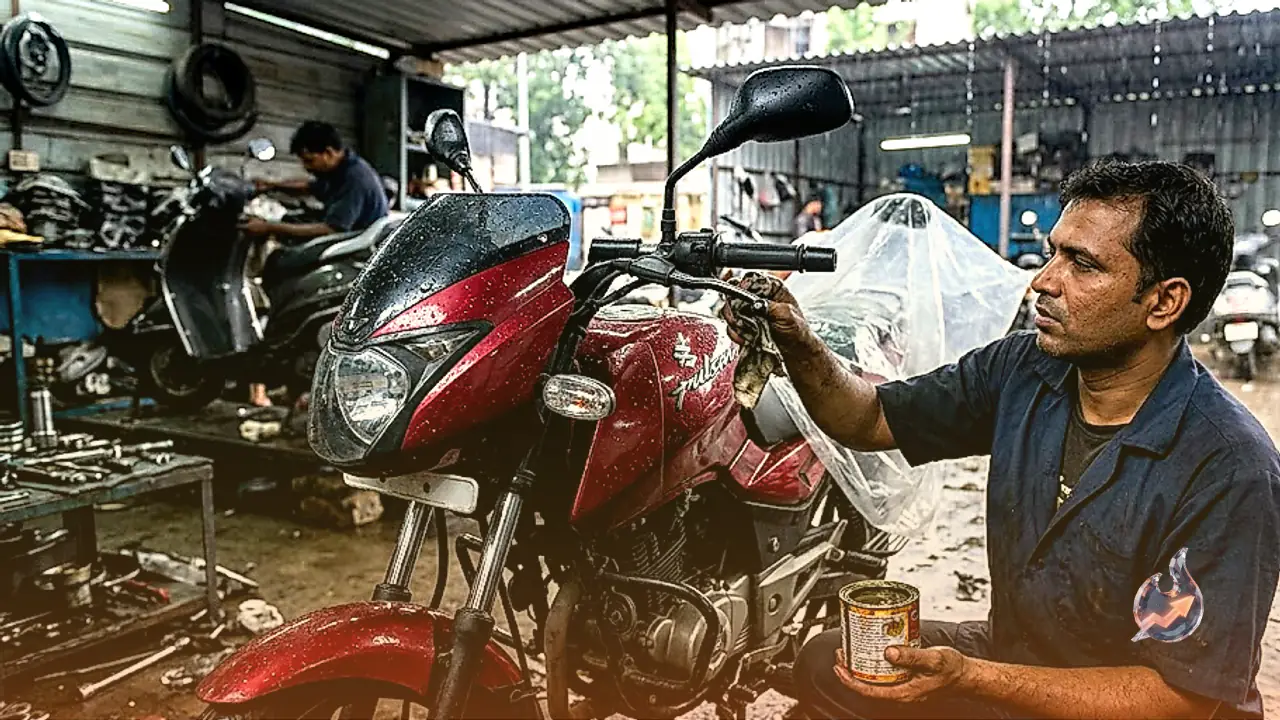
Continuous exposure to road dust, grime, splashing mud, and rainwater leaves a hazy coating over the outer headlight glass or polycarbonate shell. This cloudy accumulation scatters light rays haphazardly, preventing the core beam from projecting forward effectively. Establish a regular habit of wiping down the lens at least once a week using a soft microfiber towel combined with a mild automotive cleaning fluid. In addition, moisture occasionally seeps past worn gaskets during heavy rainfall or pressure washing, creating condensation inside the housing. If water droplets appear on the inner surface, disassemble the casing carefully and allow it to dry completely. A clean, pristine lens permits the bulb to release its total luminous output without internal diffusion.
Align the Light Beam Angle Against a Flat Vertical Surface
A headlight bulb may generate its full rated output, yet leave the roadway poorly illuminated if the reflector angle is improperly calibrated. If the housing points too high, light vanishes into open air while directly blinding approaching motorists. Conversely, an angle aimed too low limits illumination to a small patch right in front of the front tire. To correct this alignment, park the motorcycle on level ground facing a flat vertical wall. Adjust the adjuster screws until the main concentrated beam aims straight forward with a gentle downward tilt toward the road surface. Proper aiming illuminates pavement imperfections early while keeping glare below the eye level of incoming drivers. If adjustments prove difficult, have the beam leveled during a scheduled service center inspection.
Verify Wire Health, Battery Output, and Install an Auxiliary Relay
Inconsistent electrical delivery frequently starves headlights of their necessary working voltage. When an onboard battery degrades or the wiring harness suffers from loose fittings and internal corrosion, the bulb operates below its designed output. Inspect all electrical terminals regularly and tighten any loose fasteners. Wires showing thermal damage, brittle insulation, or burning must be replaced immediately. Test the resting and running voltage of the battery to confirm adequate charge output. On motorcycles prone to voltage fluctuations across the factory harness, integrating an auxiliary headlight relay offers an excellent remedy. A relay feeds unhindered current straight from the battery terminals to the bulb, stabilizing brightness and eliminating flickers.
Equip Auxiliaries and Weatherproof Fog Lamps Responsibly
Riders who frequently travel through dark rural stretches or low-visibility weather can complement the main headlamp by mounting auxiliary LED lights or fog lamps on the frame. These supplemental units cast a wider lower spread of light along the shoulders of the road, exposing edge-line obstacles, ditches, and hidden shoulders. However, aftermarket auxiliary installations must strictly respect motor vehicle regulations. Avoid excessively dazzling, high-wattage setups that impair the eyesight of other motorists sharing the road. Select robust, fully waterproof lighting units that withstand heavy monsoons and vibrations. Using sensible auxiliary illumination ensures exceptional road vision without turning into a hazard for others.