























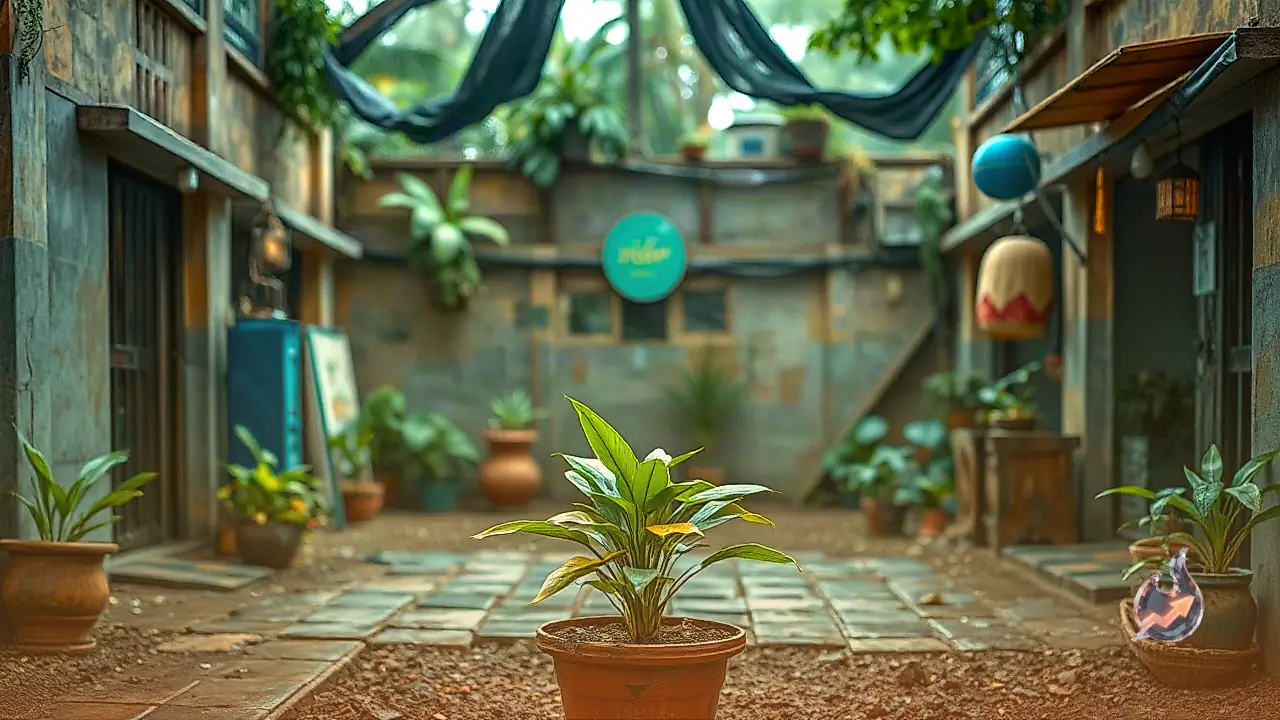

If you love a garden filled with vibrant flowers and delightful fragrances, the Madhukamini plant can be a wonderful addition to your home. Its white blossoms look exceptionally charming, and their sweet aroma refreshes the entire surrounding environment. The best part is that Madhukamini can be easily propagated using stem cuttings. Since the rainy season is considered an ideal time for setting up such cuttings, you can plant it in a pot or garden before the monsoon fully concludes.
Why Propagate Madhukamini from Cuttings?
Growing Madhukamini from cuttings is much simpler and faster than starting from seeds. If a healthy and robust branch cutting is planted properly, roots begin to develop after a short period. Gradually, this cutting transforms into a sturdy plant. One major advantage of using the cutting method is that you do not have to wait through the initial stages of seed germination, making it a reliable way to expand your garden.
Selecting and Cutting the Right Branch
For successful propagation, always choose a strong branch from a healthy parent plant. Avoid using stems that are overly soft, weak, or diseased. Select a branch about 4 to 6 inches long that features a few visible nodes. Remove the lower leaves while keeping a few upper leaves intact. It is best to make the cut using clean and sharp pruning shears to prevent any damage to the plant tissue.
Preparing the Pot and Soil Mix
When planting the cutting, use a container that features proper drainage holes at the bottom. The soil should not be excessively heavy or retain too much water. You can create a light and well-draining potting mixture by combining standard garden soil with a little bit of sand and organic compost. Stagnant water in the soil can significantly increase the risk of the cutting rotting away.
Planting Steps and Moisture Management
Press the lower end of the cutting about 1 to 2 inches deep into the soil. Make sure that at least one or two nodes remain securely beneath the surface. Water the soil lightly right after planting. Initially, place the cutting in a spot that receives bright indirect light while avoiding harsh, direct afternoon sun. Since the atmosphere remains quite humid during the rainy season, avoid the mistake of overwatering.
Maintaining mild moisture in the soil is crucial until the cutting takes root, but this does not mean soaking it every day. Water only when the top layer of soil feels slightly dry to the touch. Continuously soggy soil can damage developing roots. Adjust the watering frequency based on the weather conditions and the moisture retention of your potting mix.
If the cutting is planted correctly and receives proper humidity, light, and ventilation, new growth will become visible within a few weeks. The appearance of fresh leaves indicates that the plant is progressing well. However, root development time can vary depending on plant maturity, weather, and environmental factors, so patience is essential during the early stages.
Once the plant is well established, it can be gradually moved to a location with brighter light. Periodic light pruning helps the growing plant become much denser and visually appealing. You can also provide organic fertilizer to the growing plant as needed. With proper care, the Madhukamini plant will enhance the beauty of your garden for a long time.
So, if you already have a Madhukamini plant at home or can acquire a healthy branch from a neighbor, make sure to prepare your cuttings before the monsoon completely ends. With just a little care and patience, a fresh, fragrant Madhukamini plant can thrive right in your potted garden.