
























Marigolds bloom nearly throughout the year, making them one of the most reliable and low-maintenance flowering plants for home gardens. They require minimal supervision yet remain indispensable for spiritual rituals, festive occasions, and interior decorations. As festive seasons like Diwali draw near, consumer demand surges sharply, causing market prices of fresh garlands to skyrocket. Cultivating your own marigold planters at home right now provides a practical and cost-effective alternative to expensive commercial purchases.
Growth Timeline and Cultivation Options
Home gardeners can successfully raise marigolds through two straightforward techniques: utilizing mature dry flower seeds or planting fresh stem cuttings. One of the greatest advantages of this plant is its rapid development cycle, as it begins producing vibrant blooms within just 30 to 45 days after planting. This brief timeline leaves ample opportunity to cultivate healthy, floriferous bushes well before the festive rush begins.
Preparing the Ideal Container and Soil Blend
The first vital step in planting is selecting an appropriate container. A pot measuring 8 to 10 inches in diameter offers adequate root volume. It is crucial to verify that the base of the container contains an open drainage hole. Without proper drainage, stagnant moisture accumulates around the root zone, leading to rot and damaging the young plant.
The next phase involves mixing a fertile, well-draining growing medium. Marigolds thrive in soils that retain steady nutrition while allowing surplus water to percolate away rapidly. Create an optimal blend by combining 50 percent regular soil, 30 percent vermicompost or aged cow dung manure, and 20 percent sand. To enrich the mix further and guard against soil-borne issues, incorporate half a spoon of neem cake powder alongside a small quantity of bone meal.
Sowing Seeds and Planting Fresh Cuttings
For planting material, gardeners can source saplings from a local nursery, gather seeds from dried marigold blossoms, or prepare healthy cuttings. When opting for seed propagation, crush the dry flowers and scatter the seeds evenly across the prepared surface. Maintaining slight, consistent moisture ensures that green sprouts emerge within approximately 1 week.
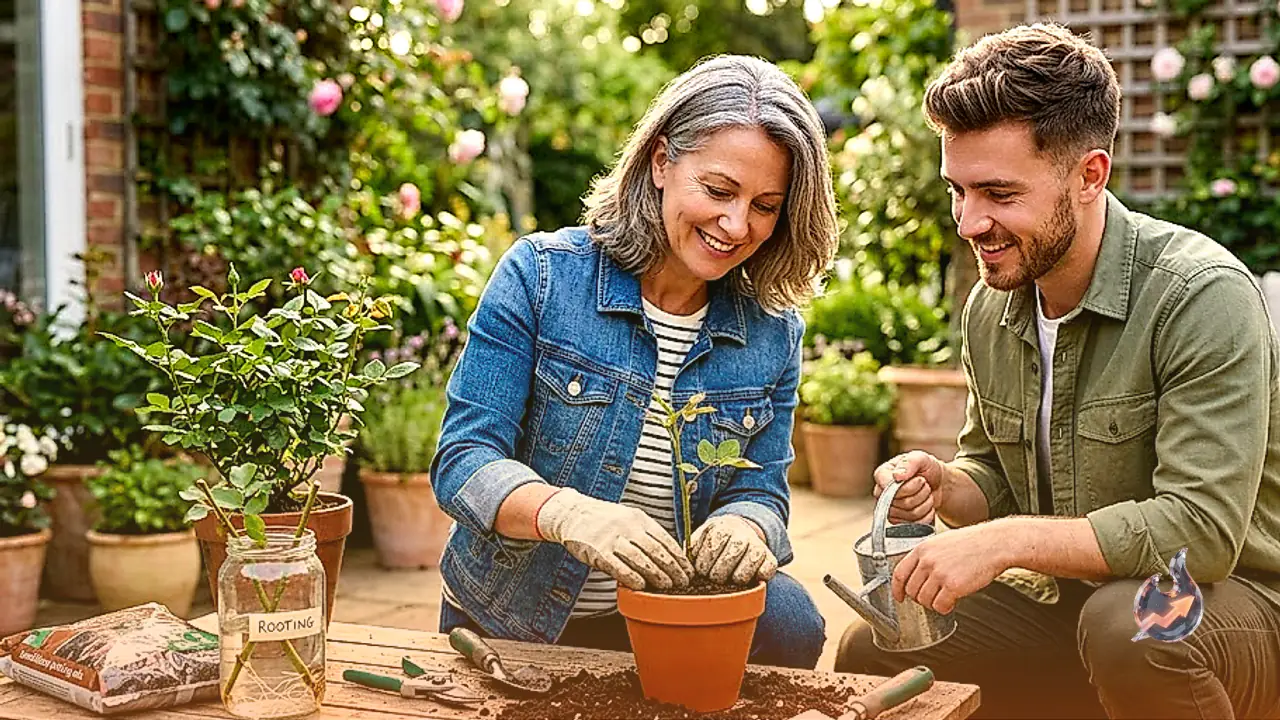
When transplanting nursery saplings or inserting stem cuttings, bury the stems 2 to 3 inches deep into the soil bed. Saturate the soil thoroughly with water right after planting. Keep the container positioned in a shaded spot for the initial 2 to 3 days to help the roots stabilize. Once settled, shift the planter into an open location that receives between 4 and 5 hours of direct sunlight each day.
Pruning for Bushy Growth and Periodic Feeding
Once the young stem reaches an approximate height of 7 to 8 inches, gently prune or pinch off the topmost tip. Removing the terminal shoot prompts lateral branching, turning the upright stem into a bushier shrub capable of producing an abundance of flowers. Additionally, supply fresh manure or compost to the pot every 15 to 20 days. Consistent feeding accelerates budding, resulting in visibly larger and brighter blossoms throughout the flowering cycle.