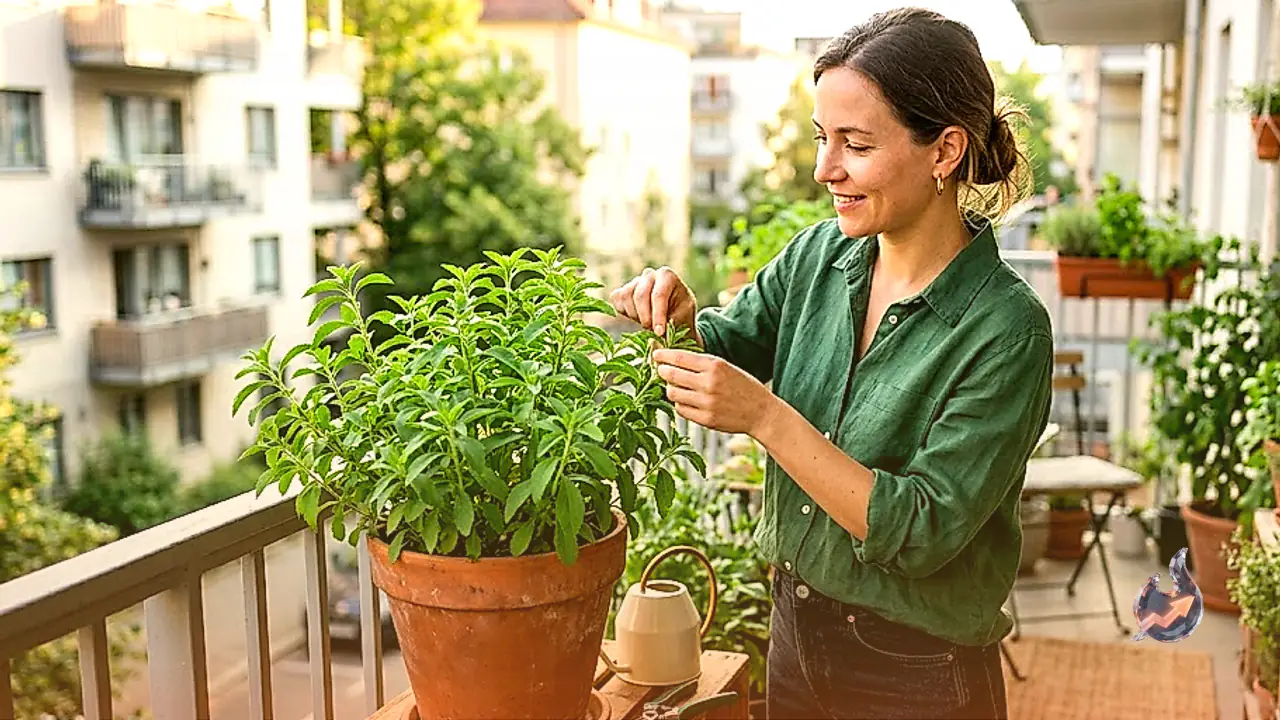

























Adding fresh rose blooms to a home garden does not necessarily require repeated trips to a commercial plant nursery. A single healthy stem cutting taken from an existing rose bush can be successfully developed into a completely new, thriving plant. The root formation process on a fresh cutting depends heavily on several critical factors, including the physical health of the parent stem, seasonal weather, the composition of the potting soil, and ambient moisture. Shielding the delicate cutting from excessive moisture accumulation and harsh, direct sunlight serves as the foundation of successful propagation.
When provided with consistent care and optimal environmental conditions, a rose stem can begin sprouting new roots within a span of a few weeks. For home gardening enthusiasts, this propagation method offers an effective and rewarding way to expand their plant collection without incurring unnecessary expenses.
Selecting and Preparing the Ideal Rose Stem Cutting
The initial and most decisive step in propagating roses is pinpointing the right branch from a mature bush. Gardeners should select a robust stem measuring approximately 10 to 15 centimeters in length. Rather than picking an overly tender, green shoot or an excessively hardened, woody old branch, it is best to identify a stem that is healthy, firm, and moderately mature. Stems with balanced woodiness root far more reliably than extreme growth stages.
The chosen branch must be completely free from insect damage, fungal spots, rot, or visible signs of disease. Always use a thoroughly cleaned and sharpened pair of pruning shears or a garden knife to sever the cutting from the main bush. Using clean cutting tools significantly reduces the risk of accidental tissue damage and bacterial contamination. Once separated, strip away all the leaves from the lower segment of the stem, leaving only two to three leaves at the very top. Finally, make a clean, gentle diagonal cut across the bottom base to expose more surface area for moisture uptake and future root development.
Preparing Well-Draining Soil and the Planter
The potting mixture prepared for a rose cutting must strike a careful balance between moisture retention and swift drainage. A balanced potting blend can be created by combining regular garden soil with cocopeat and coarse sand. The sand keeps the soil porous so water flows through effortlessly, while cocopeat retains just enough humidity around the stem base without causing saturation.
A relatively compact pot is ideal for starting cuttings, provided it features functional drainage holes at the base. Fill the container with the prepared potting mix and create a hole in the center deep enough to securely anchor the lower section of the cutting. Insert the stem upright into the hole, gently press down the surrounding soil with light hand pressure to eliminate air pockets, and add a small amount of water. The most crucial principle here is to avoid stagnant water accumulation while trying to keep the medium damp. Persistent sogginess and pooling water rapidly cause the submerged stem tissue to rot before roots have a chance to emerge.
Managing Light, Humidity, and Moisture Levels
Freshly planted cuttings should never be placed under harsh, direct sun exposure. Instead, position the pot in an area that receives ample bright ambient light while staying protected from intense midday rays. To preserve localized humidity around the stem, a clear plastic cover can be placed loosely over the cutting. However, never seal the cover completely airtight, as continuous airflow is necessary to prevent stagnant conditions and mold formation.
Watering should be done strictly on a need basis, adding moisture only when the top layer of the potting mix begins to dry out. The exact duration required for root formation is not fixed, as it varies based on seasonal temperatures, the specific rose variety, stem condition, and overall humidity. Under favorable conditions, the first signs of root emergence typically appear within a matter of a few weeks.
Patience with New Leaf Growth and Final Transplanting
Seeing fresh green leaves or tiny new shoots sprout along the cutting is undeniably an encouraging visual signal, but it is not definitive proof of established root systems. The cutting often pushes out initial foliage using stored energy reserves within its own wood. Gardeners should resist the urge to dislodge or pull up the cutting to check whether roots have formed.
Only after the root system has fully matured beneath the soil should the young rose plant be carefully shifted into a larger planter or an open garden bed. During these early development phases, avoid dumping heavy fertilizers or excessive water into the pot. Consistent moisture balance, proper soil drainage, and gentle light exposure remain the true pillars of turning a simple rose stem into a flourishing shrub.