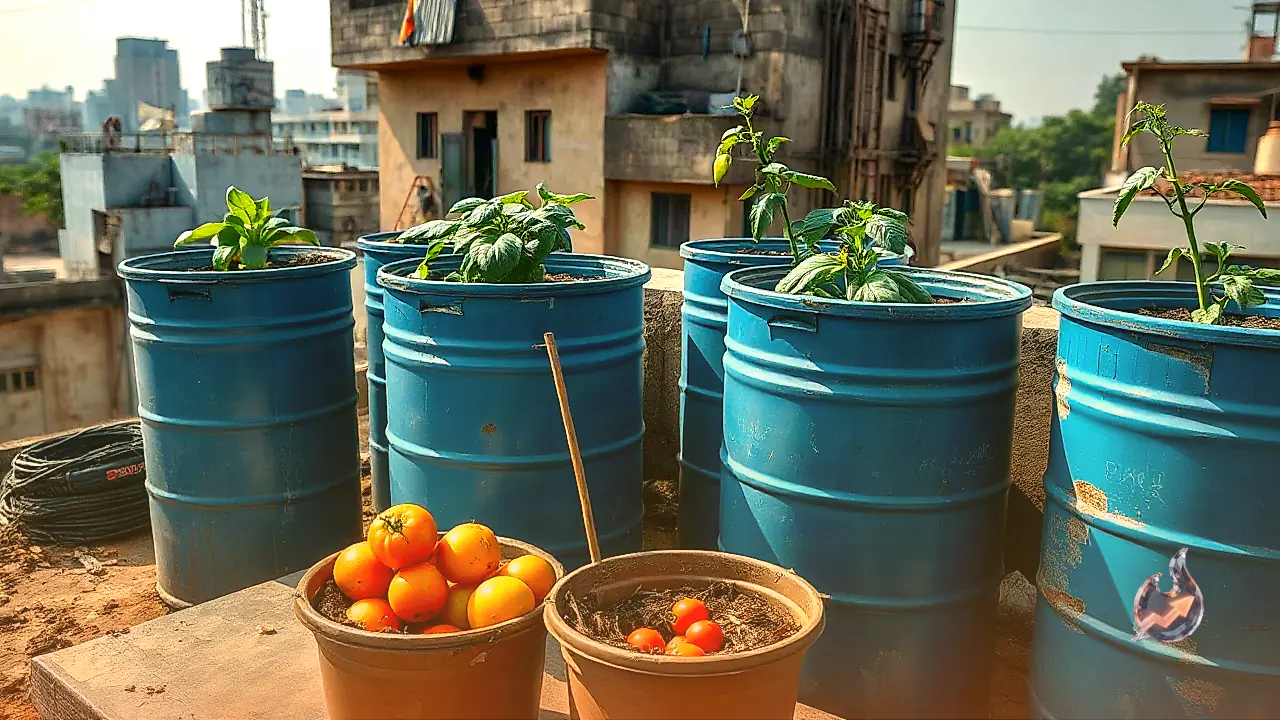




















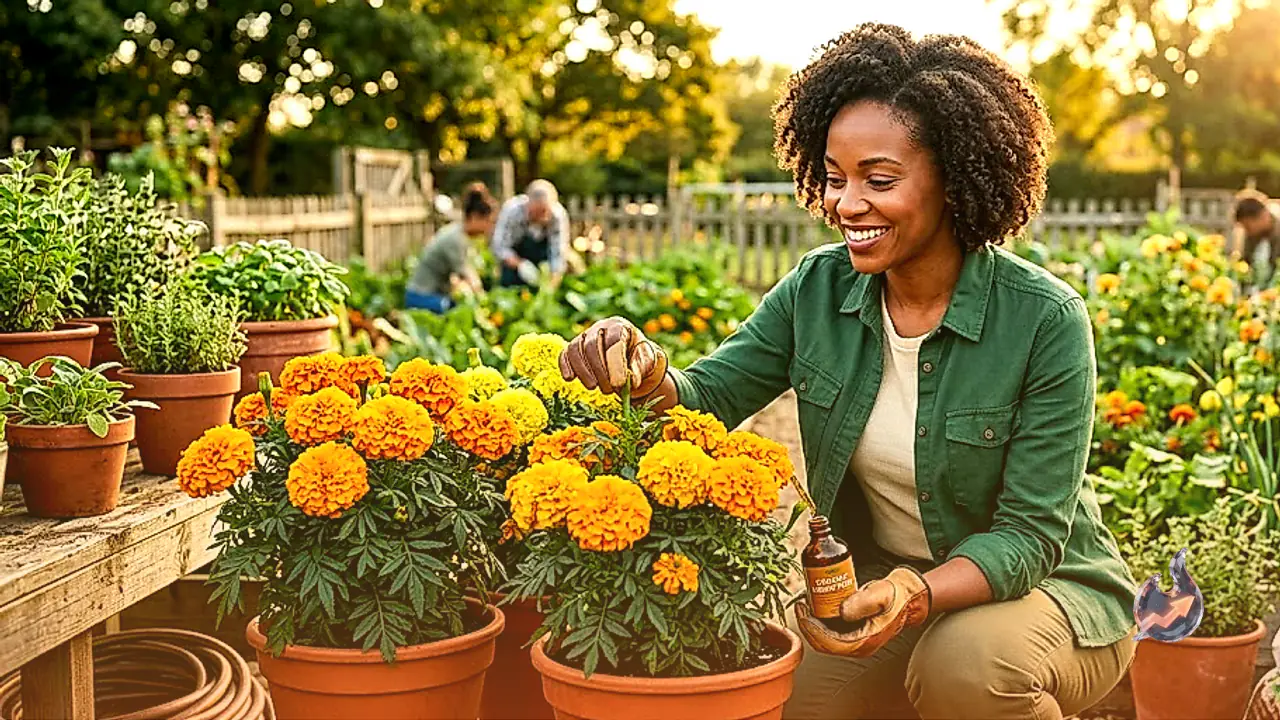

Across Indian households, marigold flowers hold an unmatched cultural and decorative significance during weddings, auspicious ceremonies, housewarming events, and major festivals. Bright garlands hung across the entrance doorway instantly enhance the festive spirit and add vibrant warmth to home decor. Instead of constantly relying on purchased flowers from commercial vendors, passionate gardeners can successfully cultivate their own abundant marigold blooms right inside patio or balcony pots. The month of September offers the most suitable weather conditions to initiate sowing, as temperatures moderate and plants receive optimal conditions for vigorous root establishment.
Top Marigold Varieties and Seasonal Planting
Achieving heavy blooming depends largely on picking varieties naturally bred for multi-branching growth. The most reliable varieties for home gardeners include African Marigold, French Marigold, Hybrid Marigold, Monika Plus, and Pusa Narangi. Plants from these specific varieties produce an exceptional density of buds and retain fresh petals over an extended period. Starting these varieties in September ensures the vegetative frame develops fully before peak flowering season arrives.
Sourcing Seeds From Dried Flowers and Germination
You do not need to spend money on expensive commercial seed packets to begin. Simply take a large, healthy marigold flower leftover from religious rituals or home prayers and allow it to dry completely under the shade. Once thoroughly dry, pull out the slender black seeds from the blossom base. Commercial garden seeds of high quality can also be sourced from local garden stores if preferred. For the nursery bed, layer a small starter container with coco peat, evenly scatter the seeds, and gently cover them with a very thin layer of coco peat. Kept uniformly moist, seeds reliably germinate within 5 days. During this initial germination phase, place the container in a sheltered spot away from harsh direct sunlight.
Preparing the Ideal Soil Formula
Container gardening demands a well-aerated, moisture-retentive, yet completely free-draining substrate. Always sieve garden soil before mixing to eliminate large debris and hard stones. The optimal soil formula consists of 50 percent sieved soil, 30 percent coco peat, and 20 percent vermicompost. When setting up the nursery or potting layer, place soil first, followed by a coco peat layer, distribute seeds, and top with a blended soil-coco peat mix. Water gently using a fine watering spray to avoid dislodging fragile seeds. Within a single week, healthy green sprouts emerge vigorously. Once seedlings gain sufficient strength, they can be safely transitioned into standalone pots.
Sunlight Acclimatization and Safe Potting Transfer
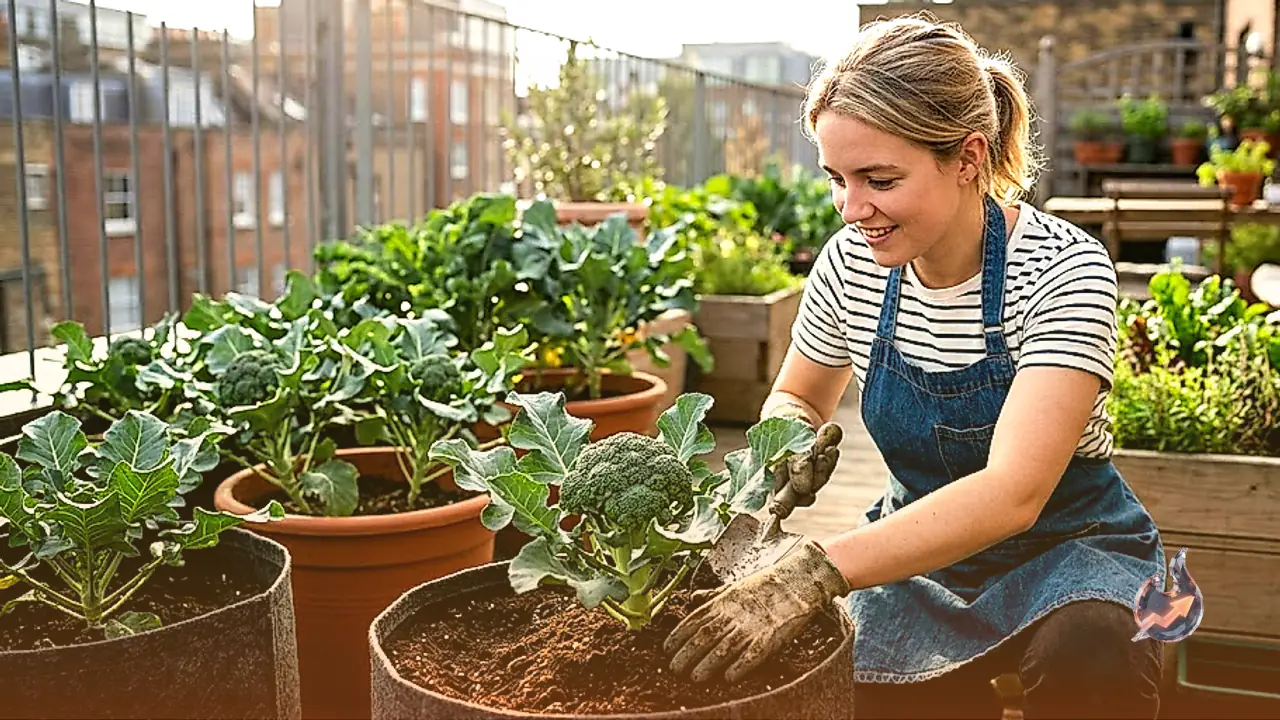
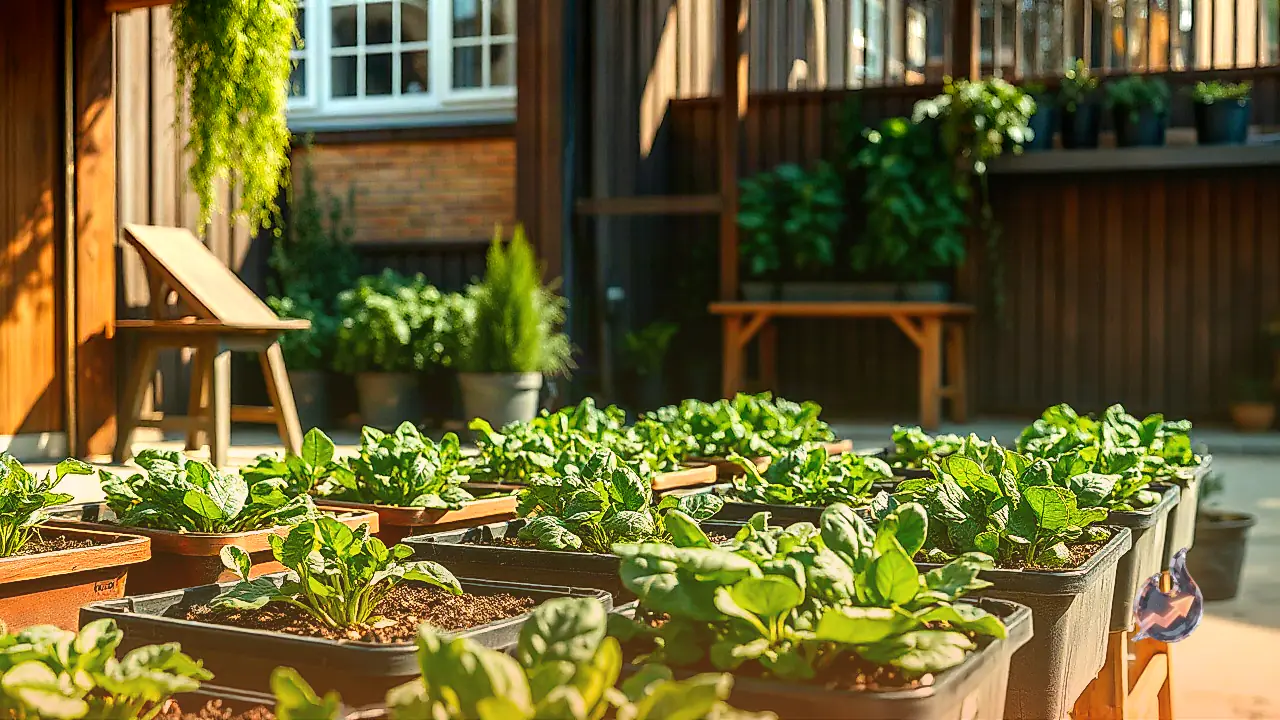
Young germinated seedlings must never be exposed abruptly to intense sunlight. Acclimatize them gradually: set the starter tray in mild sunlight for two hours on the first day, increase exposure to four hours on the second day, and gradually build up outdoor tolerance over subsequent days. Around 30 days after sowing, seedlings typically attain a height of 5 to 6 inches, indicating they are ready for their permanent growing containers. Choose pots measuring either 9 by 9 inches or 12 by 12 inches. Never crowd multiple seedlings into a single pot; assign only one plant per container so roots have ample space to spread. Always transplant during the late evening hours to shield tender roots from heat stress and prevent transplant shock. Handle the root ball gently to avoid damaging sensitive root strands. A mild wilting during the first day or two is natural as the plant settles into its new environment.
Pinching Stems to Build a Bushy Growth Habit
At approximately one and a half months of age, pinching the growing tip is the single most vital pruning technique for marigolds. By snipping or nipping off the top central growing tip with clean fingers or pruning shears, you stop vertical apical dominance and force dormant nodes to burst into multiple lateral side branches. The more side shoots a plant develops, the bushier and denser its foliage becomes. A dense, broad bush naturally yields significantly more floral stems and buds than a tall, single-stemmed specimen.
Diagnosing Flowerless Foliage and Organic Remedies
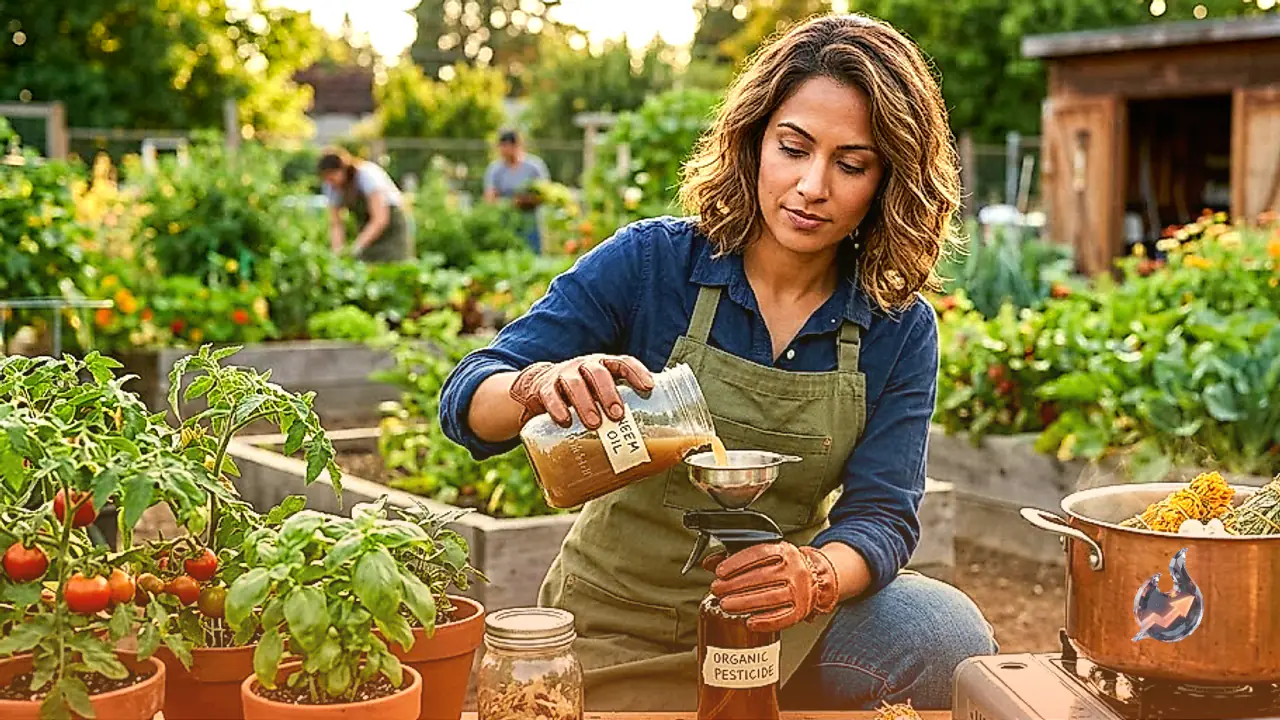
Gardeners frequently observe marigold plants that appear lush and intensely green yet fail to produce a single flower bud. This issue stems primarily from two distinct mistakes: supplying excessive amounts of chemical nitrogen fertilizer or placing containers in low-light zones devoid of sufficient sunlight. In both scenarios, the plant diverts its energy exclusively into foliage production. To stimulate bud formation, apply a mustard cake liquid solution directly to the root zone. Soak solid mustard cake or its powdered form in water for 4 to 5 days to ferment, and then drench the soil around the base. A diluted vermicompost liquid tea can also be applied. Another highly effective organic bloom booster involves soaking banana peels alongside two teaspoons of fresh tea leaves in water for 24 hours. Strain the liquid, blend it into one liter of fresh plain water, and pour it into the pot. Within 10 to 15 days, the plant initiates intense bud formation and fills up with flowers.
Routine Monthly Feeding and Deadheading
Maintaining long-term blooming vigor requires systematic monthly nutrition. Work well-rotted cow dung manure or fresh vermicompost into the top inch of potting soil once every month. In addition, supplement the feeding regimen with Biozyme spray. As a high-grade seaweed extract functioning as an organic plant growth promoter, Biozyme accelerates bud differentiation and overall canopy health. Dilute 1.5 to 2 milliliters of Biozyme per 1 liter of clean water and spray evenly over the entire foliage. Alongside feeding, daily deadheading is critical: promptly prune away every spent or faded bloom. Leaving dying flowers on the stems forces the plant to waste valuable carbohydrate reserves on seed production, which prematurely arrests further flowering.
Maximizing Flower Size and Foliage Gloss
To produce impressively large, exhibition-grade marigold blooms, dissolve two teaspoons of Epsom salt directly into your fermented mustard cake liquid feed before application. The magnesium and sulfate support vigorous chlorophyll production and stimulate abundant new bud clusters. Furthermore, incorporate Sagarika liquid seaweed fertilizer into this organic blend. This combination imparts a vibrant deep green gloss to leaves and substantially increases individual blossom diameters, rewarding your gardening routine with hundreds of spectacular flowers.