






















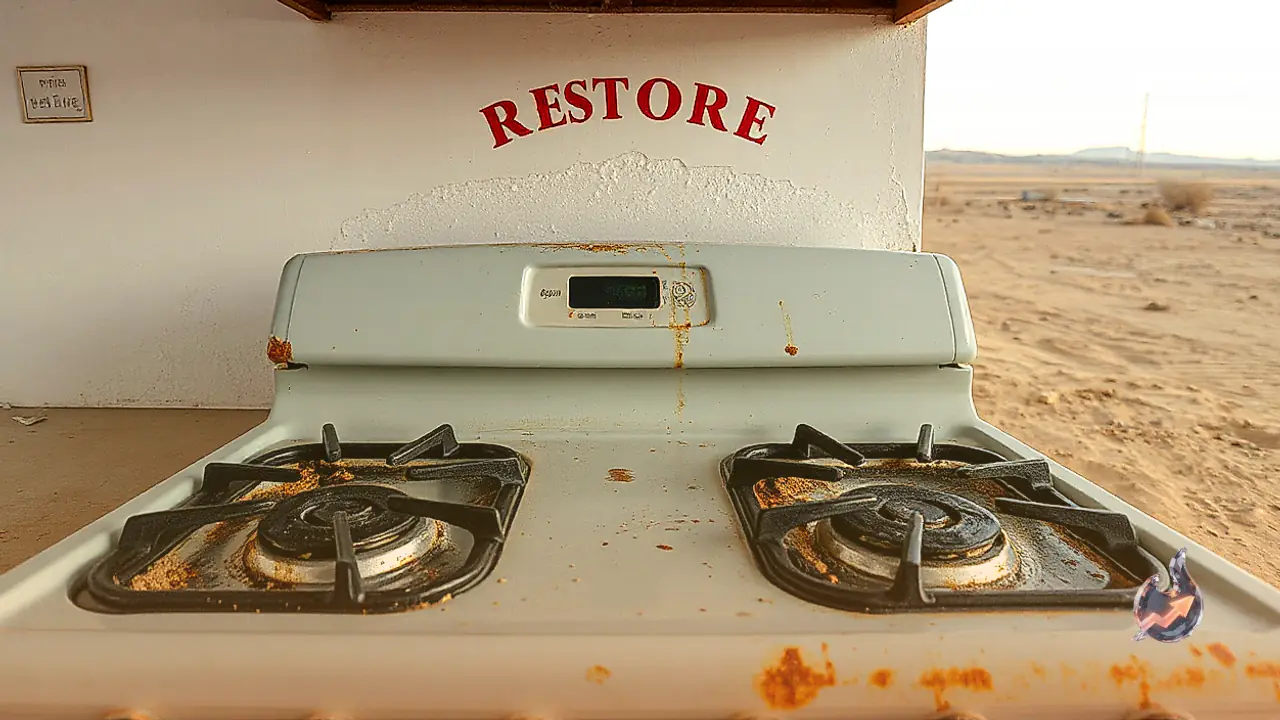

While deep cleaning a kitchen, people frequently sanitize countertops, tiles, and cabinets but easily overlook the gas stove burners. Continuous everyday cooking inevitably exposes these metal components to grease splatters, spices, and liquid spills. Over time, these residue particles harden into a stubborn crust that blocks the tiny gas outlets, leading to uneven or reduced flame performance. Before initiating any maintenance routine, the foremost step is ensuring that all burner control knobs and the primary gas supply valve are completely shut off. The entire appliance must cool down thoroughly before being handled. Because every stove model features a distinct assembly, the removal process can vary significantly. Users should adhere to the manufacturer's operational manual and never attempt to force, pull aggressively, or bend any burner parts during extraction.
Loosening Baked Grease with Warm Water Soaking
An effortless initial technique to soften crusty grime and accumulated oil involves a warm water bath. Submerging the detached burners in a tub of warm water for a brief interval allows the hardened moisture-starved residues to expand and loosen. This preventive soak reduces the need for aggressive manual scrubbing later on. However, one should verify appliance care recommendations before exposing metal burners to scalding or boiling water, as extreme temperatures can interact unpredictably with certain finishes. Once the soak is finished, take out the components and carefully wipe away the superficial layer of softened debris using a damp, gentle cloth or a soft cleaning brush.
Treating Heavy Deposits with Baking Soda Paste
For persistent carbon deposits and sticky grease layers that resist plain water, baking soda serves as an exceptional household cleaning agent. In a small bowl, combine baking soda with a minimal amount of plain water to blend a uniform, dense paste. Generously spread this mixture over the soiled zones, particularly targeting heavy discoloration and grease patches. Allowing the paste to rest undisturbed gives it sufficient time to break down stubborn residue chemically without scratching the metal. Subsequently, gently brush the surface with a soft-bristled tool using smooth motions. Rinse the burner under clean tap water until all residue vanishes, and avoid excessive scrubbing pressure to keep the original metal integrity intact.
Protecting Burner Holes from Structural Damage
The small perimeter holes surrounding the burner body are engineered to distribute fuel evenly across the cooking surface. Food spills and oil frequently settle inside these micro-apertures. While clearing blocked orifices, strictly refrain from inserting thick, sharp, or rigid implements, as they can deform, widen, or puncture the openings, which ruins the engineered flame distribution. The correct approach relies solely on a delicate brush to clear trapped particles gradually. Throughout the entire process, preserving the original contours and port sizes of the burner remains essential.
Drying Components and Cleaning the Stove Surroundings
After finishing the wash, the burner must achieve absolute dryness before returning to the stove. Trapped water droplets inside internal channels impede regular gas ignition and can trigger sputtering or flame failure. First, pat the metal completely dry with a lint-free cloth, then leave it in an open, airy spot to eliminate lingering moisture. While the burners are off, seize the opportunity to clean the underlying stove surface, trays, and surrounding cooktop area with a suitable kitchen cleaner. Drying the stovetop frame thoroughly before reassembling leaves the entire kitchen station hygienic and fresh.
Flame Inspection and Reinstallation Checks
Once confirmed completely moisture-free, set each burner firmly into its designated seating slot without forcing it. Turn on the fuel valve, light the stove, and closely observe the flame pattern. A properly maintained unit should display a steady, balanced flame. If the fire burns unevenly, flickers abnormally, or emits an unusual odor of escaping gas, extinguish it immediately. Verify whether the burner is aligned flush and seated accurately in its groove. In case irregularities continue, avoid unauthorized home repairs and consult a certified gas technician for an expert assessment.