




















The mouthwatering aroma of hot kadhi prepared with curd and gram flour simmering on a cooktop can instantly awaken anyone's appetite. When filled with pillowy soft onion fritters and finished with a sizzling tempering of desi ghee, cumin, mustard seeds, and whole dry red chillies, this classic dish turns even a plain plate of steamed rice into a royal feast. Haryanvi Kadhi Pakoda is a deeply comforting and iconic comfort food from North India. Preparing it at home requires no exotic ingredients or complicated spice mixes, as basic pantry staples are all you need. However, achieving the perfect velvety texture and balanced tangy flavor demands proper ratios, technique, continuous attention, and patient slow cooking rather than just boiling raw ingredients together.
Essential Ingredients and Precise Ratios for 4 Servings
To prepare a authentic Haryanvi kadhi sized for a family of four, maintaining accurate ingredient measurements is vital. For the base gravy batter, gather 1 cup of gram flour (besan), 2 cups of plain yogurt (curd), and initially 4 cups of water. For aromatics and spice flavor, keep 1 teaspoon of cumin seeds, 1/2 teaspoon of fenugreek seeds (methi dana), 1/4 teaspoon of asafoetida (hing), 1 teaspoon of turmeric powder, and salt to taste. For spice heat, adjust red chilli powder between 1/2 to 1 teaspoon according to preference. You will also need approximately 1 cup of freshly made onion pakodas (fritters). Because this ratio uses a generous amount of besan, the gravy thickens considerably as it cooks; keep extra warm water ready on standby to adjust consistency as needed.
For the final signature tempering (tadka), measure out 2 tablespoons of desi ghee, 1 teaspoon of mustard seeds, 1 teaspoon of cumin seeds, and 2 whole dry red chillies. Keep finely chopped fresh coriander leaves ready for the final garnish. Note that cumin seeds are used at two stages—during initial pot cooking and in the final ghee tempering—so dividing these portions into separate bowls ahead of time makes the cooking process smoother.
Preparing the Smooth and Lump-Free Besan and Dahi Base
The foundation of a great kadhi lies in a completely lump-free, silky batter. Take 2 cups of plain yogurt in a large mixing bowl and whisk it thoroughly using a wire whisk or traditional wooden blender until completely smooth. If you prefer a pleasantly sour kadhi, use curd that is a day or two old, ensuring it is fresh and free from any off odors. Gradually add 1 cup of besan to the whisked dahi. Whisk small amounts of besan at a time to form a thick, smooth paste first before adding water. Once the paste is uniform, slowly pour in 4 cups of water while continuing to whisk. Making a thick paste first breaks down besan clusters effortlessly.
Pouring all the water at once creates stubborn little dry flour lumps that float and resist dissolving. If any tiny lumps remain visible despite whisking, simply pass the mixture through a fine mesh strainer. Once smooth, whisk in 1 teaspoon of turmeric powder, red chilli powder, and salt until well integrated.
Method for Making Crispy and Soft Onion Pakodas
If you do not have pre-made pakodas, you can prepare them while organizing your gravy ingredients. In a separate bowl, combine roughly 1/2 cup of besan, 1 small finely chopped onion, a pinch of salt, and finely chopped green chillies to taste. Add water in small splashes while mixing to create a thick batter. The batter should hold its shape and not be runny or drip off a spoon.
Heat frying oil in a kadai or deep skillet on medium flame. Drop small bite-sized dollops of batter into the hot oil. Fry on medium heat, flipping occasionally, until both sides turn golden brown and crisp. Cooking on steady medium heat ensures the inner gram flour cooks through completely without staying raw. Remove the fried pakodas and let excess oil drain on paper towels. Keeping pakodas small allows them to absorb the tangy gravy quickly while remaining easy to serve.
Initial Cooking Technique in a Heavy-Bottomed Vessel
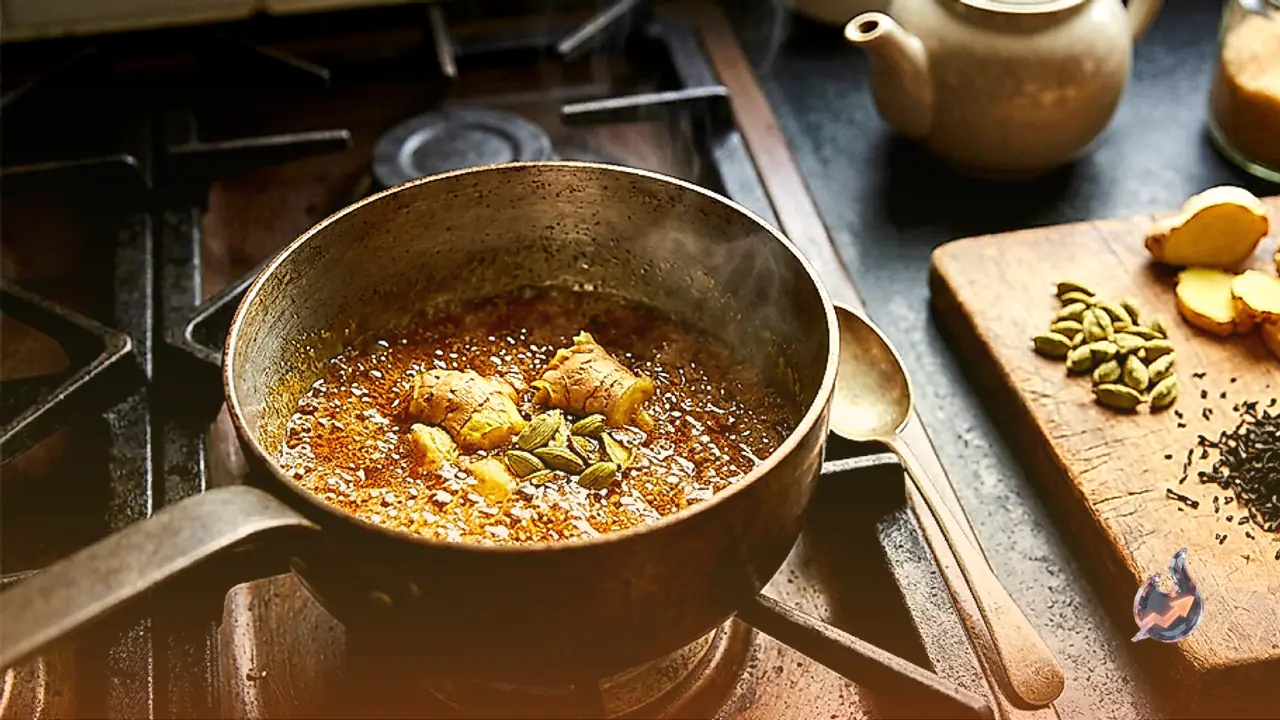
Pour the prepared besan and dahi liquid mixture into a large, heavy-bottomed pot or deep stockpot. Using a heavy vessel prevents the gram flour from scorching at the bottom and ensures even heat distribution throughout the cooking process. Add 1 teaspoon of cumin seeds, 1/2 teaspoon of fenugreek seeds, and 1/4 teaspoon of asafoetida directly into the pot with the cold mixture. Turn the stove to medium heat and begin stirring continuously with a long wooden spoon.
Scrape the bottom of the pot continuously to prevent settled besan from sticking or forming burnt layers. Ensure there is plenty of headspace at the top of your vessel, as kadhi expands and froths up rapidly as it reaches its first boiling point. As soon as the mixture comes to a full, rolling boil, immediately turn the heat down to low to bring it to a steady simmer.
Slow Simmering Process: 25 to 35 Minutes
A common mistake in kadhi making is turning off the flame as soon as the mixture looks thick. Visually thick gravy does not indicate that the gram flour starch is fully cooked. To completely eliminate the raw taste of besan and allow the sourness of curd and spice flavors to mellow and integrate, slow simmering is indispensable. After the initial boil, let the kadhi simmer uncovered on low heat for 25 to 35 minutes, stirring every few minutes.
If the mixture thickens excessively during this prolonged boiling period, stir in small quantities of warm water. Avoid adding cold tap water, as a sudden drop in temperature can ruin the gravy texture. Keep in mind that kadhi continues to thicken further as it cools down, so aim for a slightly thinner consistency while it is still on the stove.
Adding Pakodas and Absorbing Gravy Flavors
Once the kadhi gravy has cooked on low heat for 25 to 35 minutes and all raw flour aroma has vanished, gently drop the prepared onion pakodas into the simmering pot. Allow the pakodas to simmer in the gravy on low flame for an additional 5 to 7 minutes. This short cooking window lets the fritters soak up the tangy gravy, making them soft and flavor-packed.
Do not add the pakodas early in the cooking process; prolonged boiling will cause them to break apart and turn mushy. After adding pakodas, stir very gently using a light hand so they remain intact. If the porous fritters soak up a significant amount of liquid and make the kadhi overly dense, pour in a little warm water and let it come to a gentle simmer for another minute.
Crafting the Fragrant Desi Ghee Tempering
The defining character of Haryanvi kadhi comes from its final aromatic ghee tadka. Heat 2 tablespoons of authentic desi ghee in a small pan. Once melted and hot, add 1 teaspoon of mustard seeds. As soon as the mustard seeds begin to crackle, add 1 teaspoon of cumin seeds and 2 whole dry red chillies. Sauté on low heat for a few seconds until aromatics release their essential oils.
Be careful not to let the spices darken excessively or burn, as burnt cumin and chillies introduce a harsh bitter flavor. Immediately pour the sizzling ghee tempering over the cooked kadhi. Cover the pot with a lid for a minute to trap the aromatic smoke inside. Finally, stir the tempering gently into the kadhi, simmer for 1 to 2 minutes, garnish with freshly chopped cilantro leaves, and turn off the heat.
Serving Suggestions and Storing Leftovers
Before serving, taste the kadhi to adjust salt and check the consistency. Serve steaming hot Haryanvi Kadhi Pakoda alongside plain boiled basmati rice, fragrant jeera rice, or soft rotis. Accompany the meal with sliced raw onions, crisp papad, and spicy mango or lemon pickle for a complete North Indian dining experience. If you have leftovers, store them in an airtight container in the refrigerator. Kadhi often tastes even better the next day as flavors deepen overnight. When reheating, add a splash of water and warm gently over low heat on the stovetop.