






















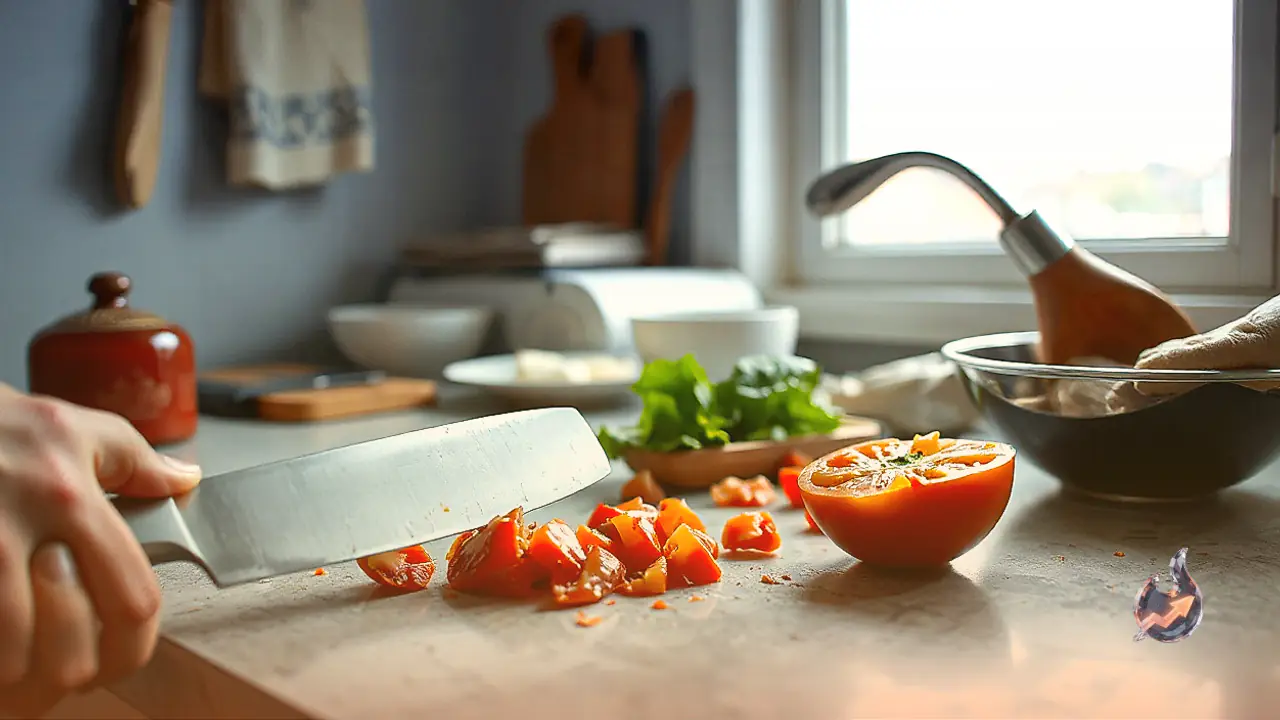

When a kitchen knife starts slipping off vegetable skins, squishing tomatoes instead of producing clean slices, or requiring extra physical effort to push through an onion, it is a clear sign that the blade edge has degraded. Many home cooks assume a dull knife has reached the end of its lifespan and immediately look to buy a replacement. However, if the handle remains sturdy and the metal blade has no deep cracks or structural damage, the cutting edge can be effectively restored at home. The first crucial step is identifying whether the edge is merely misaligned or if the metal itself has worn down over time. Each condition requires a distinct solution. A slightly bent edge can be realigned using a honing rod, whereas a worn-down edge requires a whetstone or sharpener to remove metal and form a brand-new cutting bevel. Operating a blunt knife not only slows down meal preparation but also creates significant safety hazards, as excessive force increases the likelihood of the blade slipping off food and causing injuries.
Understanding the Difference: Honing vs Sharpening
Before attempting to fix a blade, it is essential to distinguish between honing and sharpening. During regular daily use, the extremely thin apex of a knife edge tends to roll or bend microscopic distances off-center under pressure. This misalignment is referred to as a micro-bevel bend. Honing is the process of pushing this bent edge back into strict alignment. It does not shave off metal from the blade; rather, it straightens the existing wire edge to maintain cutting efficiency.
Sharpening, on the other hand, comes into play when the blade edge has become thick, rounded, or blunt from prolonged friction. During sharpening, abrasive tools remove a fine layer of steel from the blade face to ground out a fresh, razor-sharp edge. Consequently, running a severely dull knife across a simple honing rod repeatedly will yield negligible results. Assessing the actual condition of the blade ensures the correct tool is selected for the task.
Method One: Realigning Bent Edges with a Honing Rod
A honing rod is an essential maintenance tool designed for frequent kitchen use, typically constructed from hardened steel or ceramic. Standard steel bars found around the house should never be substituted for a dedicated honing steel. When performing honing, anchor the tip of the rod firmly on a non-slip flat surface, such as a sturdy cutting board, and hold the handle securely with your non-dominant hand.
Place the knife heel against the top of the rod at the manufacturer's suggested angle. Gently sweep the blade downward and backward, moving smoothly from the heel of the knife all the way to the tip. Repeat the exact same sweeping motion on the opposite side of the blade. Avoid waving the rod and knife around in mid-air, as this compromises angle consistency and safety. Keep your fingers strictly positioned behind the rod guard to prevent accidental contact with the moving blade.
Method Two: Rebuilding Worn Edges with a Whetstone
For knives whose edges have thinned out or worn flat, a sharpening stone or whetstone provides the most thorough restoration. Prior to sharpening, place the stone on a non-skid rubber base or a damp towel to prevent any unwanted sliding during operation. Always review the product instructions to determine whether the stone requires complete immersion in water, a light splash of water, or specialized honing oil.
Maintain a constant blade angle while drawing the metal across the stone surface in smooth, controlled strokes. Double-beveled knives require an equal number of light passes on both sides to preserve symmetry. If utilizing a dual-grit whetstone, start on the coarse grit side to grind away damaged metal and redefine the bevel, then flip to the fine grit side to polish away burrs and refine the sharp edge. Apply moderate, even pressure rather than heavy force, allowing the abrasive abrasive particles to perform the grinding work.
The Importance of Angles: 15 Degrees vs 20 Degrees
A general guideline in knife maintenance suggests holding the blade at either a 15-degree or 20-degree angle relative to the sharpener. However, this rule is not universal and must be adjusted according to the specific design of the knife. For instance, traditional Western or German style kitchen knives usually feature a 20-degree bevel per side for durability, whereas Asian or Japanese style blades often sport a acute 15-degree or 12-degree angle for precise slicing.
When sharpening a blade on a stone for the first time, consult the manufacturer guidelines to verify the intended factory angle. Additionally, expecting a blade to turn razor-sharp after merely five or ten random strokes is unrealistic. Real results depend heavily on blade hardness, current edge deterioration, and consistent stroke technique.
Method Three: Utilizing a Manual Pull-Through Sharpener
If holding a steady manual angle on a whetstone proves challenging, a manual pull-through sharpener serves as a user-friendly alternative. These compact units feature built-in V-shaped slots preset to specific grinding angles, eliminating guesswork for the user. Place the sharpener flat on a counter, grip the support handle firmly, and draw the blade backward through the slot following the product guide.
Avoid pressing down hard on the knife or sawing the blade back and forth inside the slot, as this can nick the steel edge. Pull the knife smoothly in a single backward motion from heel to tip. Furthermore, ensure compatibility before use; most pull-through sharpeners are engineered exclusively for straight-edged, double-bevel steel knives. Attempting to run serrated bread knives, ceramic blades, or single-bevel Japanese knives through standard slots can ruin the blade structure.
Risks of Sandpaper and Unverified DIY Hacks
Informal online tutorials sometimes recommend using general sandpaper or improvised household items to sharpen dull cutlery. While abrasive paper can technically remove metal, using unverified sandpaper sheets introduces severe risks. Inconsistent grit quality, improper backing support, and unguided angles often lead to uneven edge geometry or irreversible scratches across expensive blade faces.
Avoid experimenting with DIY abrasive tricks on premium, high-carbon, or specialty cutlery. Improvised solutions should never replace purpose-built sharpening equipment. If you feel unsure about proper sharpening mechanics, seeking out a trained professional knife sharpener is a safer investment for your culinary tools.
Post-Sharpening Clean-Up and Board Selection
Once sharpening or honing is complete, never put the knife directly to work on raw ingredients. Grinding leaves behind fine metallic dust particles and tiny burr fragments along the blade. Carefully wash the knife by hand using warm water and mild dish soap, keeping your fingers safely away from the razor edge, and dry it thoroughly with a towel immediately afterward.
Test the renewed edge on a clean wooden or plastic cutting board with a soft vegetable. If cutting still requires excess downward pressure, re-examine your angle technique or equipment rather than forcing the blade. To maintain long-term sharpness, avoid cutting directly on hard surfaces like granite countertops, glass platters, ceramic plates, or stainless steel, as these rigid materials quickly dull and damage fine knife edges.