























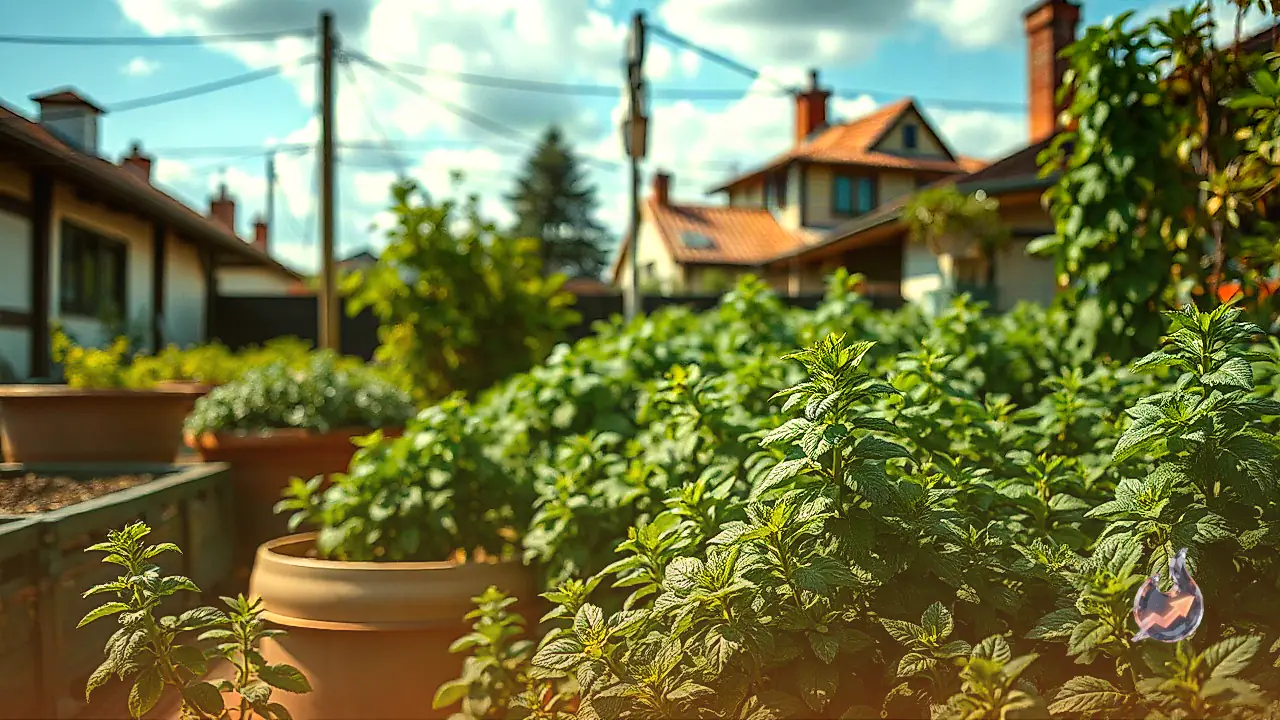

Few culinary additions compare to the vibrant aroma and refreshing taste of homegrown mint. Whether preparing chilled summer drinks, blending spicy chutneys, or adding fresh garnishes to salads, freshly picked mint leaves from a balcony container make an immediate difference. However, many home gardeners observe that their potted mint begins to lose vitality within a few weeks. New foliage slows down, stems stretch out and dry up, and the container looks sparse rather than lush. Pouring water alone will not reverse this decline. Container geometry, soil porosity, sunlight exposure, and disciplined pruning play decisive roles in plant vigor. Gardening expert Tarun Chopra has shared practical guidance on potting and maintaining mint plants to ensure they remain dense, vigorous, and vibrant year-round.
Choosing Wide Containers Over Deep Pots
The root system of a mint plant functions very differently from taproot species. Rather than digging straight down into deep layers of soil, mint roots and runners spread out horizontally near the surface. Because of this spreading habit, deep pots serve little purpose and can trap stagnant moisture beneath the root zone. A shallow container measuring roughly 10 to 12 inches in width provides the ideal geometry for healthy expansion, giving lateral runners ample surface area to anchor and shoot upward.
Container selection must also prioritize effective drainage. Gardeners should ensure that the base of the pot contains functional drainage holes to permit water egress. Stagnant moisture in the pot keeps the surrounding soil overly wet for prolonged periods, depriving delicate root tissues of oxygen and inducing root rot. Selecting a container that lets excess moisture flow out freely is the baseline requirement for maintaining healthy root health.
Propagating Mint Successfully from Stem Cuttings
Growing mint from stem cuttings represents the most straightforward and reliable propagation method. Select a robust, healthy mint stem and strip away the lower leaves to expose the nodes. Insert the lower portion of the stem gently into prepared soil. Roots will gradually emerge from the buried nodal points as the cutting settles into its new environment.
For those who encounter difficulty rooting cuttings directly in compost, rooting in plain water offers an effective alternative. Place the trimmed cuttings in a glass of water and keep them in bright, indirect light. Healthy white root systems typically develop within 10 to 15 days, after which the rooted cuttings can be transferred into a potting container. When planting cuttings into soil, avoid compressing the earth too firmly around the stems, allowing delicate root filaments to expand easily.
Formulating the Right Potting Mix and Nutrient Balance
Mint flourishes in light, well-aerated potting media that retains adequate moisture without collapsing into muddy waterlogging. According to the formula recommended by expert Tarun Chopra, an optimal soil blend combines regular garden soil, coco peat, vermicompost, neem fertilizer, and Epsom salt in balanced proportions.
The recommended potting recipe consists of 30 percent garden soil, 20 percent coco peat for moisture retention, 30 percent organic vermicompost to feed steady nutrients, 10 percent neem fertilizer to guard against soil pests, and 10 percent Epsom salt. Additionally, incorporating antifungal powder into the container helps safeguard roots from soil-borne pathogens. When measuring any commercial soil amendment or fertilizer, checking package directions ensures appropriate dosages without risk of chemical stress.
Managing Water Levels and Sun Exposure
Mint foliage prefers consistently moist conditions, but this moisture preference should never be confused with standing water. In hot weather, upper soil layers lose moisture rapidly, indicating the plant requires hydration. When watering, hydrate the soil thoroughly until excess liquid exits from the drainage holes beneath the pot.
Sunlight exposure must be managed according to local climate extremes. In intensely hot summer periods, direct midday sun can scorch tender foliage and deplete soil moisture prematurely. Potted mint performs best when positioned to receive gentle morning sun, followed by light shade or filtered light during the hottest hours of the day.
Harvesting and Pruning Techniques for Dense Growth
Regular pruning and harvesting form the single most effective method for turning a spindly mint plant into a dense, bushy mound. Regularly harvesting tender leaves and top shoots for everyday cooking keeps the herb productive while encouraging fresh lateral growth. Pinching or cutting the tip of a stem stimulates the dormant nodes directly beneath to branch out into multiple new shoots, multiplying the plant's leaf density over time.
Allowing mint to grow unchecked without harvest results in long, leggy stems. Furthermore, when the plant matures and enters its flowering phase, gardeners intending to collect seeds can leave one or two flowering stems intact while trimming back the rest. If seeds are not required, cutting away all flower buds directs energy back toward vegetarian leaf production, keeping the plant tidy and compact.
Minimalist Feeding Practices for Potted Mint
Mint does not demand heavy fertilizer applications, and over-feeding can compromise the essential oil concentration responsible for its signature taste. When nutritional support is needed, working approximately 100 grams of vermicompost into the upper soil layer provides sufficient nourishment. After applying compost, lightly mix the top layer of earth by hand and water moderately so roots can gradually absorb the released nutrients.