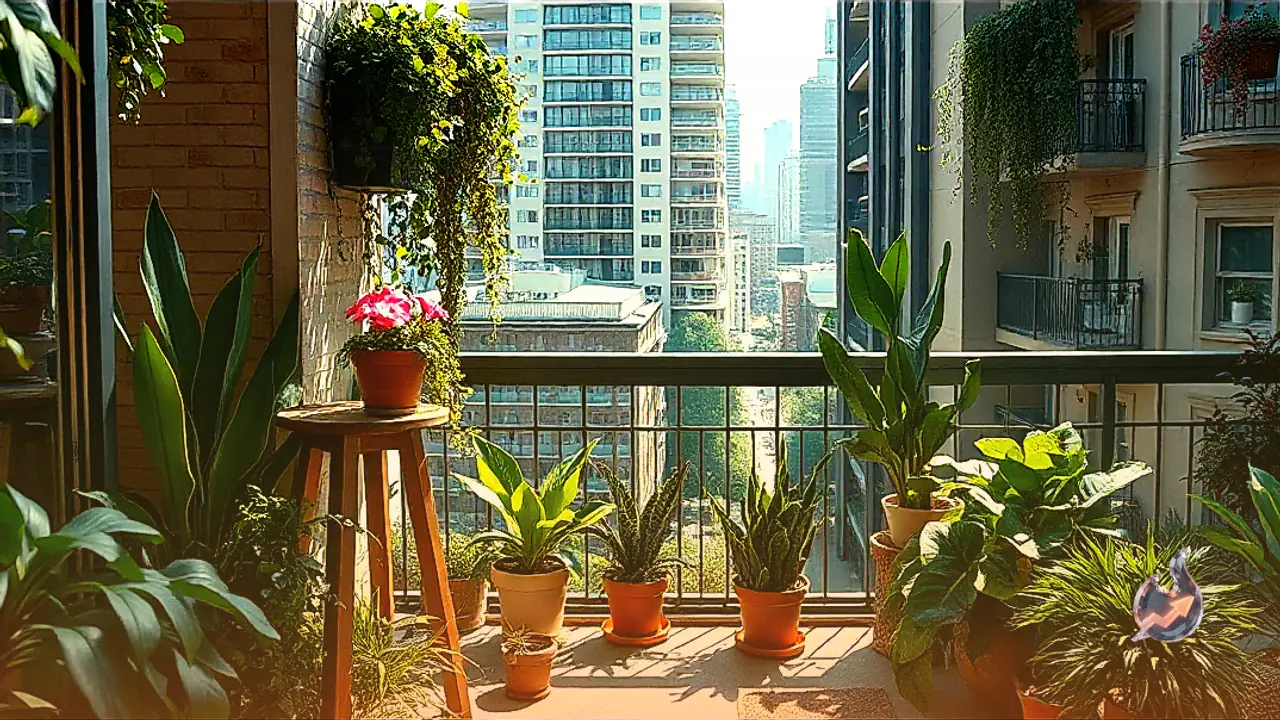






















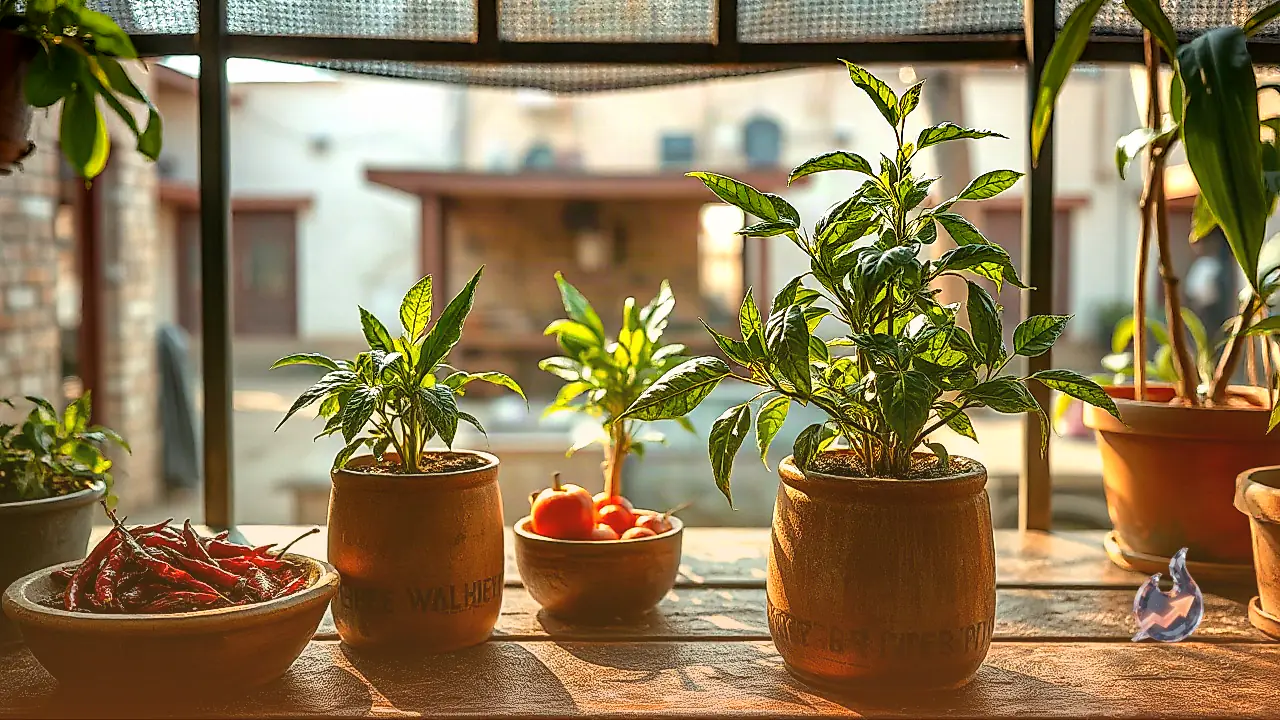

Running out of fresh green chillies right in the middle of preparing a meal is an everyday kitchen nuisance, often forcing an inconvenient run to the market. Cultivating a compact chilli plant right at home provides an easy and reliable solution to this recurring problem. You do not need an expansive garden or agricultural plot to produce your own harvest. A standard container placed on an apartment balcony, open terrace, or near a sunlit window receives enough light to support healthy growth. What makes this process even more accessible is that the dried red chillies already stored in your pantry contain viable seeds that can be used directly for planting. However, simply tossing seeds into the soil is not enough to guarantee results. Careful attention to soil composition, hydration balance, sunlight exposure, and timely trimming is essential to nurturing a productive potted plant.
Essential Supplies for Container Gardening
Setting up a chilli plant at home requires minimal tools and materials. First, you need healthy seeds harvested from dry red chillies, fertile soil, vermicompost or fully decomposed cow dung manure, and clean water. For the initial phase, compact containers or seedling trays work best. Once the seedlings mature and develop adequate root systems, they can be transitioned into permanent containers measuring roughly 10 to 12 inches across.
Extracting and Germinating Dry Chilli Seeds
The planting process begins by breaking open dry red chillies to collect seeds that appear plump, intact, and well developed. Discard flat, hollow, or discoloured seeds. To accelerate the germination timeline, immerse the selected seeds in a small bowl of water for roughly 2 to 3 hours. Following this brief soak, distribute the seeds across loose, prepared soil at a depth of about half an inch. Do not bury them under a heavy layer of dirt, as deep planting hinders young sprouts from emerging.
To maintain balanced moisture without displacing the seeds, moisten the soil gently using a spray bottle. Avoid dumping water directly from large jugs, which can wash seeds away or compact the top layer. Position the nursery pot in a warm spot that receives bright indirect light, keeping it sheltered from intense direct sunshine during early development. The germination window varies depending on temperature, season, and seed vitality. When the young shoot appears firm and shows vigorous growth, it is ready for transplantation.
Building the Right Soil Blend and Drainage
A loose, porous potting mix is crucial for pepper varieties because their roots cannot tolerate waterlogged conditions. Blend regular garden soil with vermicompost or thoroughly rotted cow dung manure to supply organic nutrients. Add appropriate amounts of coco peat or sand to improve porosity and prevent the soil from becoming overly dense and sticky.
The container must feature open drainage holes at the base to let surplus water escape freely. Stagnant water sitting around the root zone quickly causes root rot and stunting. Instead of keeping the potting mix soaked constantly, observe the soil surface and only add water when the top layer feels dry to the touch.
Repotting and Managing Sunlight Exposure
When the seedling reaches approximately 4 to 5 inches in height and displays several sturdy true leaves, it is time to shift it into a 10 to 12-inch pot. When removing the plant from its starting tray, take care to keep the soil ball around the root ball intact to avoid transplant shock. Keep the newly repotted plant in partial shade or gentle light for a short settling period. Once the root system establishes itself in the fresh medium, gradually move the container into full sun.
Chilli plants thrive under strong light conditions and need access to regular daily sunlight to flourish. Place the container in an open area that captures generous sun hours. In peak summer heatwaves, providing temporary shade during harsh afternoon hours helps protect the tender foliage from burning.
Exercise caution with your watering schedule. Check the moisture level in the topsoil before hydrating. Excessive, daily overwatering can saturate the root system and choke off oxygen. Conversely, letting the potting soil dry out completely for prolonged periods creates severe stress, slowing growth and flower set.
Pruning for Bushy Growth and Pest Management
As the plant establishes itself and gains vertical height, lightly pinching off the top growth tip encourages lateral branching. This targeted pruning redistributes plant energy away from single-stem vertical stretching, promoting a bushier structure with more flowering nodes. Avoid cutting back the main structure too aggressively. Always make cuts using clean, sharp pruning shears or scissors to avoid tearing the stem tissue.
Maintain soil nutrition by regularly supplementing small amounts of organic matter, such as vermicompost or well-rotted cow manure. Gently scratch the fertilizer into the topsoil and water lightly afterward. Routinely inspect the undersides of leaves and stems for early signs of tiny pests. If an infestation appears, spray with neem oil following the manufacturer label instructions for exact dilution ratios. Applying excessively concentrated solutions directly onto the foliage can cause leaf burn and damage the plant.