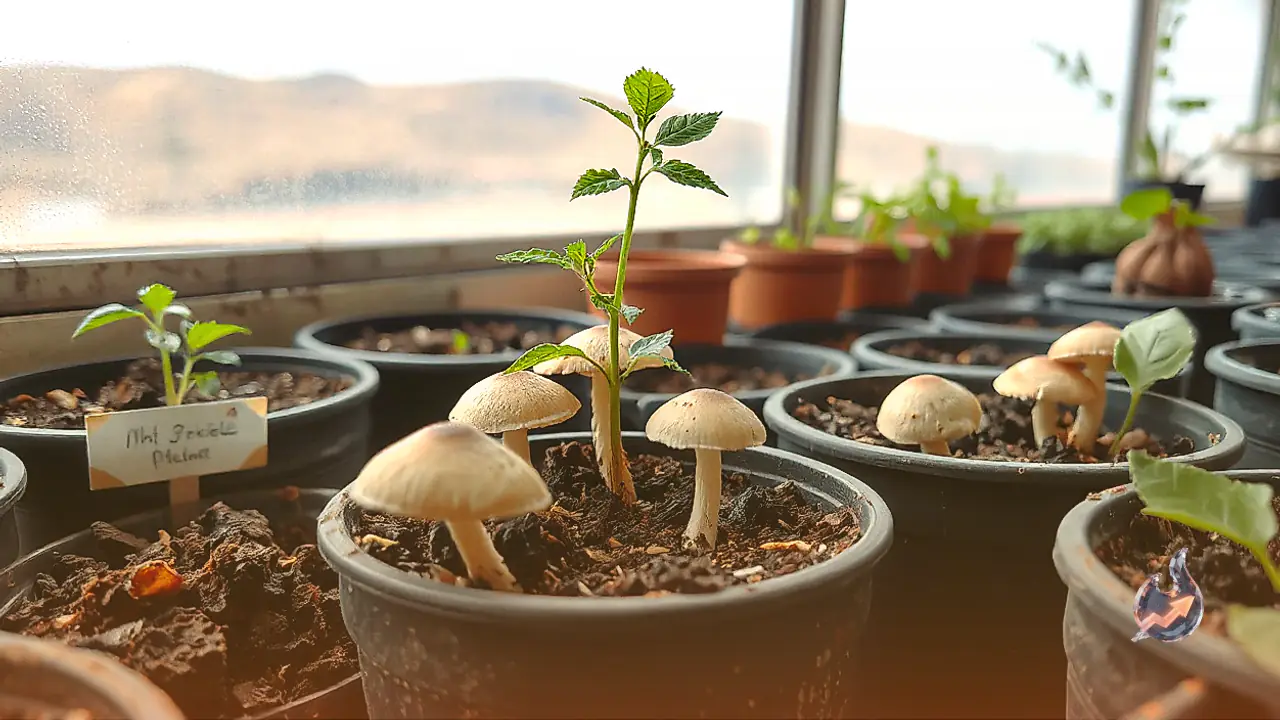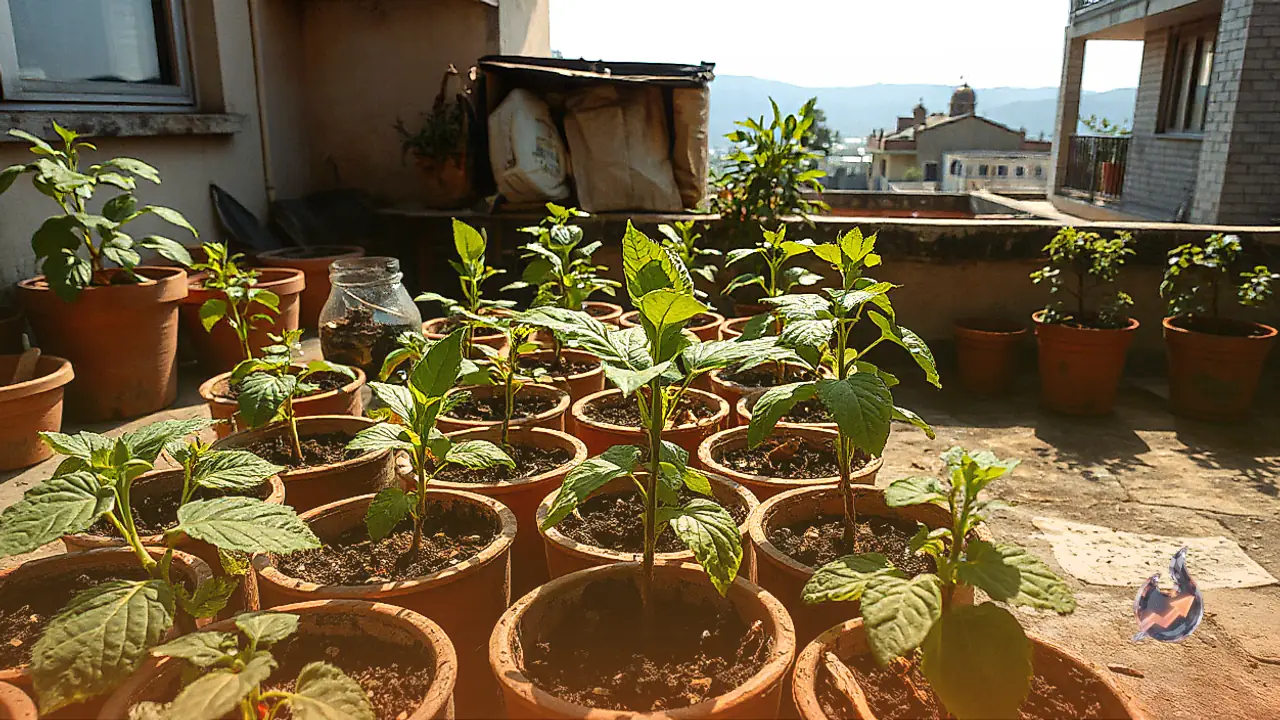























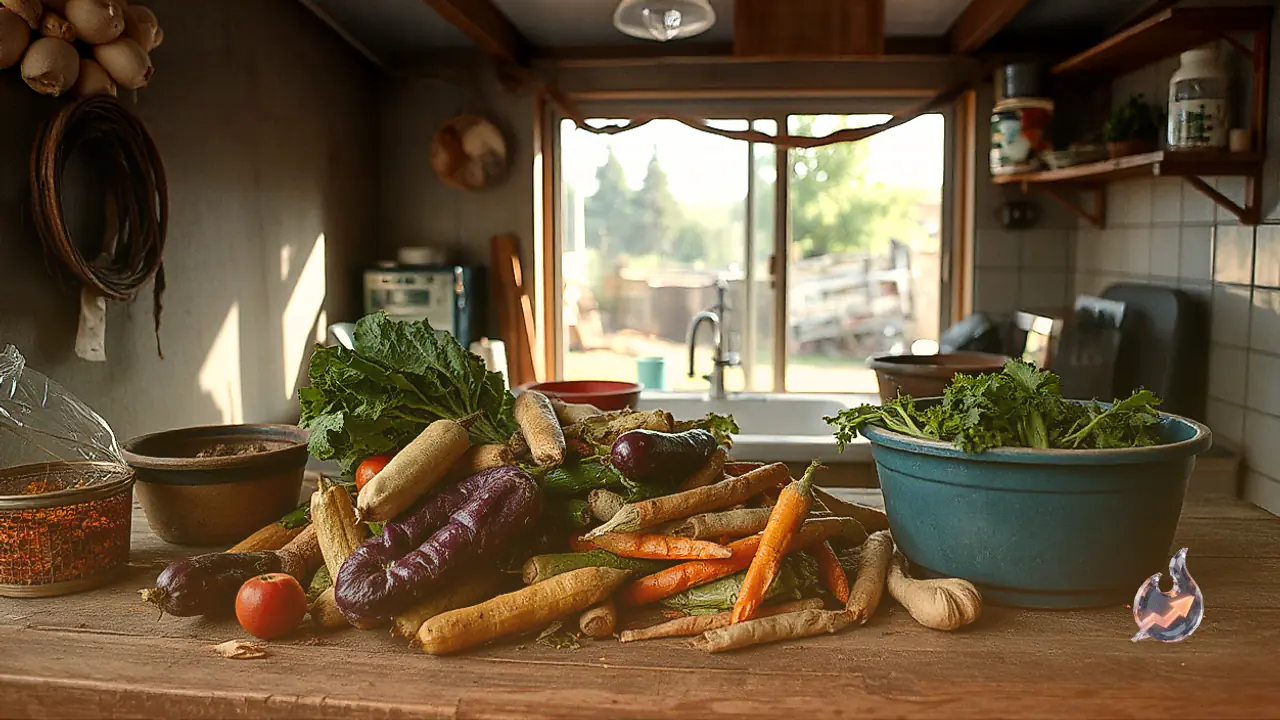

Trimming and prepping vegetables for everyday cooking invariably produces piles of scraps that head straight for the compost bin or garbage can. Yet many of these discarded vegetable bases, root clusters, and sprouted segments retain the natural vitality needed to regenerate. Utilizing kitchen trimmings to propagate new plants offers an accessible, zero-cost method to harvest fresh greens right from a windowsill while actively reducing household organic waste.
Sprouting Fresh Green Shoots From Scallion Root Bases
Green onions are among the simplest kitchen staples to regenerate at home. When preparing meals, the hollow green stalks are typically chopped away, leaving behind the white lower stem and its attached roots. Rather than throwing these white stubs out, place them in a small dish or glass filled with a shallow layer of water.
The root system should be fully submerged while the cut top remains above the waterline. Set the container in a location that receives gentle, indirect sunlight. A crucial maintenance step is changing the water every two to three days to keep it clean and prevent microbial stagnation. Within just a few days, bright new shoots will emerge from the center. Once root growth strengthens, these sprouts can be transferred into a pot filled with potting soil to support continued growth.
Regenerating Crisp Leaves From Discarded Lettuce Stems
The dense base of a lettuce head is commonly sliced off and discarded when preparing salads. However, that leftover core can serve as the foundation for an entirely fresh harvest of tender salad greens. To regrow lettuce, reserve approximately two inches of the bottom stem.
Place this cut base upright inside a shallow container and pour in enough water to keep the bottom submerged. Move the dish to a well-lit windowsill where it can absorb ample natural light. In a matter of days, tiny new leaves will begin pushing upward from the core. Once these leaves start flourishing and delicate roots form underneath, transplant the rooted base into a container with well-draining soil for sustained development.
Growing Fresh Celery Leaves From Salvaged Stalk Ends
Celery bases frequently end up in the trash once their crunchy stalks have been used for cooking. To give these scraps a second life, slice off roughly two inches of the thick root base. Rest the flat bottom inside a small bowl containing a shallow layer of clean water, ensuring the cut lower surface remains wet.
Keep the bowl in a brightly lit room that enjoys plenty of ambient light. Routinely clean the bowl and replace the water to keep the environment fresh. Within days, young yellow-green leaves will begin unfurling from the center. When healthy roots develop beneath the base, shift the plant into rich soil. Gardeners should note that regrown indoor celery may not always match the full girth and height of commercially cultivated supermarket bunches, but it provides a steady supply of flavorful leaves.
Planting Sprouted Garlic Cloves for Pungent Green Tops
Stored garlic cloves often develop small green sprouts protruding from their pointed tips over time. While many cooks view these sprouted cloves as past their prime, they are in fact primed for immediate planting. Select firm, healthy sprouted cloves rather than dried or damaged ones.
Insert each clove into a pot of soil with its pointed, green sprout facing upward, lightly covering the bulb while keeping the tip near the surface. Water gently to maintain consistent soil moisture, placing the planter in an area that receives adequate light. Slender green shoots will rapidly emerge, which can be snipped and used as aromatic garlic greens. If given sufficient growing space, proper seasonal conditions, and attentive care over several months, the clove can develop into a full underground garlic bulb. However, harvesting the greens alone provides a quick and rewarding return.
Cultivating Vigorous Potato Plants From Sprouted Eyes
Potatoes naturally form small depressions known as eyes, from which new sprouts push out when left in storage. These sprouting eyes are the key to multiplying potatoes at home. A common misconception is that burying thin potato peels will yield a crop; thin peelings alone lack the necessary energy reserves to produce healthy plants. Instead, slice a firm chunk of potato that includes at least one prominent, healthy eye.
Allow the cut piece to sit out at room temperature for a brief period so the exposed flesh dries and forms a protective callus, reducing the risk of rot once planted. Bury the dried chunk into a large container filled with soil, positioning the eye facing upward. Moisten the soil lightly and keep the pot in a location that receives ample sunlight. Potato plants demand substantial space and consistent sunlight to flourish, making deep pots ideal for their root systems.
Essential Guidelines for Successful Kitchen Scrap Gardening
Achieving healthy growth from leftover produce requires adherence to a few fundamental horticultural practices. Always select firm, fresh vegetable scraps that show no signs of rot, mold, or decay before attempting propagation. For any trimmings placed in water, refresh the liquid every two to three days without fail; if the water turns cloudy, foul-smelling, or slimy, discard the scrap immediately.
Ensure all emerging plants receive balanced light appropriate to their species, avoiding harsh scorching heat while providing sufficient brightness. Once roots take hold, transfer water-started cuttings into soil to give them necessary nutrients. Finally, verify that every planting container features drainage holes at the base, ensuring excess water drains away freely to safeguard delicate roots from rotting.