






















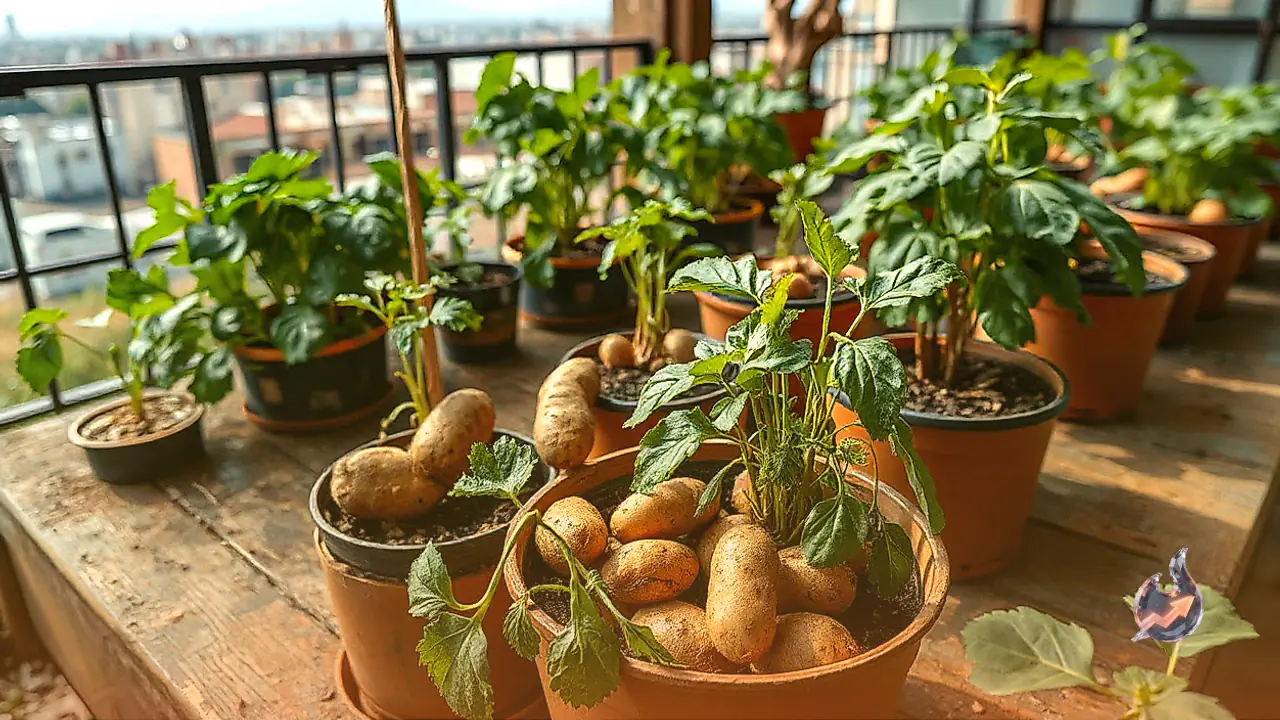

Growing vegetables on a domestic balcony or terrace is a fulfilling project for home gardeners, and cultivating potatoes in containers serves as one of the most accessible experiments. One of the greatest conveniences of this process is that sourcing specialized seeds from commercial markets is entirely unnecessary; an ordinary, healthy potato found in your kitchen basket can easily generate a thriving new plant. The small indented areas across the skin, commonly referred to as eyes, produce fresh green shoots that eventually mature into a complete bush. However, simply pushing a grocery tuber deep into common mud offers no assurance of an abundant harvest. Success relies directly on selecting the proper tuber, preparing an appropriately sized container, balancing the potting mix, and maintaining precise watering habits.
Selecting the Right Tuber for Germination
Using a potato tuber as propagation material involves steps that differ markedly from planting ordinary vegetable seeds. The tuber surface must display visible eyes, as these are the exact growth nodes from which roots descend and stems rise. For best results, select an individual tuber that already features at least two to three sturdy, emerging sprouts.
Tubers that are shriveled, excessively squishy, rotting, or visibly diseased must be rejected immediately. For optimum outcomes, sourcing certified seed potatoes designed specifically for farming remains the most reliable route. Everyday commercial table potatoes sold purely for cooking are often treated with sprout-suppression chemicals to extend storage shelf life, which can hinder sprouting and carry a heightened risk of introducing soil-borne plant pathogens.
Essential Materials Needed for Container Gardening
Establishing a productive container setup requires gathering the right foundational supplies before planting begins. The essential checklist includes
- A container, pot, or fabric grow bag measuring at least 12 inches in width and 12 inches in depth
- High-grade, well-draining garden soil
- Vermicompost or thoroughly decomposed organic farmyard manure
- Coco peat to retain moderate moisture while keeping the texture light
- A handheld spray bottle or watering mug for controlled irrigation
The chosen container must feature unobstructed drainage holes at the base. Because subterranean potato stems need ample physical room to expand and produce multiple tubers, compact or shallow pots should never be used.
Step-by-Step Planting Guide
Following a methodical cultivation sequence ensures that the young sprout transitions smoothly into an established, resilient plant.
Step 1: Encourage Sprout Development
Position the selected tuber in an area that receives gentle, indirect natural light and good ambient ventilation. Over a brief period, the dormant eyes will begin generating compact, vigorous shoots. Once these green or purplish shoots reach approximately 2 to 5 centimeters in length, the tuber is primed for container planting.
Step 2: Prepare the Container Soil Blend
Blend the garden soil, coco peat, and vermicompost thoroughly to create a porous growing medium. The final potting mix must allow excess water to drain freely while promoting continuous airflow around the subterranean root zone. Avoid filling the pot entirely to the top; fill only half or slightly more than half of the container depth during this introductory phase.
Step 3: Planting the Sprouted Tuber
Place the sprouted potato directly onto the prepared soil bed, making sure all emerging shoots point upward toward the rim. Cover the tuber with a 5 to 7 centimeter blanket of the soil mixture. Apply a gentle sprinkle of water to establish uniform moisture throughout the soil bed without soaking it into mud.
Step 4: Managing Growth Through Earthing Up
Within several days, lively green stems will pierce through the soil layer. As soon as the foliage reaches about 5 to 6 inches in height, gently fill in more soil and compost mixture around the base of the stems. Make certain that the uppermost crown leaves remain completely exposed above the fresh soil line.
This horticultural technique is known as earthing up. Repeat this layering routine gradually as the vine climbs higher until the container is nearly full. Earthing up prevents young shallow tubers from being exposed to direct sunlight while protecting them safely underground to stimulate higher tuber counts.
Daily Maintenance, Sunlight, and Irrigation Protocols
Containers must sit in a sunny spot that receives consistent daily sunlight throughout the morning and afternoon. Retaining consistent soil moisture is essential for development, but standing stagnant water inside the pot must be avoided under all circumstances, as waterlogging rapidly rots subterranean tubers. Apply water only when the surface layer begins to feel dry to the touch.
Regularly inspect the foliage to catch any signs of leaf pests or unusual discoloration early, applying targeted organic remedies when problems arise. Gardeners should also avoid administering excess chemical fertilizer, as too much nitrogen will stimulate excessive leaf growth while starving tuber production beneath the ground.
An important food safety rule involves green tubers: any potato that emerges above the soil and turns green from sun exposure must never be consumed. Direct solar radiation triggers green pigmentation and elevates natural compounds such as solanine, which can cause illness if eaten.
Harvest Timeline and Seasonal Windows
The duration required for potatoes to reach full maturity depends directly on the specific variety grown and prevailing climatic variables. Early-season cultivars generally wrap up their life cycle in roughly 10 to 12 weeks, whereas longer-season types often require 4 to 5 months to develop mature skins.
When the green vine leaves naturally yellow, wilt, and the lower stems dry out completely, the crop is signalling that tuber growth has finished. Stop all watering immediately once this dieback begins. After leaving the container undisturbed for several days to allow the soil to dry slightly, carefully sift through the loose earth by hand to retrieve the fresh harvest.
Across Madhya Pradesh and the broader plains of northern India, the customary window for sowing the winter rabi potato crop falls between October and November. Consequently, November offers an ideal starting period for establishing container potatoes at home. However, plants must be sheltered from sudden seasonal extremes, such as severe winter frost or unseasonable hot spells, to safeguard steady development.