






















If your car battery suddenly gives up while you are on the road, getting stuck can be quite frustrating. This risk increases significantly during the rainy and winter seasons. When a battery fails, most motorists simply wait around for a mechanic to arrive, but knowing a few practical tricks allows you to get your vehicle running on your own. Sometimes you might plan a long holiday with your family only to find that the car refuses to start at the last moment. Such a situation can completely disrupt your schedule and create numerous hurdles. Today, we explain the complete procedure for jump-starting a vehicle so that you can easily handle any such emergency.
Early Signs of a Failing Battery
To avoid a major hassle, it helps to recognize the warning signs before a battery dies completely. When you try turning on the car engine and hear clicking noises, stay alert. Additionally, if the dashboard lights suddenly dim or the power windows slow down drastically, you should understand that the car battery is about to give out. It is always wise to replace the battery before it completely drains. However, if you are unable to do so in time and your car stalls on the way, knowing the safe method to jump-start the vehicle ensures you can reach your destination safely.
Required Equipment and Precautions
When a car battery goes dead and you urgently need to drive, jump-starting is considered the fastest and most efficient option. While the process might sound technical and intimidating, it is far simpler than it seems. You simply need a second vehicle with a healthy, working battery, along with a set of jumper cables. Working with caution is essential during this process to prevent any damage to the car batteries or personal injury. Following safety protocols is the most crucial part of this procedure and should never be overlooked.
Step-by-Step Method to Jump Start
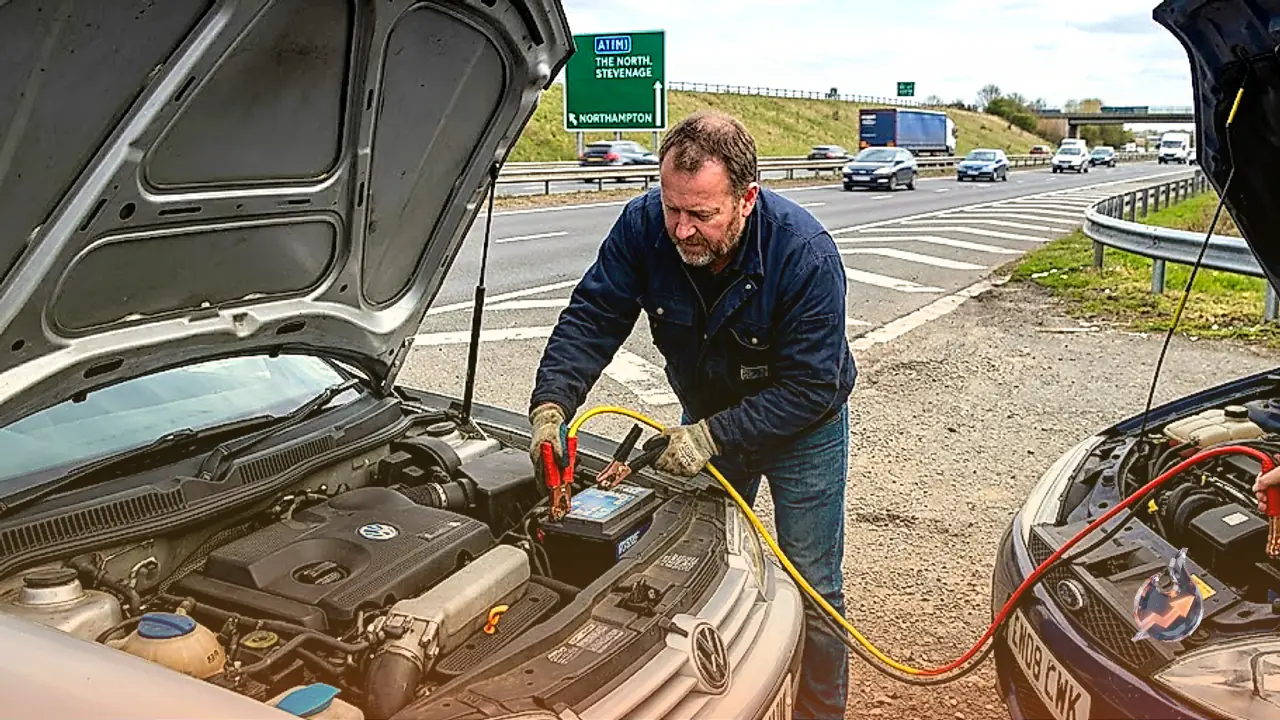
Start by parking both cars close enough so that their batteries are near each other. Keep in mind that both vehicles should face each other without touching. Batteries always feature positive and negative markings that require careful attention. Similarly, jumper cables consist of two colored wires, black and red. The red wire connects to the positive terminal, while the black wire connects to the negative terminal. Attach these wires to the battery of the car that is in good working condition.
Connecting Cables and Starting the Vehicle
When hooking up the cables, ensure you connect the positive terminal of one car to the negative of the other, and vice versa. Once the connections are secure, start the vehicle with the good battery and let it idle for a few minutes so that the dead battery can charge. After a few minutes, you can attempt to start the stalled vehicle. If this method fails to work, the battery is beyond saving and must be replaced.
Safe Removal of Jumper Cables
Once the car starts successfully, remove the jumper cables with extreme care to avoid any short circuits. First, disconnect the negative wire from the car with the dead battery, then remove the positive clamp and place it aside. Next, detach the red wire from the working car, followed by the black wire. Throughout this entire procedure, ensure the clamps never touch each other to prevent dangerous sparks. Keeping these guidelines in mind helps you manage car battery emergencies safely.