






















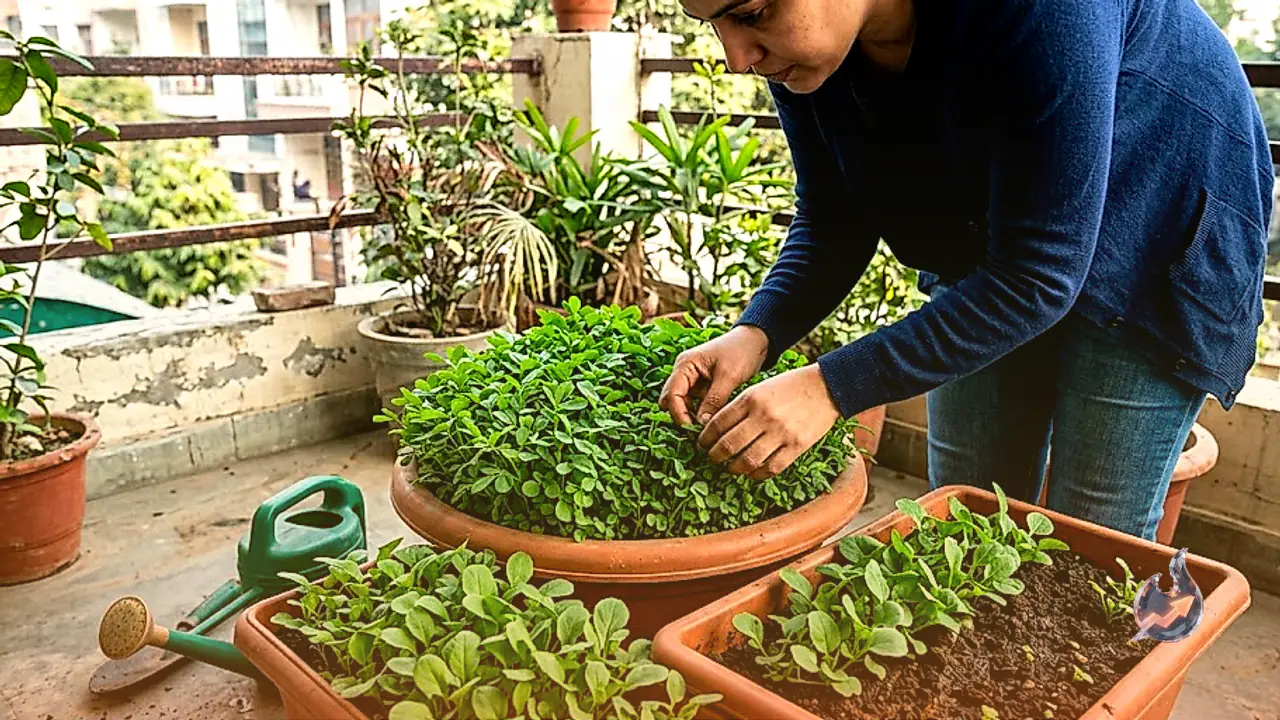

As the winter season begins to set in, vegetable markets overflow with fresh greens, and fenugreek or methi becomes a household favourite. Winter meals like radishes, cauliflower, and methi parathas simply feel incomplete without it. Methi is packed with abundant nutrients, containing high amounts of iron, calcium, vitamin A, vitamin C, protein, and magnesium, which together help boost overall immunity. If you love consuming fresh methi greens and parathas, you can easily grow them right at home. The month of October is considered the absolute best time for planting methi, and the seeds typically sprout within a maximum of 10 days. To help you get started, let us look closely at the easiest method for growing methi, including how to prepare the ideal soil and what fertilizers to use.
Choosing Containers and Preparing the Right Soil Mix
If you want to grow methi on your home terrace or balcony, it is best to use grow bags or large pots. The width of the grow bag should be at least 24 inches and the height should not be less than 12 inches to allow ample room for root development. The soil mix must contain a high proportion of organic matter. Combine about 60 percent regular garden soil with 30 percent well-rotted cow dung manure or vermicompost. Mix in the remaining 10 percent with cocopeat or fine sand to improve drainage and moisture retention. Additionally, make sure to add neem cake and a pinch of turmeric powder to the soil mixture. The turmeric powder acts as a natural fungicide to protect the tender roots from fungal infections. Bring home good quality seeds from the market or carefully handpick the largest and healthiest methi seeds from your kitchen pantry. Soak these seeds in water overnight before sowing them into the prepared pots or grow bags. Cover the seeds lightly with a thin layer of soil on top and give them a gentle watering.
Place the grow bag in a sunny spot where it receives 4 to 5 hours of sunlight daily. Within two to three days, the methi seeds will germinate and sprout. Once sprouted, methi plants grow at a very rapid pace, and within just 15 days, lush green shoots will start thriving in your pots. Methi plants do not appreciate excessive moisture, so you should only water them when the top layer of the soil in the grow bag feels completely dry. Overwatering can easily damage and rot the young plants. The methi crop becomes completely ready for harvesting after 25 days, and it is recommended to add a mild fertilizer once every 15 days to maintain soil fertility.
Harvesting Techniques and Companion Planting with Coriander
You can begin harvesting your methi crop from one side after 30 to 35 days. Methi plants are typically pulled out from the roots during harvesting. If you prefer, you can sow fresh methi seeds again in that exact same spot. By doing this systematically, you can keep harvesting methi from one section of the grow bag while a new batch continues to sprout on the other side. If you wish, you can also grow fresh coriander right alongside methi in the same grow bag. To plant coriander, gently rub the seeds between your hands to split them into two halves, and then soak them in water for 5 to 6 hours before sowing. Fresh coriander can thus be grown easily and successfully right alongside your methi crop.