






















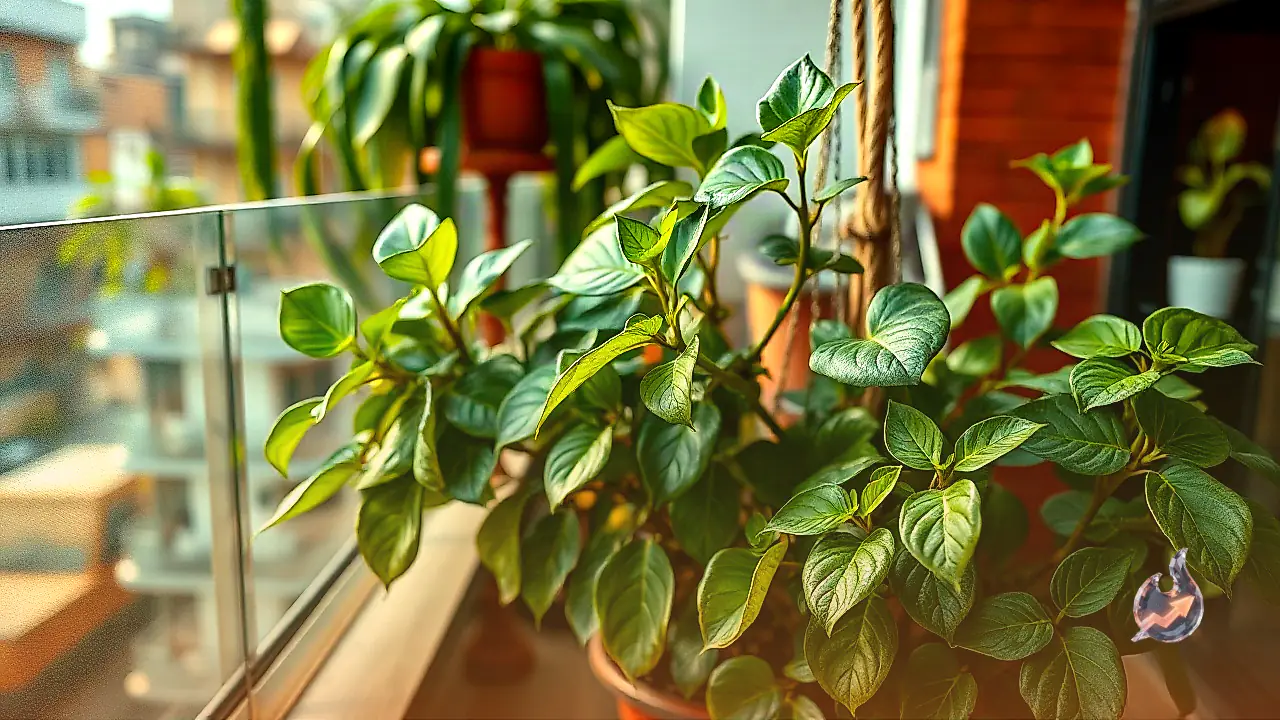

Curry leaves hold a treasured status in Indian culinary traditions, acting as an indispensable aromatic element for dishes ranging from crisp poha to rich dal tadka and flavorful sambar. Renowned not only for enhancing flavor but also for their potent medicinal attributes, these leaves have become a favorite addition to home gardens. Growing a curry leaf plant on an apartment balcony or terrace is surprisingly straightforward. By aligning your planting schedule with favorable weather and adopting correct container care, you can secure a continuous supply of fresh, organic leaves right at home for years to come.
Selecting the Ideal Planting Season and Climate
Curry leaf plants thrive most vigorously in warm, humid environmental conditions. To achieve maximum growth success, planting should ideally be carried out during two specific seasonal windows during the year: from February to April as temperatures warm up after winter, and from July to September during the monsoon months. These periods offer optimal ambient temperatures that encourage rapid root expansion and healthy foliage development. Conversely, gardeners should avoid planting during peak winter or frosty conditions, as cold stress can severely stunt the plant growth cycle.
Choosing Between Nursery Saplings and Seeds
When starting your balcony garden, selecting the right starter material determines how quickly you get results. Curry leaves can be grown either from seeds or by acquiring a small sapling from a garden center. Starting from seeds requires considerable patience, as germination and initial growth progress slowly. For beginners and home gardeners looking for quick setup, purchasing an established, healthy sapling from a nursery is by far the most convenient approach, allowing the plant to acclimate rapidly to its new pot.
Selecting Containers and Preparing the Potting Soil Mix
Because curry leaf roots require adequate space to stretch and absorb nutrients, selecting a pot that is at least 12 to 15 inches deep is critical for long-term health. The container must feature functioning drainage holes at the bottom to prevent water stagnation. The soil composition should balance nutrient richness with proper drainage capacity. Prepare a custom potting mixture using 50 percent regular garden soil, 30 percent well-decomposed cow dung manure or organic compost, and 20 percent sand. This specific blend guarantees good aeration, keeps roots oxygenated, and provides necessary sustenance.
Step-by-Step Planting Procedure and Routine Care
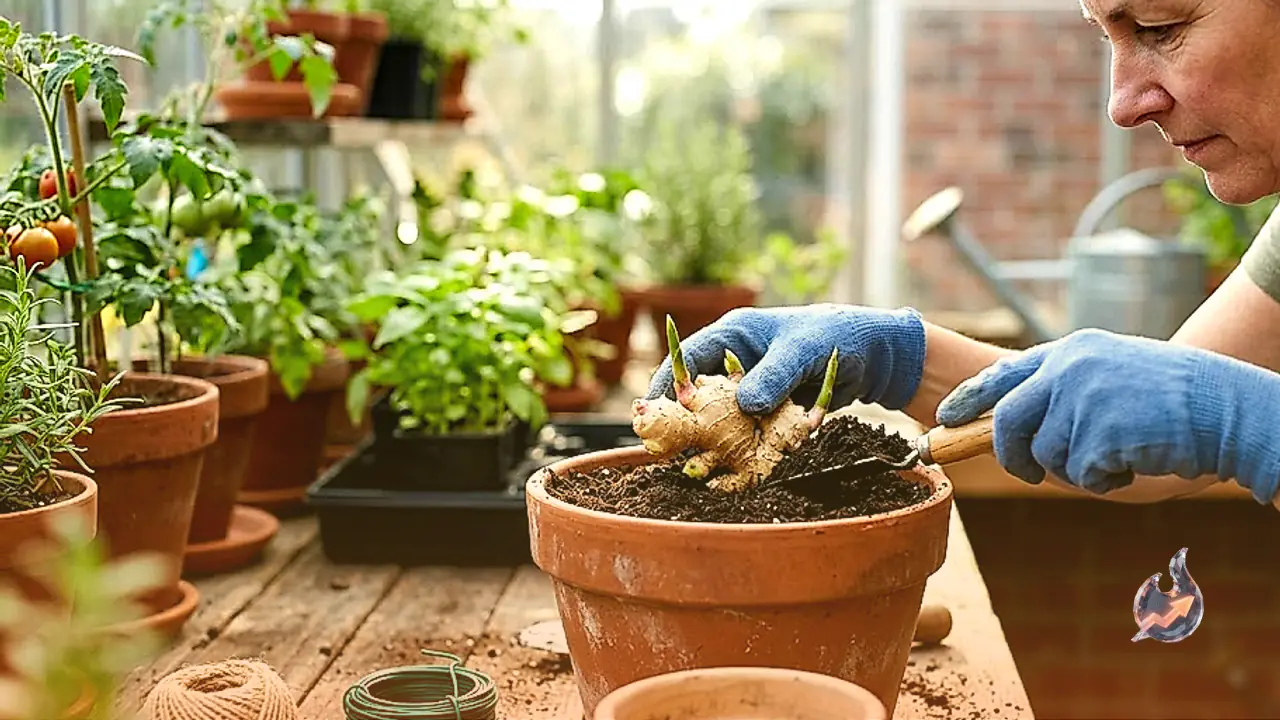
To plant your sapling, fill the prepared container with the soil mix and dig a small depression in the center. Carefully remove the young plant from its nursery container, position it upright in the hole, and press the surrounding soil down firmly to secure it. Water gently immediately after planting to settle the soil. If planting seeds, bury them roughly half an inch deep and maintain consistent moisture. Place the pot where it receives 5 to 6 hours of direct sunlight daily. Water only when the top layer of soil feels dry to the touch, as overwatering can lead to root rot. Feed the plant with organic fertilizer once a month, and routinely prune away any dry or yellowing leaves.
Encouraging Bushy Foliage and Pruning Techniques
With consistent care, sunlight, and proper feeding, your plant will begin producing fresh green leaves within a few months. The secret to transforming a spindly plant into a dense, bushy shrub lies in regular harvesting and gentle pruning. Regularly pinching off the top leaves triggers lateral branching, encouraging multiple new shoots to emerge. This continuous harvesting cycle keeps the plant robust, healthy, and abundant for daily cooking needs.