





















As the auspicious festival of Rakshabandhan approaches, homes across the country fill with sweetness, joy, and the eager anticipation of family reunions. Among the wide variety of traditional Indian sweets, spongy white rasgullas dripping with sweet sugar syrup occupy a truly special place. Walking past a sweet shop and catching a glimpse of a container packed with fresh rasgullas is enough to tempt anyone. However, rather than purchasing commercial sweets from the market, crafting authentic halwai-style rasgullas right in your own kitchen brings an unmatched sense of celebration, provided you follow a straightforward and reliable recipe.
Home cooks frequently encounter two major hurdles when attempting to make rasgullas from scratch. The first challenge lies in preparing chena with the ideal moisture content, while the second involves maintaining that light, airy, and spongy texture after cooking. In many instances, the chena balls either disintegrate inside the boiling sugar syrup or turn overly dense and tough, failing to replicate the tender mouthfeel of bakery-made sweets. By paying close attention to the moisture level of the chena, mastering the kneading technique, and strictly following proper cooking times, achieving perfection at home becomes remarkably easy. Utilizing a standard pressure cooker significantly reduces cooking time while delivering outstanding results.
Essential Ingredients Required for Soft Rasgullas
Preparing authentic rasgullas does not require an overwhelming list of expensive items. You can easily make them using basic kitchen staples. The primary ingredients needed for this recipe include
- Milk: 1 liter (fresh full-cream milk works best)
- Maida (Refined Flour): 1 teaspoon (for binding)
- Sugar: 1 cup (for sugar syrup)
- Water: 3 cups (plus additional water for rinsing chena)
- Lemon Juice: Juice from approximately half a lemon
It is important to remember that pure lemon juice should never be added directly to hot boiling milk. Always dilute the extracted juice with a small amount of water first, allowing the milk to curdle gently and evenly.
Step 1: Preparing Soft and Fresh Chena from Milk
The overall quality and softness of your rasgullas depend entirely on how well the chena is made. Begin by pouring 1 liter of milk into a heavy-bottomed vessel or pan and bringing it to a complete boil. As soon as the milk comes to its first boil, reduce the heat to low. Slowly add the diluted lemon juice a little at a time using a spoon, stirring the milk gently as you do so.
Within moments, the milk will curdle, separating into solid white chena curd and a pale greenish liquid whey. Turn off the flame immediately. Place a fine strainer over a large bowl and line it with a clean piece of muslin or cotton cloth. Pour the curdled milk into the cloth to drain the whey. Reserve a small portion of this whey liquid in a separate cup, as it can be added to the sugar syrup later for enhanced flavor.
Immediately after straining, rinse the chena 2 to 3 times thoroughly under clean cold water. This step is essential to completely wash away any residual sourness and aroma left by the lemon juice. Next, gather the corners of the cloth and squeeze gently to drain out excess water. Be careful not to squeeze it bone-dry; retaining a hint of moisture inside the chena is critical for keeping the rasgullas soft.
Step 2: Kneading the Chena and Shaping Crack-Free Balls
Transfer the drained chena onto a wide plate or tray. Using the heel of your palm, knead the chena continuously for about 5 minutes. Although this process requires some physical effort, it plays a vital role in creating the smooth, spongy texture characteristic of ideal rasgullas. Once the chena turns completely smooth, soft, and uniform without any graininess, add 1 teaspoon of maida flour. The flour acts as a binding agent to prevent the balls from breaking apart during boiling.
Mix the flour thoroughly into the chena until you have a smooth, pliable dough. Divide the mixture into equal small portions and roll them gently between your palms to form round balls. Pay close attention to ensure that the surface of each ball is perfectly smooth and free of any cracks. Even a tiny crack on the surface can cause the rasgulla to split open when submerged in boiling syrup.
Step 3: Cooking Rasgullas in a Pressure Cooker with Two Whistles
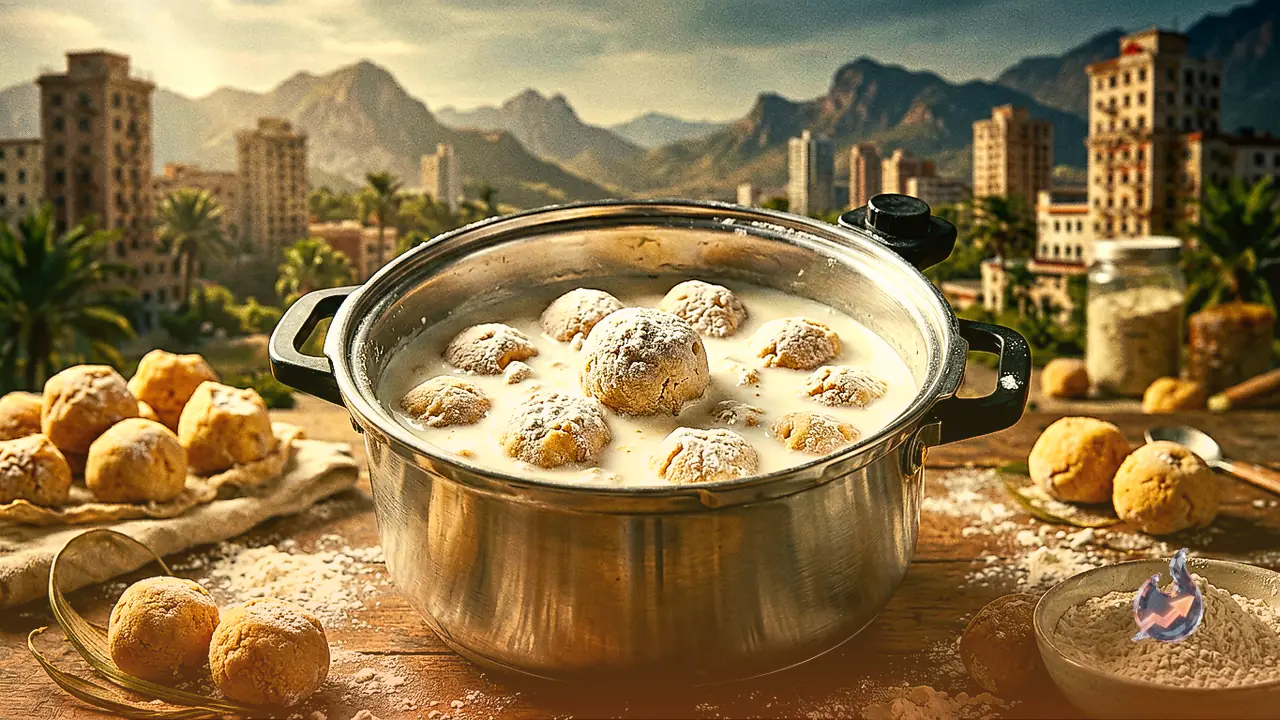
Once all the chena balls are shaped, combine 1 cup of sugar and 3 cups of water in a pressure cooker. If you set aside a small amount of reserved whey liquid, you can pour it into the cooker at this stage as well. Place the cooker over high heat and bring the sugar syrup to a rolling boil. Carefully drop the prepared chena balls one by one into the bubbling syrup.
Do not lock the pressure cooker lid initially. Simply place the lid loosely on top of the cooker and allow the rasgullas to boil uncovered on high heat for 5 minutes. After 5 minutes, seal the cooker lid properly with its weight in place. Cook on high heat for exactly 2 whistles. Turn off the stove immediately after the second whistle. Do not lift the weight to release steam manually; allow the internal pressure to drop naturally on its own.
Open the cooker lid only after all the steam has escaped completely. You will notice that the rasgullas have expanded to almost double their original size. Cooking them thoroughly in syrup creates a light and spongy structure. Allow them to cool down to room temperature before transferring them to the refrigerator for a few hours. Serving these rasgullas chilled makes them taste even more delicious.
Step 4: Crucial Mistakes to Avoid During the Process
By keeping a few important guidelines in mind, you can achieve perfect halwai-style rasgullas every single time. Ensure your chena is neither too wet nor completely dry. Never skip rinsing the chena thoroughly after curdling, as any leftover lemon taste will spoil the sweetness. Take ample time to knead the chena properly, because grainy chena yields hard rasgullas. Make sure the balls have no surface cracks and that the sugar syrup is boiling vigorously before adding the balls. Finally, never force the pressure out of the cooker prematurely, as sudden pressure drops can cause the rasgullas to collapse.