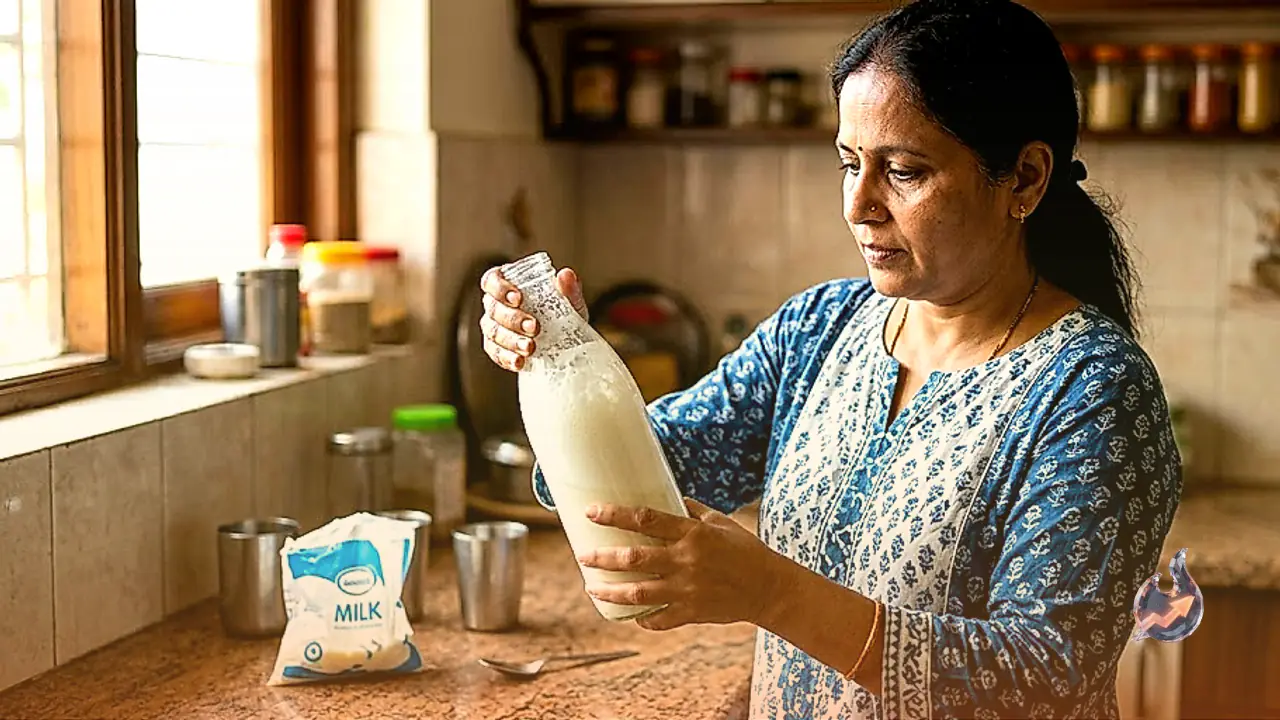























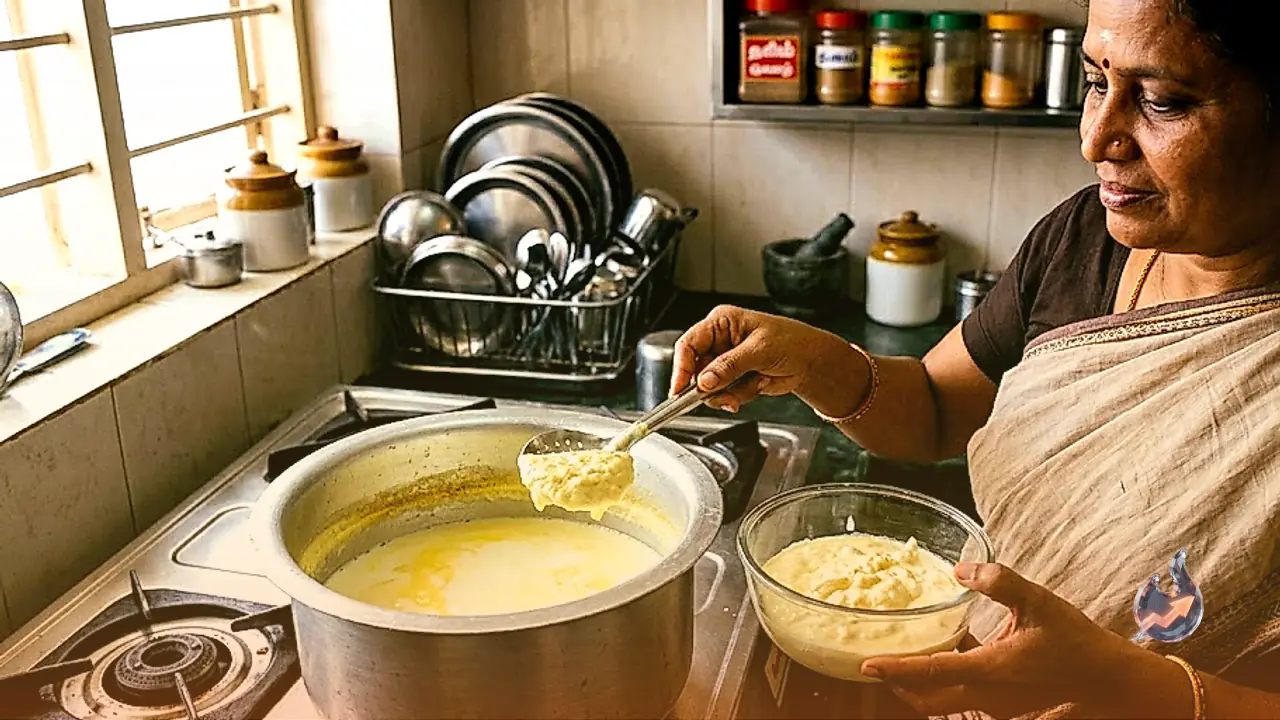

Boiling milk every morning does not automatically guarantee a thick layer of cream on top, and plenty of kitchens struggle to collect enough malai in a week to churn out proper ghee or butter. The real reasons usually come down to the type of milk used, how it is boiled, and a small mistake made while cooling it, and fixing these steps can make a bowlful of thick cream form in just a few days.
Start with the right kind of milk
Homes where cream refuses to set thick are usually using toned or packaged light milk. Toned and double-toned milk carry very little fat to begin with, so no matter how long it is boiled, a thick layer rarely forms on top. If the goal is not just drinking milk with tea but actually making ghee and butter at home, switching to full cream milk from the very start makes all the difference. Full cream milk naturally carries far more fat, and it is this fat that rises and sets as a thick cream once the milk cools down.
Why slow boiling is the real trick
Pour the milk into a large, deep vessel and let it simmer on a low flame for 10 to 15 minutes without a break. Rushing the process on a high flame and switching off the gas too soon is one of the biggest mistakes, because the cream never gets enough time to thicken. A long, slow simmer changes the milk's natural texture, making it denser, and that denseness is exactly what forms the base for a thick cream layer later. Resting a large wooden spoon across the top of the vessel while it simmers also stops the milk from boiling over, saving both the stove and the milk from being wasted.
Use a mesh cover, never a plate, while cooling
Once the milk has boiled, turn off the gas but avoid sealing the vessel with a plate. Cover it instead with a mesh or strainer. Cream only sets thick when hot milk comes into direct contact with cool air, which makes the fat on the surface rise quickly and settle into a dense layer. Covering the vessel with a plate traps the steam inside, which then condenses and drips back into the milk, leaving the cream thin and weak. Only after the milk has cooled completely to room temperature should the vessel be carefully moved into the fridge. Within about two to three hours inside the fridge, a thick, dense layer of cream becomes clearly visible on the surface. Lift this cream off gently with a spoon, transfer it into an airtight container or a lunchbox, and keep it stored in the fridge.
A few precautions while storing the cream
Always keep the collected cream in an airtight container, since cream left in an open vessel can absorb odours from the fridge and change taste over time. It also helps to make sure the container is completely dry each time fresh cream is added to it, so the cream stays fresh for longer and does not spoil before there is enough to churn.
A bowlful of cream in just three days
Anyone unwilling to wait weeks for enough cream to make ghee can repeat this entire cycle, boiling, cooling and skimming, two to three times in a single day. Repeating the process three times in a row brings noticeably better results, and more than a bowlful of cream can be collected within just two to three days. This small daily effort pays off later, because when this thicker cream is finally used to make ghee or butter, it yields two to three times more than cream collected the usual way.
Turning a bowlful of cream into a generous batch of ghee
Getting the most out of stored cream calls for one last step. A day or two before making ghee, mix in a little curd or a starter culture and leave the cream at room temperature so it turns properly sour. This soured cream is then churned well to separate the butter, which is cooked on a low flame afterward. Cooking it this traditional way turns a bowlful of cream into roughly a pavbhar, close to 250 grams, or sometimes even more, of pure, granular ghee.