




















Every iPhone already has a genuinely capable camera built in, yet the settings Apple ships out of the box are tuned for an average shooter rather than someone chasing the sharpest possible photo or the cleanest possible video. A handful of adjustments tucked inside the Settings app and the Camera app itself can unlock true 4K footage, richer photo detail, safer low-light shots, easier file sharing and far less accidental button-mashing inside a pocket. None of these changes cost anything, and most take under a minute to apply.
Apple has let iPhones record 4K footage since 2015, but new recordings still default to 1080p because that keeps storage use down, and the same trade-off applies to Slo-mo clips on phones that support 4K slow motion. Anyone who values quality over free space should open Settings, then Camera, then Record Video, and pick 4K at whichever frame rate suits the footage. Shooting at 24 frames per second keeps files smallest and mirrors the look of a movie, while 4K at 120 frames per second produces the smoothest motion but eats through storage fastest. While inside that menu, it is worth switching off Enhanced Stabilization, which trims the edges of the frame to smooth out shake, and HDR Video, which can leave footage looking unnaturally bright. Backing out one screen and tapping Record Slo-mo applies the same resolution and frame-rate logic to slow-motion clips. The Camera app itself offers a shortcut too: tapping the menu in the corner, top left in portrait orientation or bottom left in landscape, surfaces the same resolution and frame-rate controls without a trip through Settings at all.
Apple strikes a similar balance between file size and image quality for still photos. ProRAW is Apple's raw image format, and it packs far more information into every shot than a standard JPEG does, which pays off both when editing a picture afterward and when printing it at a large size. iPhone 12 Pro and later can shoot ProRAW, while iPhone 14 Pro and newer add ProRAW Max, which captures even more image data and can push a single photo up to 48 megapixels. That much detail is genuinely useful for big prints or heavy edits, but it is not free: Apple states that ProRAW files run 10 to 12 times larger than an equivalent JPEG, and larger still once a shot hits 48 megapixels. The toggle sits at Settings, then Camera, then Formats, then ProRAW and Resolution Control. On iPhone 14 Pro and later, the megapixel count itself gets adjusted directly inside the Camera app by tapping the format button in the corner; on older ProRAW-capable phones, that same choice stays inside the Settings menu.
Stopping the camera from opening by accident
Apple builds in several different ways to jump straight into the Camera app, and on newer Pro models there can be as many as five of them at once: a Home Screen icon, a Control Center tile, a long-press shortcut on the Lock Screen, a left swipe from the Lock Screen, and a dedicated Camera Control button on the side of the phone, on top of simply asking Siri to open it. That many entry points makes it easy for the camera to fire up by accident inside a pocket or bag, quietly draining the battery in the process. Each one can be switched off individually. The Home Screen icon goes away by long-pressing it and choosing to remove it from the Home Screen only, rather than deleting the app entirely. The Control Center tile disappears by opening Control Center, tapping the plus button in the corner, and hitting the minus sign next to the Camera tile. The Lock Screen shortcut is removed by long-pressing an empty spot on the Lock Screen to open the editor, tapping Customize, then tapping the minus next to the Camera shortcut, which can then be replaced with a different shortcut or simply left blank. The swipe gesture is switched off inside Settings, then Camera, by scrolling down and disabling Lock Screen Swipe to Open Camera. The physical button is handled at Settings, then Camera, then Camera Control, by choosing None.
Pointing Camera Control at a different app entirely
That same Camera Control settings screen lists every photography app installed on the phone, not only Apple's own Camera app, because the setting also controls which app opens when that physical button is pressed. That means the button can be reassigned to launch a third-party camera app instead of the built-in one. Apple's stock Camera app takes solid everyday photos, but it does not expose the kind of manual controls, such as shutter speed, ISO and white balance, that dedicated photography apps offer. One option worth trying for a more deliberate, manual shooting style is Halide, though it has since moved to a subscription pricing model. Camera Control can just as easily be pointed at a social app that has its own built-in camera, such as Instagram or Snapchat, for anyone who shoots straight into those apps most of the time anyway.
Mounting the phone on a tripod for stronger Night mode shots
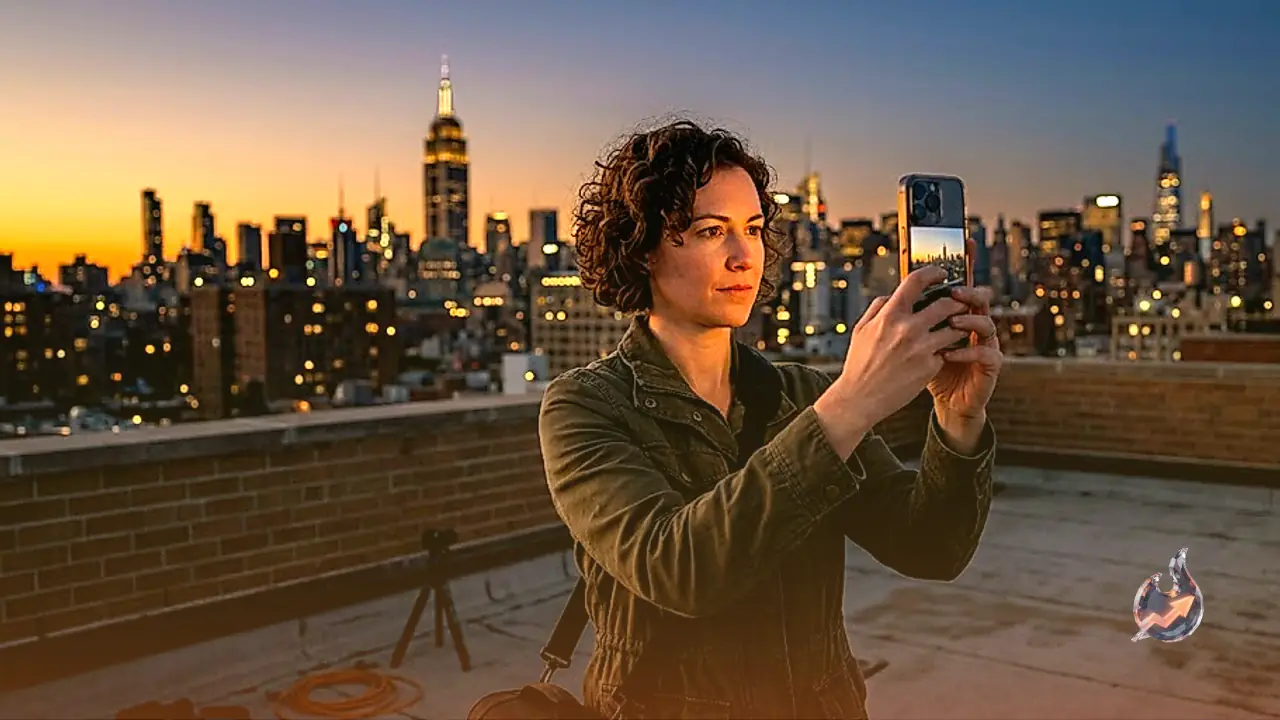
Night mode took a while to arrive on iPhone, but it earns its keep by pulling a usable, flash-free photo out of near total darkness. By default it plays it safe, weighing both how dark the scene is and how steady the phone is being held, and shortening the exposure whenever there is a real risk of blur from shaky hands. The exposure length can be stretched manually, but reaching the full 30-second maximum realistically requires the phone to stay completely motionless, something a handheld shot rarely manages. Setting the phone on a tripod solves that problem outright: with the phone held rock steady, iOS becomes willing to offer the full 30-second option and pulls in noticeably more detail than a handheld shot ever could. In practice, once it is dark enough for the Night mode icon to appear in the top corner of the frame, a long press on that icon brings up a slider; choosing Max (30s) next to Night Mode, then taking the photo and letting the full exposure run its course, produces the most detailed result the feature can offer.
Using the wide front camera for bigger group selfies
The familiar group selfie routine, an arm stretched out as far as it will go with the phone turned sideways, is close to muscle memory for most people by now, but Apple's newest phones make it unnecessary. Held upright rather than turned to landscape, recent iPhones can still capture a wide selfie frame. Opening the Camera app, switching to the front camera, and tapping the icon of a person inside a frame that appears above the shutter button widens the shot as though the phone had been rotated, without it actually moving at all. Unless the group is unusually large, that widened frame is often enough to fit everyone without any further adjustment, and the same trick carries over to video, effectively turning the front camera into a capable 16:9 vlogging setup.
Turning on Preserve Settings so the camera stops resetting itself
Camera settings that get carefully adjusted only to snap back to Apple's defaults the next time the app opens are a Preserve Settings problem, not a bug. That option, found at Settings, then Camera, then Preserve Settings, keeps chosen settings in place between sessions instead of reverting them automatically. It can be switched on individually for Camera Mode, Photographic Style, Creative Controls, Depth Control, Macro Control, Exposure Adjustment, Night Mode, Portrait Zoom, Action Mode, ProRAW and Resolution Control, Apple ProRes and Live Photo, which means only the settings actually worth keeping need to be enabled.
Switching to Most Compatible before sharing files elsewhere
Photos and videos that refuse to open on a friend's phone or on a Windows computer are usually a format mismatch rather than a broken file. By default, Apple shoots photos as HEIC and video as HEVC, both efficient formats that keep file sizes down but are not universally supported everywhere. It is less of a problem than it used to be, but still worth knowing about the moment someone cannot open a shared photo or clip. Switching Settings, then Camera, then Formats from High Efficiency to Most Compatible fixes the problem, at the cost of noticeably larger file sizes going forward. A handful of video settings will still force the format back to High Efficiency no matter what, including Cinematic mode, 4K at 60 frames per second or higher, and HDR video recording.
Turning on the grid to frame shots more precisely
Composition is genuinely hard to judge accurately on a phone-sized screen, and the iPhone's built-in grid overlay helps line up a shot and place a subject exactly where it belongs inside the frame. It switches on at Settings, then Camera, under the Composition heading, where a Level option also sits, which helps keep horizons straight in landscapes and architecture shots.
Recording straight to an external drive for professional footage
Apple's Pro iPhones can shoot in ProRes, a professional-grade video codec, and in Log, which hands editors far more room to work with during color correction later. Footage shot in Log looks deliberately washed out straight out of the camera, but that is by design, since the color information is preserved in the file rather than displayed on screen in real time. Both formats produce enormous files: switching to ProRes Log can trigger an on-screen warning about the iPhone freeing up resources just to record a few minutes of footage, which is exactly why Apple never sets either one as the default. The way around that storage ceiling is an external SSD connected directly over USB-C on iPhone 15 Pro or later, which lets footage record straight to the drive instead of the phone's internal storage. That drive can then be plugged directly into a computer for editing without ever touching the files stored on the phone itself. On a 128GB iPhone 15 Pro, in fact, that is the only way to shoot ProRes video at 4K at all, since the phone's own storage cannot handle it. Apple publishes specific setup instructions and drive requirements that are worth checking before buying one.