




















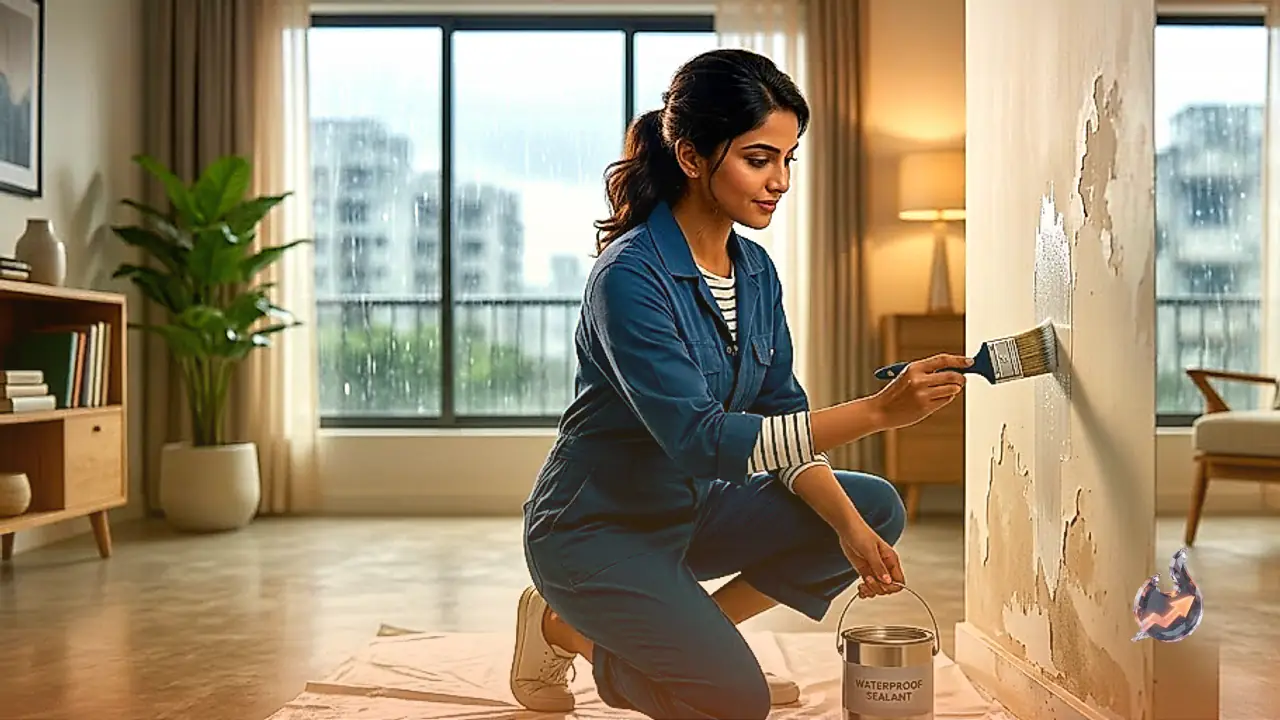

Continuous rainfall during the monsoon season frequently leads to unwanted moisture accumulation inside residential structures, causing wall paint to bubble, crack, and flake off in unsightly layers. Beyond compromising the aesthetic appeal of living spaces, persistent wall dampness creates a damp environment conducive to unpleasant odors and fungal growth. Resolving this recurring seasonal issue requires a systematic approach to wall restoration and moisture management. By implementing targeted home care measures, homeowners can protect their walls from structural moisture damage and maintain a smooth, durable paint finish throughout the rainy months.
1. Identify and Repair the Root Source of Water Leakage
Before applying any corrective treatments to damaged walls, it is essential to trace the exact origin of moisture infiltration. Water seepage often stems from damaged roof tiles, external wall cracks, leaking plumbing pipes, or improper drainage in adjacent bathrooms. Attempting surface repairs or applying fresh paint over an active leak yields only temporary results, as hidden water pressure will inevitably cause new paint layers to peel again. Fixing structural cracks, sealing exterior joints, and repairing plumbing defects must precede any indoor wall repair to ensure lasting protection.
2. Thorough Wall Scraping and Mandatory Drying Time
Applying sealants or fresh paint directly over flaking material prevents proper adhesion. Use a sturdy metal scraper or coarse sandpaper to thoroughly remove all loose paint flakes, damaged plaster, and powdery residue until reaching a firm wall surface. Once the damaged layer is entirely cleared, allow the wall to dry naturally for 24 to 48 hours. Providing adequate drying time is crucial to ensure that deeply trapped moisture evaporates before sealing the surface.
3. Eradicating Mold and Odors with Vinegar and Baking Soda
Damp wall sections often develop black mold or mildew patches that emit a musty smell and pose hygiene concerns. To eliminate fungal spores naturally, fill a spray bottle with pure white vinegar and mist the affected wall area generously. Allow the vinegar to sit for 30 minutes to neutralize fungal growth. Next, mix baking soda with water to create a thick paste, apply it over the spots, and scrub the surface thoroughly with a stiff brush before wiping it clean. This combination effectively kills fungal colonies and neutralizes persistent damp odors.
4. Applying Waterproofing Sealant and Damp-Proof Putty
After the wall is clean and completely dry, apply a specialized waterproofing sealant or damp-proof chemical coating across the surface. This protective layer acts as a barrier that prevents sub-surface dampness from migrating into outer paint coats. Once the sealant dries, apply a layer of high-quality waterproof putty to smooth out minor indentations, surface cracks, and uneven textures. The putty levels the wall while creating a robust foundation that significantly strengthens the grip of topcoat paint.
5. Enhancing Indoor Ventilation and Moisture Control
Poor air circulation and lack of natural sunlight accelerate moisture buildup inside closed rooms. Opening windows and balcony doors daily for a specified period allows fresh air to circulate and flush out trapped humidity. For interior rooms or spaces lacking direct sunlight, operating a dehumidifier helps extract excess moisture from the air. Alternatively, running ceiling fans regularly maintains airflow, reducing ambient humidity levels and keeping wall surfaces dry.