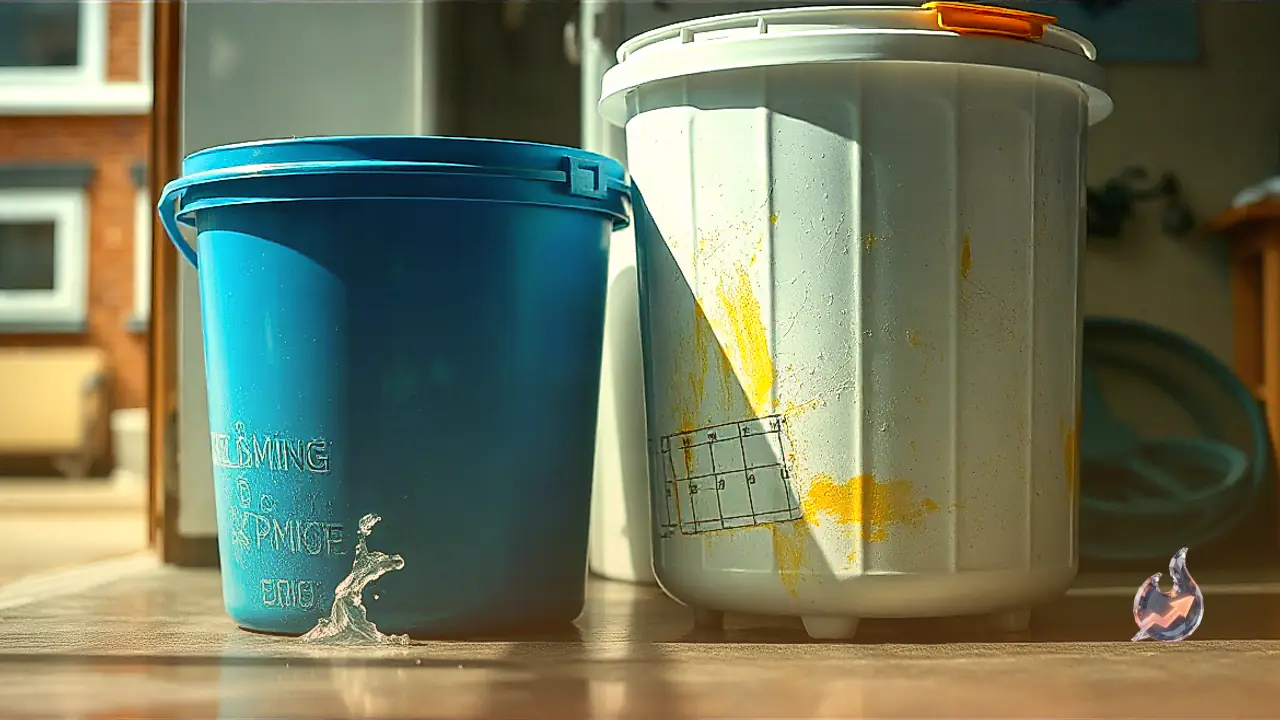























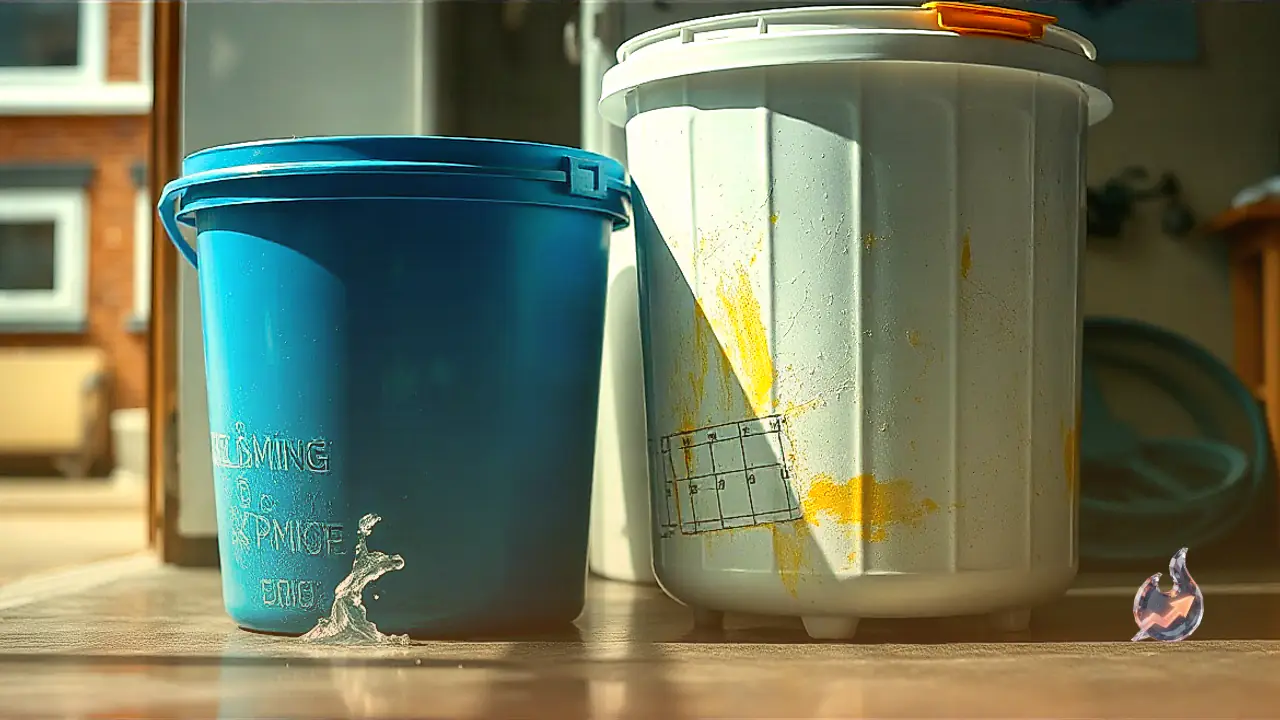

Plastic buckets and tubs used daily in household bathrooms quickly accumulate unsightly stains, soap scum, and hard water scale. The continuous contact with moisture, mineral rich water, and lather creates a rough white crust, stubborn yellow rings, and slippery grime that refuses to budge with regular detergent scrub downs. This persistent build-up makes sturdy bathroom plastic appear worn out and unhygienic. Fortunately, restoring such stained plastic surfaces does not require strenuous physical exertion when two common kitchen pantry staples are put to work together.
The Working Chemistry of Baking Soda and White Vinegar
The remarkable effectiveness of this domestic cleaning solution lies in the scientific interaction between its two core ingredients. Baking soda functions as a gentle alkaline compound capable of breaking down grease, body oils, and stubborn grime layers that adhere to synthetic surfaces. In contrast, plain white vinegar serves as a mild acid that rapidly dissolves alkaline lime scale, calcium deposits, and dried soap residues. When these two substances combine, a vigorous bubbling chemical reaction takes place, mechanically lifting trapped grime from the microscopic pores of the plastic without abrading the surface.
Step-by-Step Paste Preparation and Application
To begin the cleaning process, measure 2 to 3 tablespoons of baking soda into a clean bowl, followed by approximately 2 tablespoons of distilled white vinegar. Mix the two ingredients promptly as they fizz to create a spreadable, homogeneous paste. Using an old toothbrush, a soft washcloth, or a sponge, apply this cleaning paste generously across both the interior and exterior walls of the bucket. Pay special attention to the bottom corners and rim areas where thick mineral deposits and yellow discoloration typically concentrate.
Dwelling Time and Final Rinsing Routine
Allowing the paste sufficient contact time is essential for maximum results. Leave the coated bucket undisturbed for about 15 to 20 minutes so that the chemical breakdown of the mineral crust can finish working. Once this resting period elapses, take a regular scouring sponge and gently rub the surface in circular motions. The dissolved grime and loosened sediment will slide off effortlessly without requiring heavy scrubbing pressure. Complete the process by rinsing the bucket thoroughly with plain or lukewarm tap water, leaving the plastic clean and restored to its original brightness.