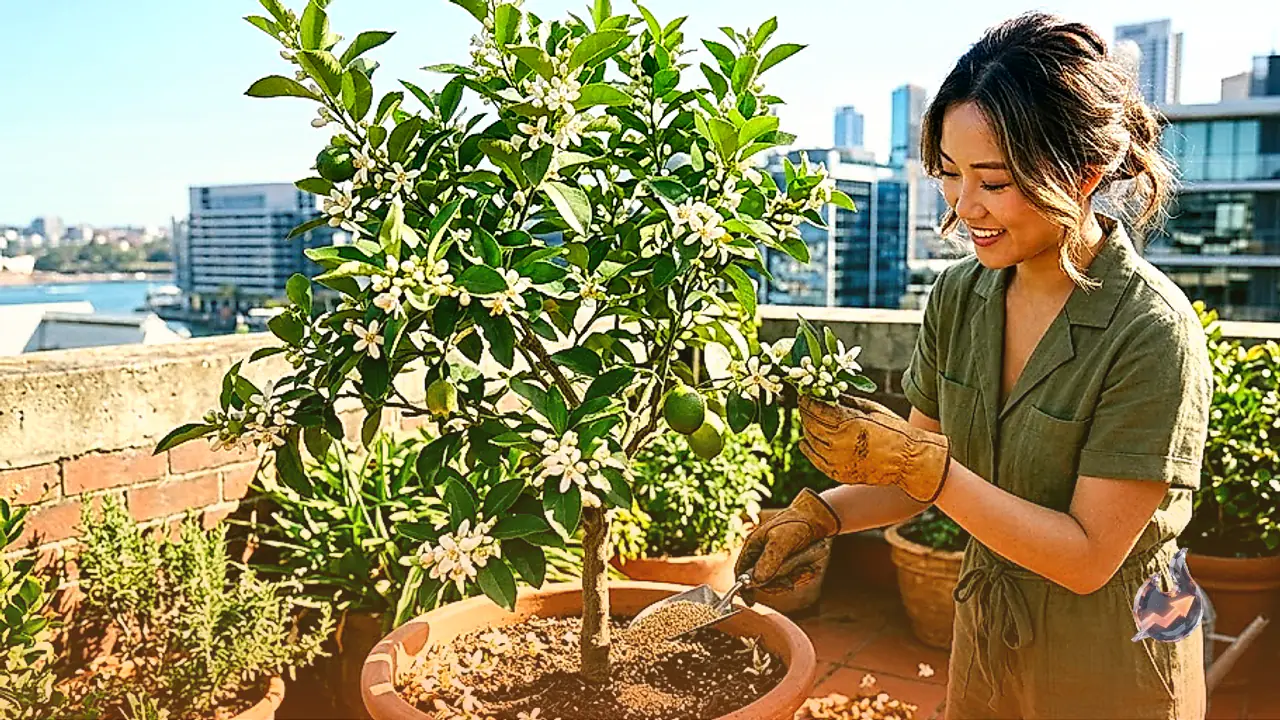







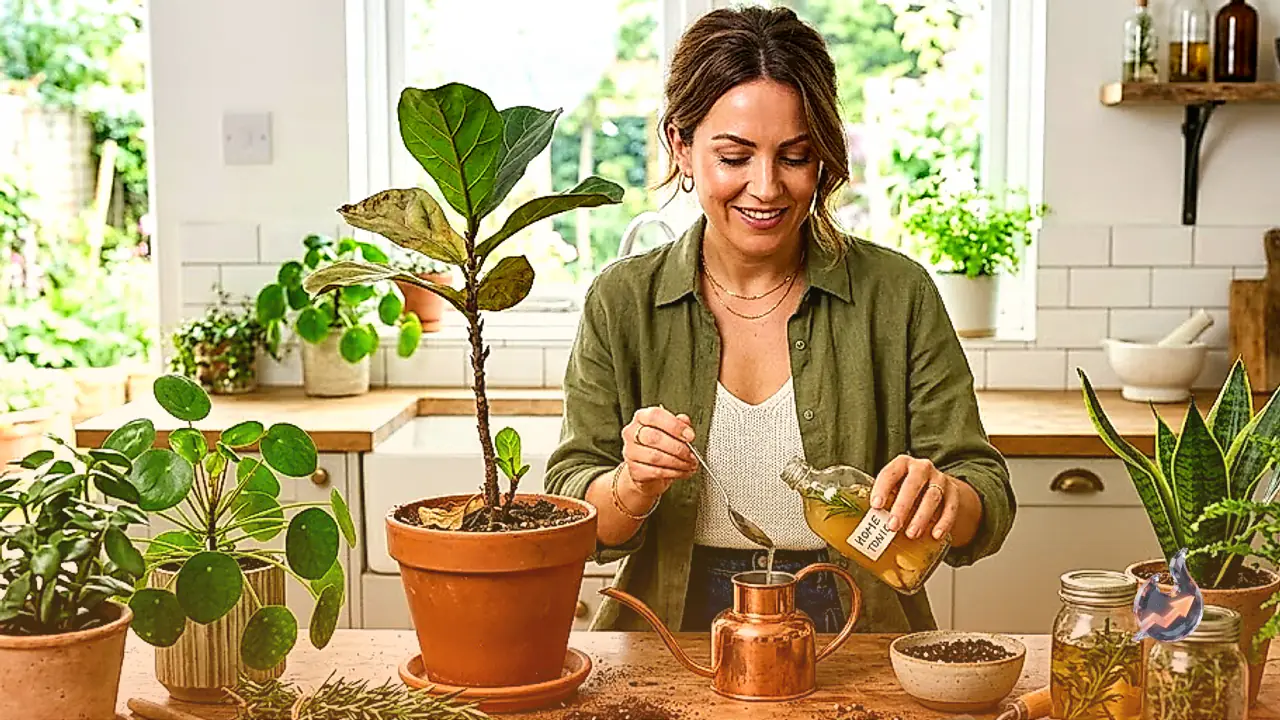
















Tending to a home garden brings immense satisfaction, particularly when container plants display lush green foliage and consistent blooms. However, many plant lovers observe that despite routine watering and placing pots under direct sunlight, plant development often stalls completely. Leaves begin looking dull, pale, or brittle, and flowering stems fail to emerge for months. In such circumstances, rushing to garden centers for expensive commercial fertilizers is not the sole way out. A simple, organic liquid feed prepared right from household staples can revitalize struggling potted specimens without burning their tender roots.
Essential Ingredients for the Organic Mixture
Formulating this plant tonic does not demand hard-to-find supplies. The primary requirement is one to two fresh aloe vera leaves harvested cleanly from an existing mature plant. Along with the leaves, a small knob of raw turmeric root is needed. In situations where raw turmeric root is unavailable, using approximately one to two teaspoons of standard turmeric powder serves as a dependable alternative. Both ingredients are widely respected for their gentle, natural characteristics in domestic care. Gardening expert Tarun Chopra has detailed this specific preparation method to maintain home plants. Chopra points out that applying this liquid concoction in moderate, controlled amounts supports ongoing plant care, although it should not be considered an absolute guarantee for immediate blossoms on every single variety.
Step-by-Step Processing and Dilution Technique
The preparation begins by washing the fresh aloe vera leaves thoroughly under running water to dislodge any dirt or garden grime, followed by cutting them into small, manageable chunks. The raw turmeric piece should likewise be chopped finely. Combine both prepared elements into an electric blender and process until a smooth, dense paste forms. This concentrated, viscous substance must never be poured directly onto potting soil or bare roots, as unrefined plant extracts in heavy concentrations can overwhelm the root system and shock the specimen. It must always be diluted generously in water prior to any garden use.
Maintaining proper dilution ratios remains vital for the safety of your plants. Take exactly one tablespoon of the thick aloe and turmeric paste and whisk it thoroughly into one liter of clean water. Allow this concentrated solution to rest undisturbed for approximately 24 hours so that the active nutrients infuse completely into the liquid. After the 24-hour resting window concludes, pour that one liter of enriched liquid into ten liters of plain water and stir thoroughly. This creates a mild, safely diluted liquid feed appropriate for domestic garden containers.
Proper Soil Application and Aeration Steps
Before introducing the diluted liquid into the pot, take a moment to prep the soil surface. Use a small hand cultivator or blunt trowel to gently loosen the topmost crust of the potting mix. This gentle aerating step breaks up compacted dirt layers, enabling fresh air, oxygen, and liquid nutrients to circulate efficiently down to root level. Once the surface is aerated, pour an appropriate measure of the diluted solution into the substrate, matching the plant's moisture appetite and container volume.
Home gardeners must recognize that potting mixes, root space, regional climate, and individual watering cycles differ widely from one plant to the next. Exceeding the recommended dosage or pouring excessive amounts of any homemade formula can cause moisture-logging rather than delivering benefits. If a pot's soil already feels damp and cool to the touch, hold off on applying any supplemental liquid feed until the soil dries sufficiently to prevent root complications.
Foliage Spray Guidelines and Sensitivity Checks
In addition to drenching the potting soil, this diluted herbal feed can be administered directly onto foliage and plant stems to provide topical invigoration. Before loading the mixture into a garden sprayer, the liquid must be strained thoroughly through a fine mesh sieve or cheesecloth. This step prevents small pulp fragments from lodging inside the fine spray nozzle. Once strained, transfer a modest portion into a spray bottle filled with clean water, misting the canopy and stems lightly.
Whenever introducing any unfamiliar concoction to garden greenery, never soak the entire plant immediately. Instead, conduct a cautious patch test by misting just two or three individual leaves. Monitor those test leaves over the next few days. If you observe any discoloration, edge scorching, blemishes, or wilting, discontinue spraying that particular variety immediately to protect the remaining canopy.
Recommended Intervals Across Changing Seasons
Administering liquid plant nourishment requires sensible pacing across different seasons of the calendar year. During winter conditions, when lower temperatures naturally slow cellular growth and transpiration in many species, this liquid solution should be spaced out roughly 20 to 22 days apart. Conversely, during warm summer weather when root uptake accelerates and plants actively grow, application intervals of roughly 15 days can be followed.
These schedules should serve as flexible guideposts rather than rigid laws. Always inspect the current vitality of the plant, examining leaf turgor and container dryness before administering any liquid treatment. Furthermore, if a specimen is already severely stressed, drooping, or combating an active pathogen, gardeners should exercise extreme caution before introducing any novel mixture to its roots.
Potential Horticultural Benefits of the Natural Blend
Both aloe vera and turmeric contain natural bioactive elements that have historically supported wellness and topical care across various household traditions. In the gardening method outlined by expert Tarun Chopra, these elements are harnessed to strengthen domestic flora. He believes the synergistic combination can foster robust vegetative expansion and encourage the emergence of new floral buds.
Nonetheless, successful flowering relies on multiple interconnected cultivation factors rather than fertilizing inputs alone. An abundance of blooms depends on adequate daily sun exposure, balanced soil moisture, generous pot drainage, potting medium quality, and the genetic predisposition of the plant species itself. Applying this aloe and turmeric tonic while diligently maintaining these foundational growing requirements ensures the healthiest outcomes for indoor and outdoor pots alike.