






















If you have ever felt that making soft and fresh market-style butter at home is a difficult task, you likely have not tried the right method yet. Whether you want to add a small lump of butter to dal or enjoy it on hot parathas and toast, it completely transforms the flavor of your meal. This is precisely why many households still prefer making fresh butter on their own. The best part is that you do not need any expensive equipment or special ingredients for this. By simply using thick curd, a little patience, and the correct technique, you can prepare creamy butter in a short amount of time.
Homemade butter is not only completely fresh, but it also frees you from worries about added preservatives or artificial flavors. If you frequently set curd at home, using it to make delicious butter is a convenient and economical option. Let us explore the complete process of making butter from curd, the important points to keep in mind, and the simple ways to store it fresh for a longer duration.
What Ingredients Are Needed to Make Butter From Curd?
Preparing butter at home requires very little preparation. If you already have well-set thick curd ready, half of your work is practically done. The primary requirement is 1 kg of thick and properly set curd. Additionally, if you prefer salted butter, you can keep salt ready according to your taste.
The Easy Method to Extract Butter From Curd
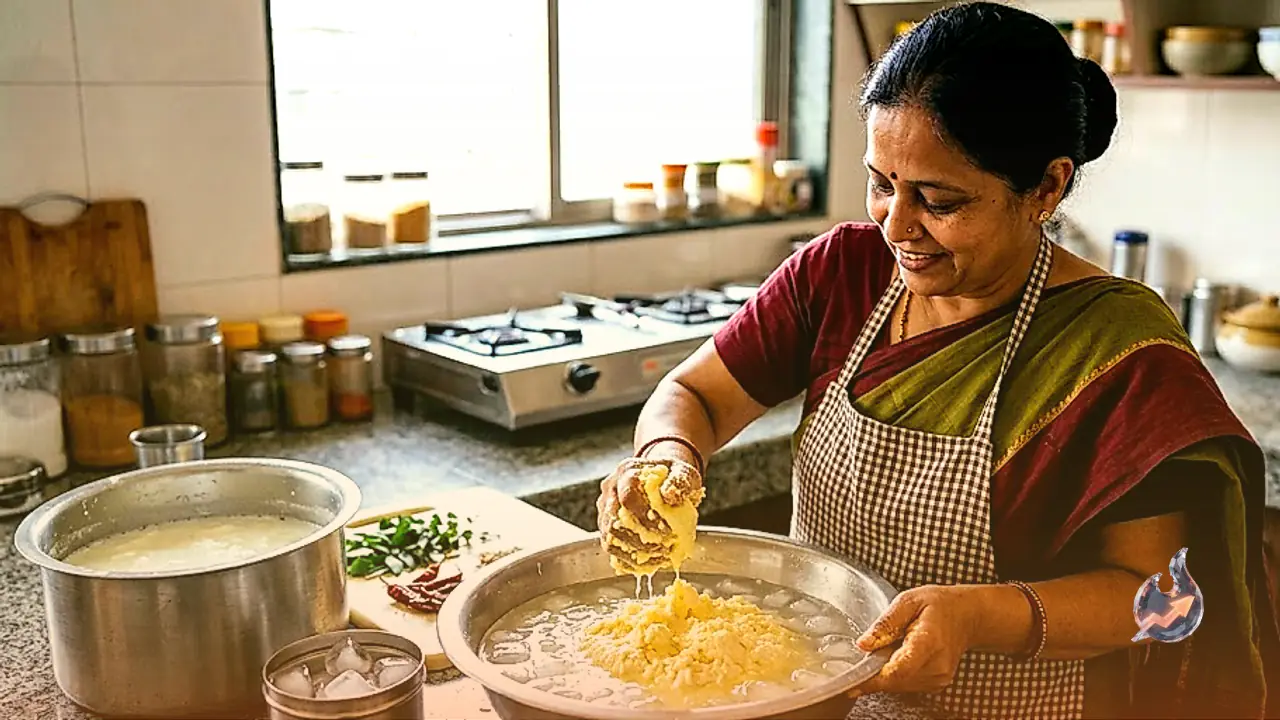
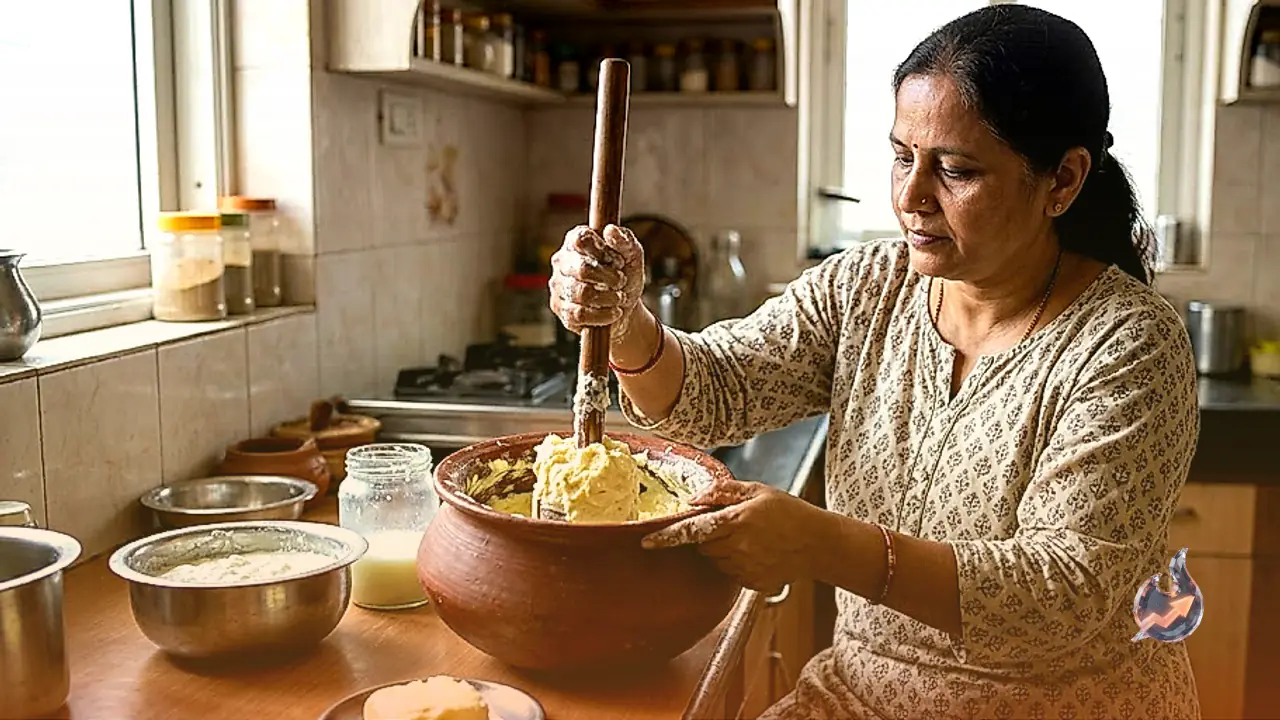
First, transfer the curd into a large, deep vessel. Now, begin churning it continuously using a traditional churner or a hand blender. Initially, the curd will look normal, but after a few minutes of churning, you will notice a distinct change. Continuous churning causes the fat present in the curd to start separating. After some time, you will see small grains of butter floating on top, which is the primary indication that the butter-making process has begun.
Once these butter particles become visible, add a little chilled water gradually and churn again. Adding cold water helps the small butter particles clump together to form a larger mass. After a while, the butter will collect at the top while a thin liquid remains at the bottom. This liquid is buttermilk, which does not need to be discarded. You can drink it after adding spices or use it for preparing kadhi and kneading dough.
Washing the Butter and Customizing the Taste
Once the butter has completely separated, use your hands or a spoon to take it out and place it in a separate container. Next, rinse it gently two to three times with cold water. This step removes any residual buttermilk trapped inside the butter, enhancing its overall flavor. Finally, gently press the butter to squeeze out any excess water.
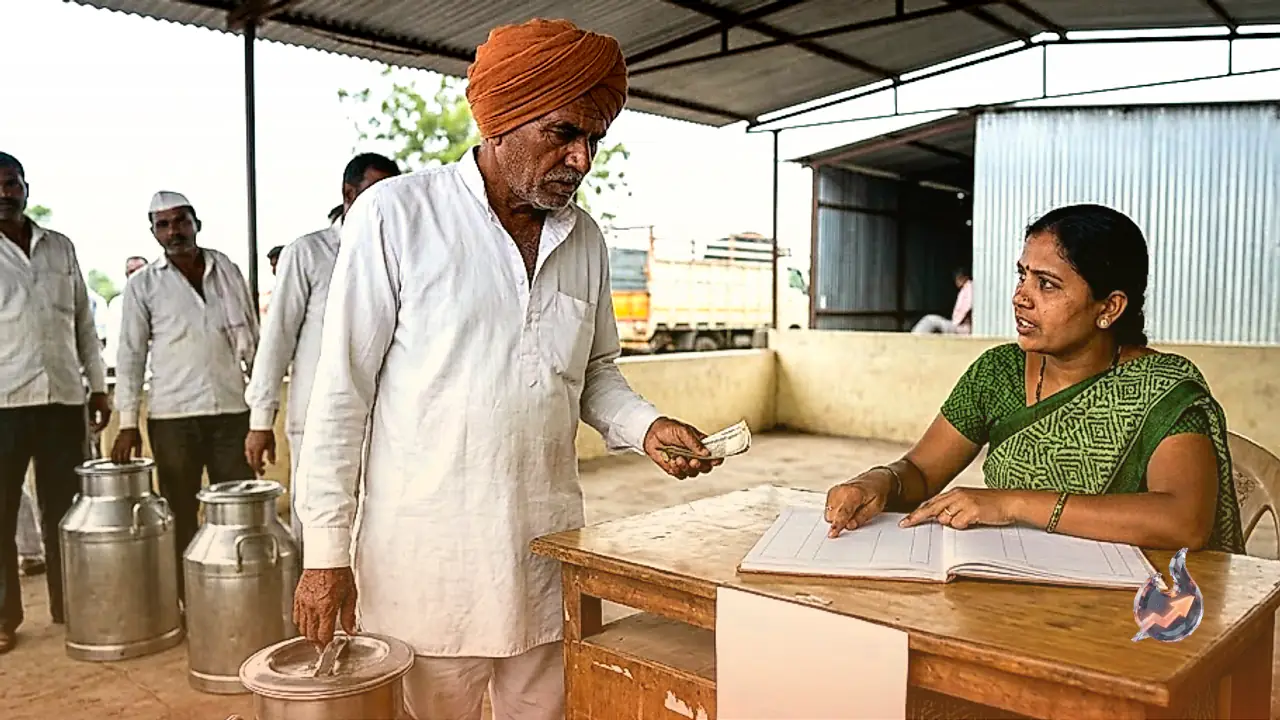
If you prefer salted butter, you can mix a little salt into it according to your taste. Alternatively, if you like a neutral taste, you can store it without adding any salt. This fresh homemade butter tastes exceptionally delicious when served with hot rotis, parathas, toast, makki ki roti, or simple dal. In rural areas, many families still churn curd regularly to extract butter. From children's breakfast to festive delicacies, fresh butter has long remained an integral part of Indian cooking. Furthermore, the buttermilk left over after butter extraction is nutritious and flavorful, and during the hot summer months, it is considered a refreshing drink that cools the body.
How to Keep Homemade Butter Fresh for a Long Time?
Always store homemade butter in a clean, dry, and airtight container. Keeping it refrigerated is the best way to maintain its quality. Always use a dry and clean spoon whenever you scoop out butter to prevent moisture or impurities from entering. When stored correctly, homemade butter can stay fresh for many days, although its fresh and delicious taste usually causes it to finish very quickly.