





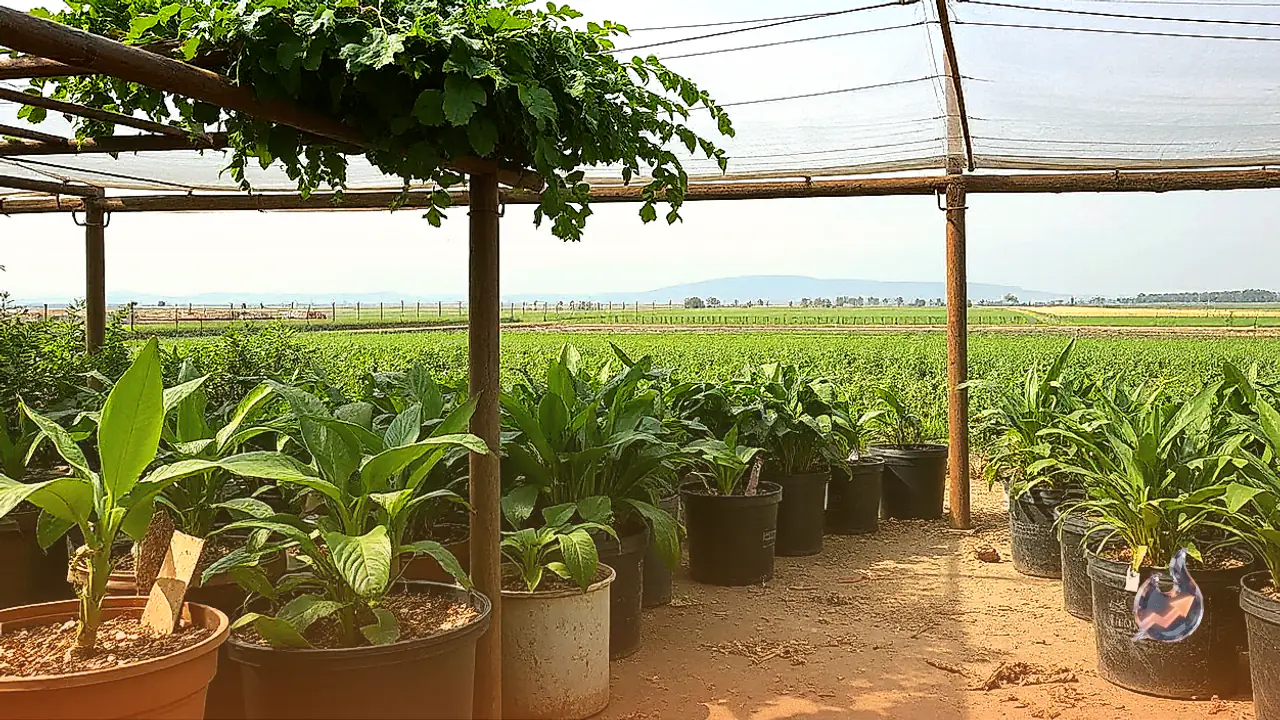














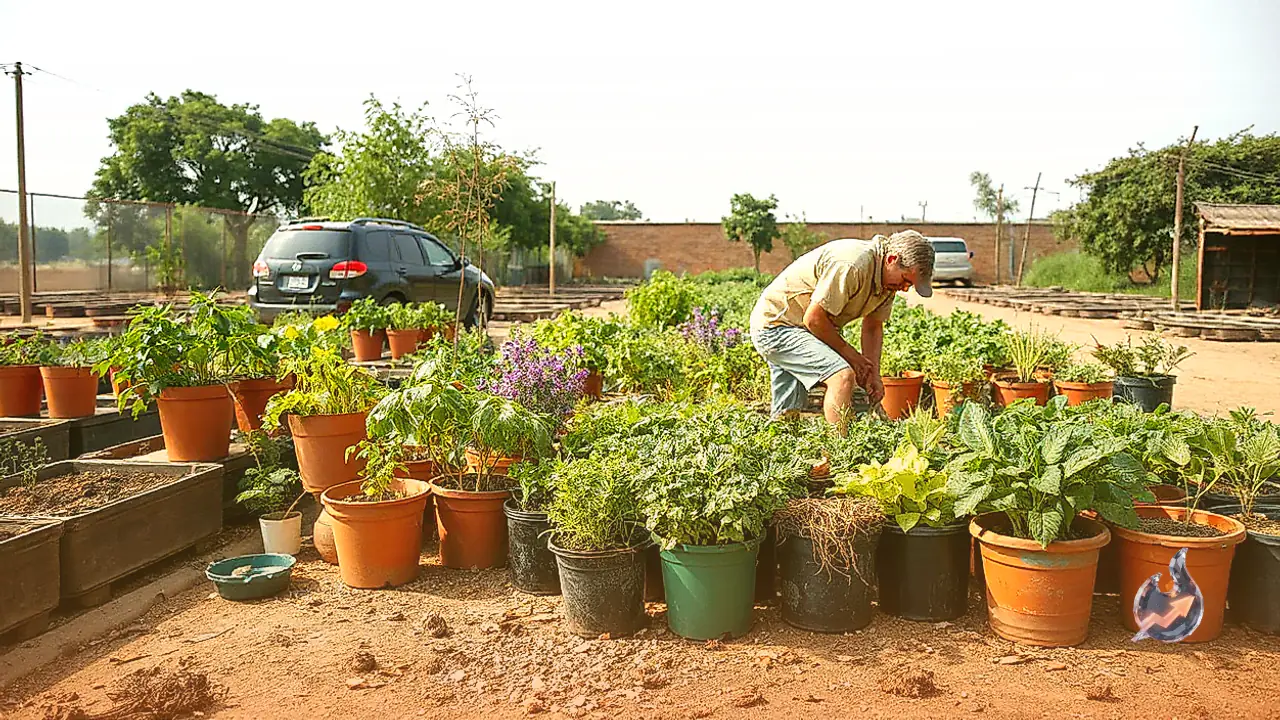

A persistent belief among home gardeners is that plants flourish only in traditional terracotta or clay pots, while plastic containers stunt plant growth. This perception often leads gardening enthusiasts to overlook lightweight, durable, and easily portable plastic pots. Professional nursery gardeners routinely raise healthy, robust specimens of various plant varieties in plastic containers. The truth is that plants can thrive exceptionally well in plastic pots when the potting method respects the container's unique properties. Species such as Areca palm, Croton, Schefflera, Song of India, and even flowering varieties like Rose can flourish in modern plastic pots, provided one pays careful attention to pot dimensions, potting mixture, fertilization timing, and proper sun exposure.
Selecting Pot Size and Ensuring Proper Drainage
Successful container gardening in plastic begins with choosing a pot of appropriate size and structural design. Cramped containers limit root development, which is why selecting a pot measuring at least 12 to 16 inches in diameter and depth provides the necessary root run. Unlike unglazed clay pots that breathe and allow moisture to evaporate through their porous sidewalls, plastic containers retain moisture because their walls are completely non-porous. Therefore, adequate drainage holes at the base are strictly essential. Without these openings, surplus water remains trapped around the base, creating waterlogged conditions that cause root rot. Gardeners should place a small stone, broken piece of pottery, or pebble over each drainage hole so that excess irrigation water drains freely without washing away fine potting soil.
Preparing the Ideal Soil and Organic Compost Blend
Soil meant for plastic pots requires careful formulation to ensure good aeration and drainage without becoming compacted. A balanced growing medium consists of good quality garden soil blended with roughly 20 percent vermicompost. Vermicompost lightens the soil texture, prevents hard clod formation, and supplies organic nutrients steadily. If vermicompost is unavailable, thoroughly decomposed cow dung manure serves as an effective alternative. Gardeners should avoid mixing complex chemical fertilizers into the soil during this preliminary phase, as young feeder roots are fragile and easily harmed by concentrated synthetic salts before the plant establishes itself.
Protecting the Root Ball During Repotting
Extracting a newly purchased plant from its nursery container or nursery bag demands gentle handling. One must keep the soil cluster surrounding the roots, known as the root ball, intact without cracking or shaking it loose. Some beginners mistakenly strip all existing soil from the roots before planting, which subjects the specimen to severe transplant shock. In a fresh 12-inch or 16-inch container, begin by adding a generous layer of soil at the bottom so the roots have ample room to stretch outward and downward. Position the plant vertically in the center, and fill the remaining surrounding space with the prepared potting mix. A frequent misstep is leaving the upper roots exposed to air; the root ball must remain entirely covered under the soil surface. However, avoid burying the central stem or crown deeper than its original nursery soil line.
Sunlight Management and Acclimatization Steps
Direct exposure to harsh sun immediately following repotting can wilt even hardy plants. Freshly potted specimens need 2 to 3 days in partial shade to recover and settle. Shaded balconies, covered verandahs, or areas beneath protective shade netting provide ideal microclimates during this initial phase. Once the plant stabilizes, gradually reintroduce it to natural light. After approximately 10 to 12 days, move the pot to a spot receiving 3 to 4 hours of gentle sunlight, tailored to the specific plant variety. Light requirements vary significantly across species; while roses enjoy substantial sunlight, foliage plants such as Areca palm should be protected against harsh direct rays to prevent leaf scorching.
Post-Planting Nutrition and Fertilizer Guidelines
Feeding newly repotted plants with heavy fertilizers immediately after planting is a counterproductive practice. The root system requires undisturbed time to acclimate to its new environment. Gardeners should wait approximately 10 to 15 days before applying supplementary nutrition, observing foliage condition and new shoots first. Once active growth resumes, top-dressing with a modest amount of vermicompost or well-rotted cow dung manure provides safe, sustained nourishment. Chemical inputs like DAP should be avoided unless the gardener has precise knowledge of dosing and specific plant requirements, as excessive chemical salts can burn sensitive root tips and wither the entire plant.