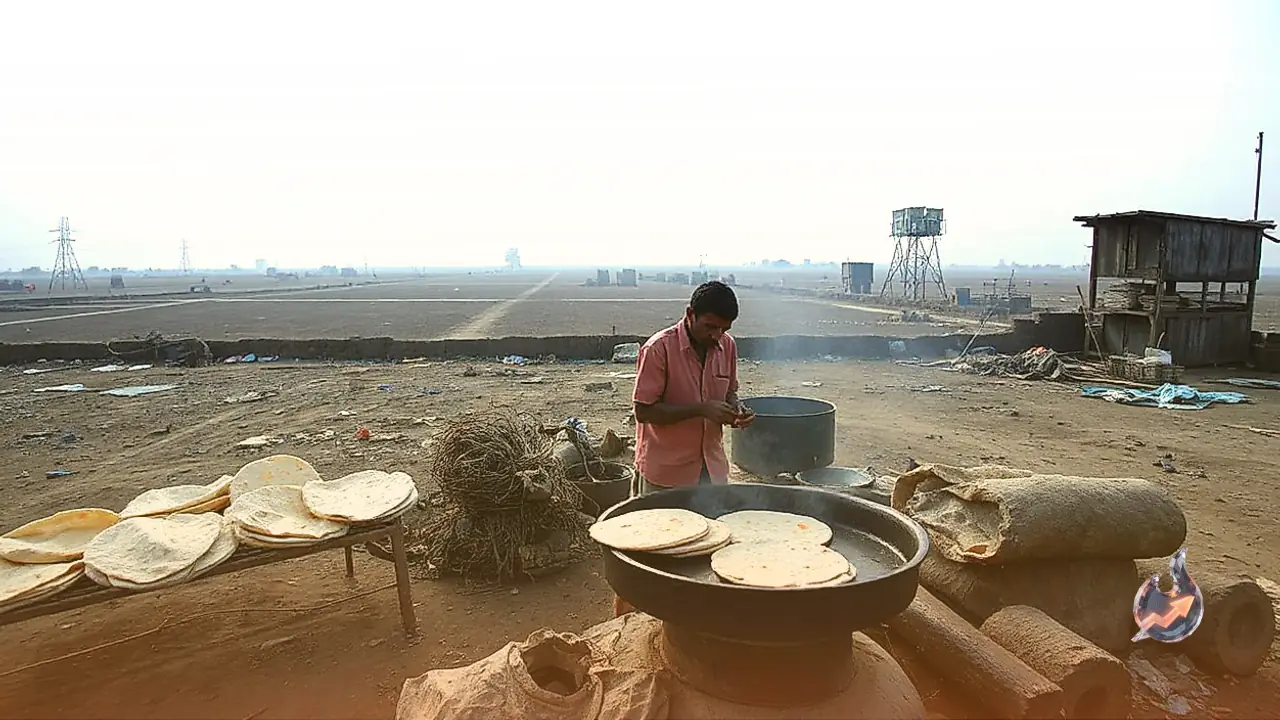























Crispy mooli parathas remain a beloved winter breakfast staple across countless households. Their rich flavour reaches another level when served alongside a dollop of white butter, fresh curd, or tangy pickles. However, preparing them frequently brings a frustrating kitchen challenge: the moment the dough ball is rolled on the board, the surface tears open and the grated radish filling spills out. This not only destroys the circular shape but also makes roasting the paratha on the flat skillet messy and difficult. The primary reason behind this mishap is the high natural water content trapped inside fresh radish. By paying attention to a few straightforward steps, from kneading the flour to sealing and rolling the mixture, anyone can prepare intact, flaky parathas with ease.
Extract Surplus Liquid from Grated Radish
Fresh radish contains an enormous amount of moisture. If grated radish is blended with seasonings and used immediately without draining, the filling becomes watery and loose. When this damp mixture comes into contact with the dough, the moisture softens the flour casing, causing it to rip apart under the rolling pin. To prevent this, toss a small pinch of salt into the freshly grated radish and let it rest undisturbed in a bowl for roughly 10 minutes. The salt draws out the trapped water through osmosis. Once the time is up, pick up small portions of radish and squeeze them firmly between your palms to extract every drop of surplus liquid. Removing this excess water produces a dry, manageable mixture that stays contained during rolling.
Knead a Stiffer Dough Base
Controlling water during dough preparation is crucial when planning stuffed radish flatbreads. Regular flatbreads often call for a very pliable and soft dough, but soft dough becomes excessively sticky when exposed to the residual dampness of the radish filling. To counter this, knead the wheat flour into a comparatively stiff consistency. A firmer dough possesses enough structural strength to withstand internal moisture and supports the movement of the rolling pin without stretching into thin, delicate spots that tear.
Incorporate Gram Flour to Absorb Residual Moisture
If the squeezed radish mixture still retains a noticeable trace of moisture, adding a spoonful of gram flour or lightly dry-roasted wheat flour provides a practical solution. The dry flour quickly absorbs any remaining humidity, binding the stuffing into a cohesive texture. It is vital, however, not to add too much gram flour, as an excessive amount can mask the authentic spicy, peppery essence of the radish. Stir the powder thoroughly into the seasoned filling so that it is evenly distributed before stuffing it inside the dough pocket.
Avoid Overstuffing the Dough Pocket
The temptation to pack generous amounts of filling into a small portion of dough often leads to failure on the rolling board. When a dough ball is overfilled, the edges cannot stretch enough to form a complete and secure seal. Consequently, the seam bursts open at the first roll, scattering bits of radish across the board. To ensure a tight seal, measure the stuffing proportionally against the size of the dough portion. Gather the outer edges together carefully, pinch them firmly at the top, and flatten the center so the contents remain completely locked inside.
Apply Gentle Pressure with the Rolling Pin
Rolling stuffed radish flatbreads requires a light touch rather than forceful pressure. After lightly dusting the sealed dough ball with dry flour, press it slightly with your fingers to distribute the filling toward the sides. Then, use a rolling pin with gentle, balanced strokes, rotating the disc gradually so it expands evenly. If the dough begins sticking to the surface, sprinkle a tiny dusting of dry flour. Applying even and controlled pressure ensures that the radish stays evenly spread beneath the crust without breaking the exterior.
Roast on Medium Heat for a Golden Finish
Proper cooking requires placing the rolled flatbread onto a skillet that has been thoroughly preheated. Allow the paratha to cook lightly on both surfaces first until slight spots appear. Once partially set, brush a measured layer of cooking oil or ghee over the top and adjust the flame to medium. Cook both sides steadily until the exterior turns golden brown and crisp. Keeping the stove on high heat cooks the outer crust too fast while leaving the inside raw, whereas medium heat cooks the interior filling evenly while producing a crisp outer bite.