























The mixer grinder is undoubtedly one of the most frequently used appliances in any kitchen. From grinding whole spices and preparing chutneys to blending healthy smoothies, it performs essential everyday tasks. However, constant exposure to moisture and food particles often leads to a common problem: the mixer jar blade getting jammed. When the blade stops spinning, kitchen chores can grind to a halt. While many people immediately rush to an appliance repair shop, this issue can be easily resolved at home in just a few minutes using simple house tools and basic care.
Why Does a Mixer Grinder Jar Get Jammed?
Over time, fine food residues and water seep into the bushing mechanism located beneath the jar blade. If the jar is not thoroughly dried after washing, the iron or steel central spindle shaft develops rust. Accumulated grime combined with oxidation causes the central shaft to lock tightly against its casing, preventing the blade from rotating freely. Attempting to force-run a jammed jar on the motor base can overheat the motor or strip the plastic coupler teeth, making a timely DIY repair essential.
Step 1: Safely Dismantling the Blade and Base Coupler
To begin the repair process, safety comes first. Wrap a thick cloth around the sharp blade inside the jar and hold it firmly with one hand to protect your fingers. Locate the plastic nut or coupler attached to the underside of the jar. Using a pair of pliers, apply gentle downward pressure on the plastic coupler and turn it clockwise. With mild effort, the coupler will unthread and loosen, allowing the central blade assembly to slide out from the body of the jar.
Step 2: Inspecting the Shaft and Sanding Away Rust
Once the blade is detached, observe the positioning of the small washers and nuts attached to the spindle so you can reassemble them in the exact same sequence later. Inspect the central long pin or shaft. You will likely notice dark sludge, hardened grease, or rusty spots coating the metal surface. Take a piece of fine sandpaper and gently rub the shaft to scrape away all rust stains and corrosion until the metal surface becomes smooth and clean.
Step 3: Lubrication and Manual Rotation
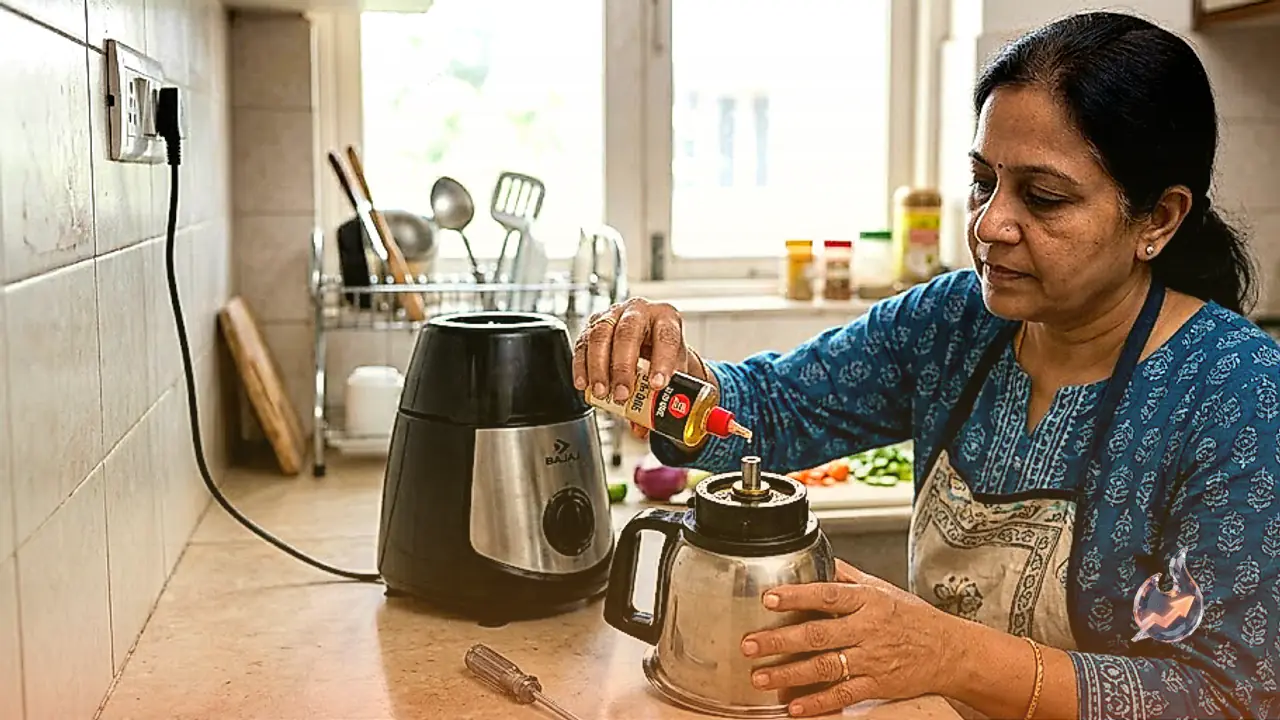
Proper lubrication is crucial for smooth long-term operation. Apply a few drops of lubricating oil, such as sewing machine oil or light mechanical cleaning oil, directly onto the cleaned spindle shaft. Insert the shaft back into the jar casing. Using your fingers, continuously rotate the shaft back and forth. Manual rotation allows the oil to penetrate deep inside the brass bushing, breaking down any remaining dirt or rust particles hidden within the sleeve.
Step 4: Deep Wiping and Final Reassembly
Pull the shaft out once more and thoroughly wipe the internal socket and spindle using a dry cotton cloth. Repeating the oiling and manual spinning process twice ensures that the housing is completely clear of debris. Now, reinsert the washers, nuts, and blade into their original positions. Use pliers to securely tighten the bottom plastic coupler. Spin the blade by hand to verify that it glides effortlessly without friction. Your mixer jar is now fully functional and ready for kitchen use.
Preventative Maintenance Tips
To prevent your mixer jar from seizing up in the future, always wash it immediately after use and allow it to dry completely in an inverted position. Avoid letting water accumulate around the bottom base. Applying a drop of lubricating oil to the bottom spindle once a month will ensure smooth performance and extend the lifespan of your appliance.