























A household Reverse Osmosis (RO) system plays a crucial role in delivering clean, purified drinking water every single day. Over extended usage, however, the internal storage reservoir and components directly coming in contact with water can accumulate unwanted sediment, organic biofilm, and dirt particles. This buildup frequently results in unpleasant odors, altered taste, or visible cloudiness in the output water. While major technical failures require expert attention, basic reservoir hygiene can often be maintained right at home if your specific equipment design permits it.
Essential Safety Steps Before Beginning Cleaning
Prior to touching any mechanical or electrical parts of the purification unit, ensuring complete electrical and hydraulic isolation is mandatory. Disconnect the main power plug from the wall outlet to eliminate any electrical hazards. Next, completely shut off the main water inlet supply valve that feeds water into the system. Once power and incoming water are safely secured, open the output tap to drain out any remaining stored water completely from the tank.
Verifying Model Compatibility and Manual Guidelines
Not every water purifier on the market is engineered with a user-serviceable storage tank. Certain manufacturers build permanently sealed units that should never be disassembled at home, whereas other designs allow convenient access for manual washing. It is essential to consult the product instruction manual before attempting any disassembly. Forcing open a sealed compartment can permanently damage the housing, cause leaks, or void your manufacturer warranty.
Step-by-Step Procedure for Manual Tank Washing
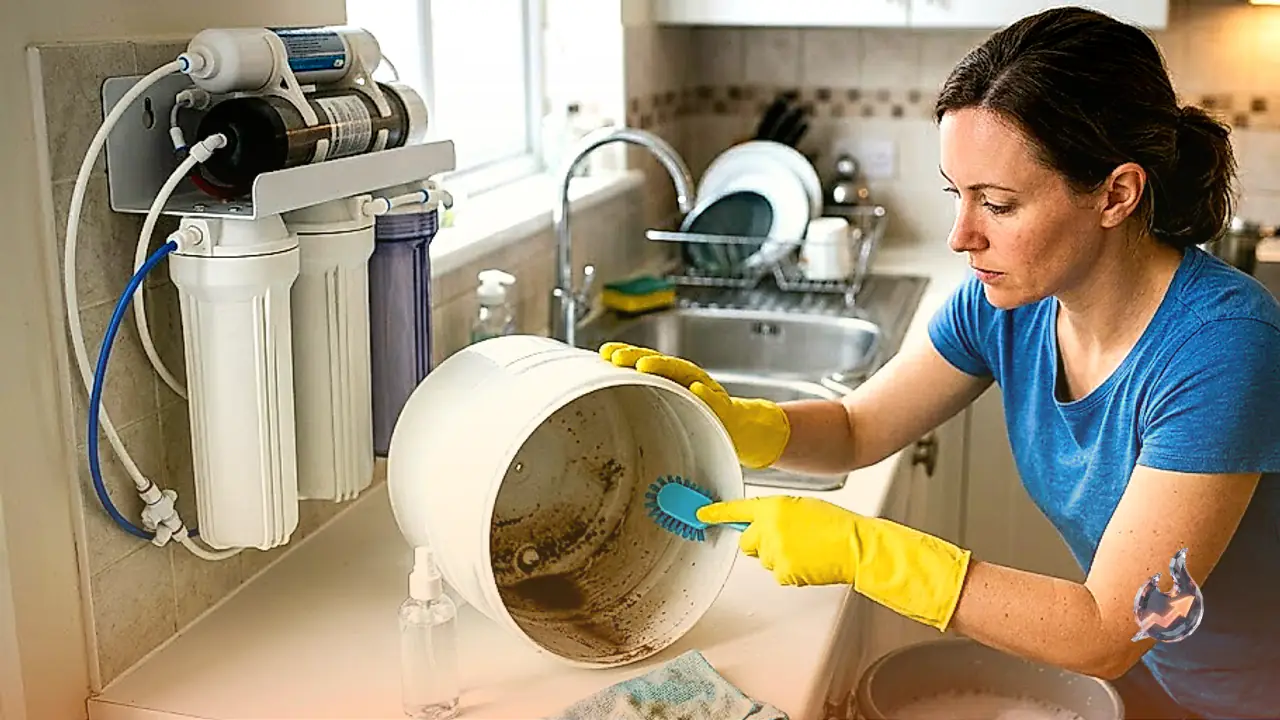
If the user manual confirms that your specific model permits manual opening and cleaning, begin by ensuring that all old water has been fully emptied out. Carefully access the internal surface of the reservoir and wipe down all interior walls using a clean, ultra-soft cloth or a smooth sponge. Never use abrasive wire brushes, metallic pads, or rough scrubbing tools, as severe scratching will degrade the protective plastic lining and create crevices where bacteria can thrive.
Chemical safety is equally vital when treating surfaces that contact drinking water. Only employ cleaning solutions or maintenance methods explicitly specified by the appliance manufacturer. Avoid applying household bleaches, floor disinfectants, phenyl, or aggressive chemical detergents under any circumstances. Chemical residues from non-approved products can linger inside the reservoir, contaminating your drinking water and posing serious health risks.
Rinsing, Reassembly, and Restarting the System
After completing the initial wiping and washing, rinse the entire interior of the storage container thoroughly using pure water as directed by the manufacturer instructions. Repeat the rinsing process until every trace of the cleaning agent and any remaining chemical scent are totally eliminated. Carefully align and reassemble the storage tank back into its original position, ensuring all seals are snug. Finally, turn the incoming water supply back on and plug the power cord into the electrical socket.
When Should You Call a Certified Technician?
Rinsing the storage tank solves surface buildup issues, but it cannot fix deeper functional faults within the system. If the drinking water continues to exhibit an abnormal taste, lingering foul smell, strange coloration, or murky appearance after thorough cleaning, the problem likely stems from worn-out filter cartridges, a degraded membrane, or contaminated internal tubing. Under these circumstances, self-servicing is insufficient, and you should immediately schedule an inspection with a qualified technician or an authorized service center.