




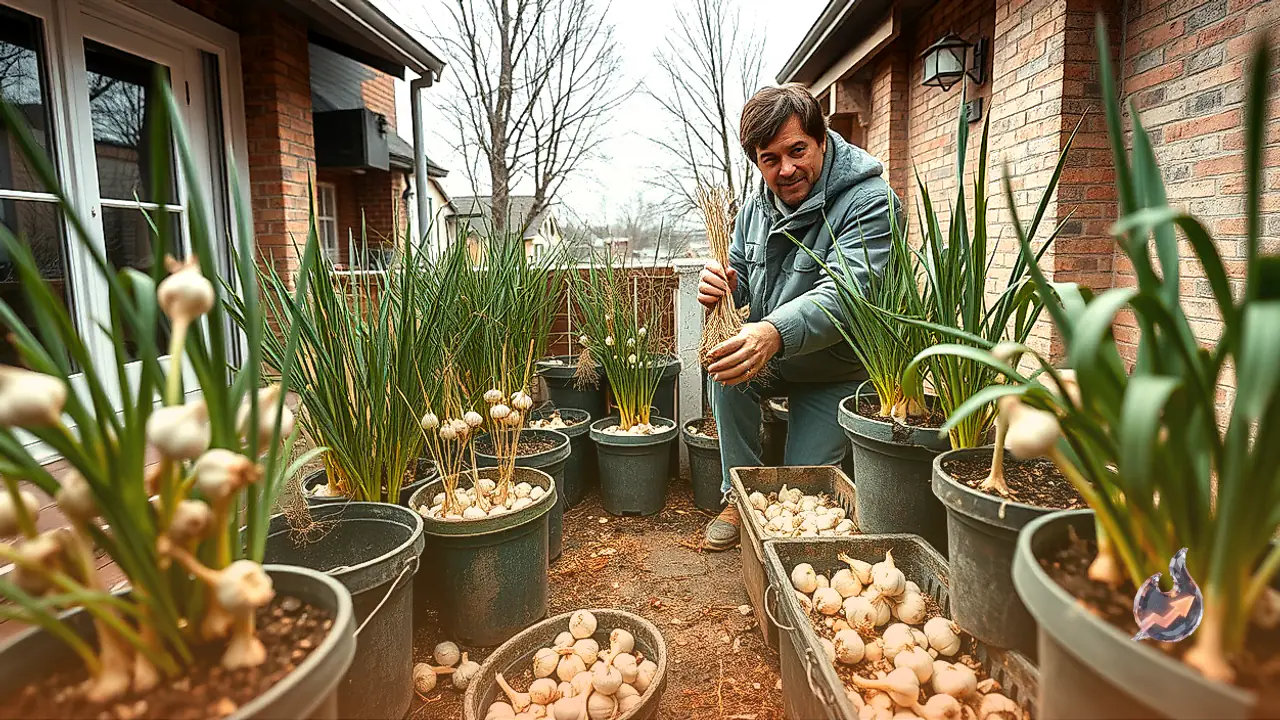

















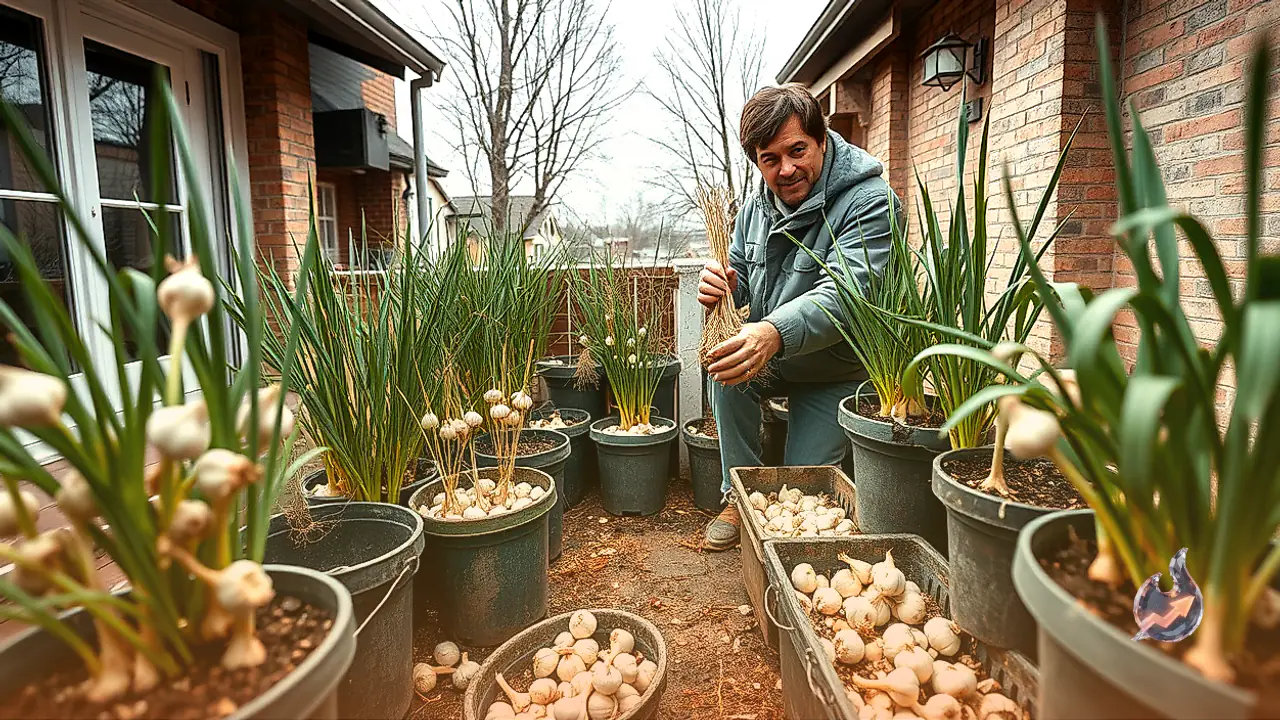

Garlic is an indispensable staple in Indian culinary traditions, imparting rich flavors to lentils, vegetable preparations, and an assortment of fresh chutneys while offering multiple health advantages. For households that incorporate it into everyday meals, cultivating garlic domestically presents an appealing and practical gardening venture. This wholesome spice requires neither extensive agricultural land nor expansive open acreage to thrive. Pots placed on apartment balconies, open terraces, or small backyard kitchen gardens can produce an abundant crop with the right care and cultivation methods.
Selecting the Ideal Planting Window and Quality Seed Cloves
The optimal period to plant garlic arrives a few weeks prior to the onset of the winter season. Planting during this cooler transitional window allows the inserted cloves to establish deep and durable root networks beneath the soil surface. Robust subterranean rooting early in the cycle ensures vigorous above-ground vegetative growth as the season progresses. Successful domestic cultivation begins with selecting suitable planting material. Rather than utilizing ordinary cooking garlic sourced from standard grocery markets, procuring dedicated seed garlic directly from a verified plant nursery or gardening center yields superior germination results and healthier plants.
Soil Preparation and Correct Planting Techniques
Container-grown garlic flourishes best in loose, crumbly soil that offers reliable drainage to prevent moisture logging around subterranean bulbs. Thoroughly incorporating a generous quantity of organic compost or decomposed farmyard manure enriches the potting mix with necessary plant nutrients. Separate the larger garlic head into individual cloves, carefully setting aside plump and undamaged specimens for planting. Press these chosen cloves into the soil bed at an approximate depth of 2 inches, ensuring a deliberate spacing of around 5 inches between each piece. It is essential to orient each clove correctly during insertion, keeping the pointed tip facing upwards while the broader basal root plate rests downwards.
Protective Mulching and Proper Post Harvest Curing
Immediately after finishing the planting process, spread a dense layer of organic mulch across the soil surface, such as dried fallen leaves, straw, or garden detritus. This insulating blanket shields young developing shoots from extreme cold conditions, maintains an even soil temperature, and suppresses the emergence of competitive weed growth. When the lower foliage on the plants turns distinctly yellow and begins to desiccate, the subterranean garlic bulbs have matured and reached readiness for harvest. Gently loosen the surrounding soil to lift the plants without bruising the bulbs, brushing away clinging loose dirt. Instead of washing freshly harvested garlic with water, store the whole bulbs in a well-ventilated, shaded environment to cure for 3 to 4 weeks. Once the exterior protective skins become papery and completely dry, trim off the spent roots and stems for long-term storage.