



















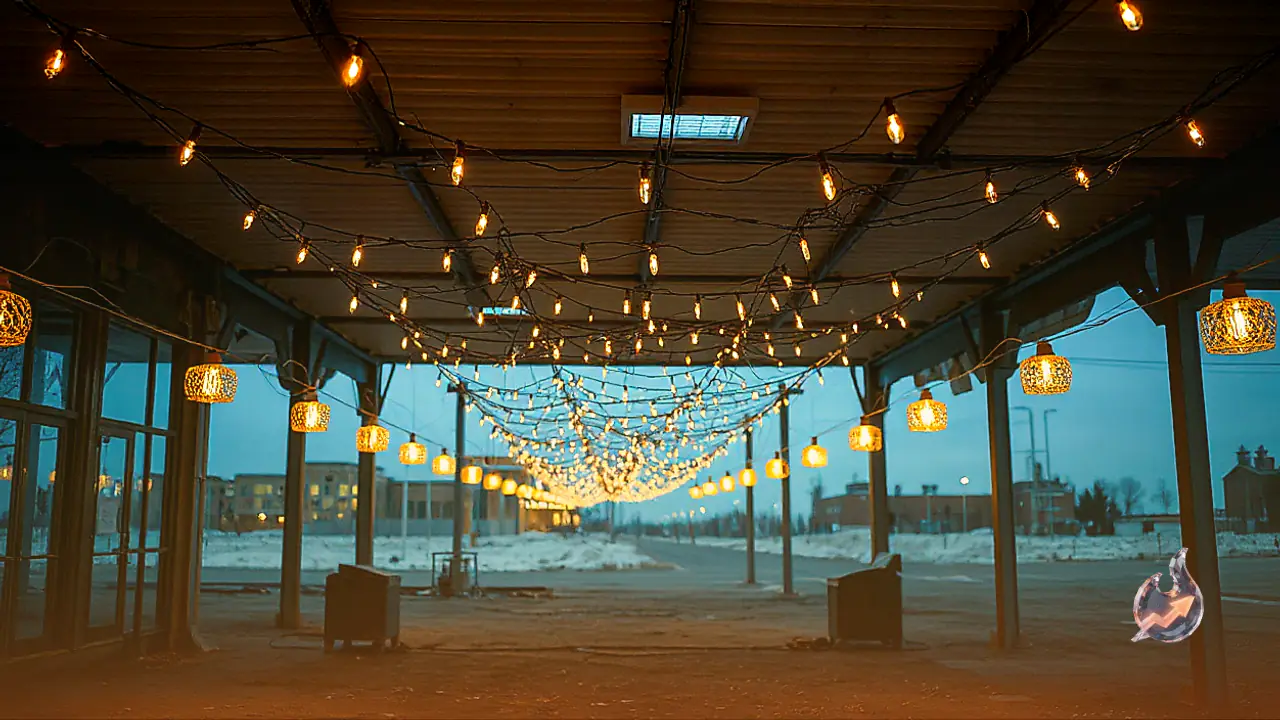

During festive occasions, decorative string lights become an essential part of illuminating homes alongside traditional oil lamps. However, it is very common for both newly purchased and stored festive lights to suddenly stop working. In most cases, people assume the entire set of lights is burnt out and decide to discard it. In reality, the breakdown is almost always limited to the small plastic controller box that regulates flashing modes. When this box gets damaged, cracked, or its inner connections snap, the lights fail to turn on, leaving festive decorations incomplete. Simply discarding the string lights due to a detached or faulty control box is unnecessary, as the lighting loop itself remains completely functional and can be revived with a simple direct connection technique.
Removing the Damaged Box and Inspecting the Wiring
When the controller unit becomes non-functional or detaches from the set, the first step is to completely remove and set aside the damaged box. Examining the wires extending from the light string reveals that there are exactly three wires bundled together. Understanding the internal layout of these lines is crucial before attempting any wiring work. Out of these three wires, only two actually carry the series of LED bulbs along their length. The third wire runs through the entire harness without any attached bulbs, acting purely as a return path. Standard LED string lights operate on this specific circuit design, making it straightforward to repurpose the wiring without the controller module.
Identifying and Grouping the Functional Bulb Wires
To establish a direct connection safely, you must locate which wires contain the bulbs and which line remains bare. Start from the beginning of the string and examine the wire feeding into the very first LED bulb. To avoid confusing the strands, tie a small knot on this first bulb-bearing line for easy identification. Next, trace the wire connected to the second LED bulb. Once both lines containing the initial bulbs are properly identified, you have successfully isolated the two active bulb-carrying wires from the single empty line. Strip the protective coating slightly if needed, bring the ends of these two bulb-bearing wires together, and twist them firmly into a single joint.
Connecting to the Power Plug and Insulating the Joints
With the bulb lines grouped, you can now connect the harness to a standard two-pin power plug. A standard plug cable contains two separate electrical wires. Take one wire from the plug cable and connect it securely to the combined joint of the two bulb-bearing wires. Next, take the second wire of the plug cable and attach it directly to the remaining single empty wire that has no bulbs. Once all connections are made, wrap electrical insulation tape thoroughly around every exposed copper joint to prevent short circuits and electrical hazards. After securing the joints, insert the plug into a power board, and the entire set of lights will illuminate instantly. This simple troubleshooting method allows anyone to repair detached or damaged string lights at home without spending on new replacements.